How to Install Blinds: Drill and No Drill Methods
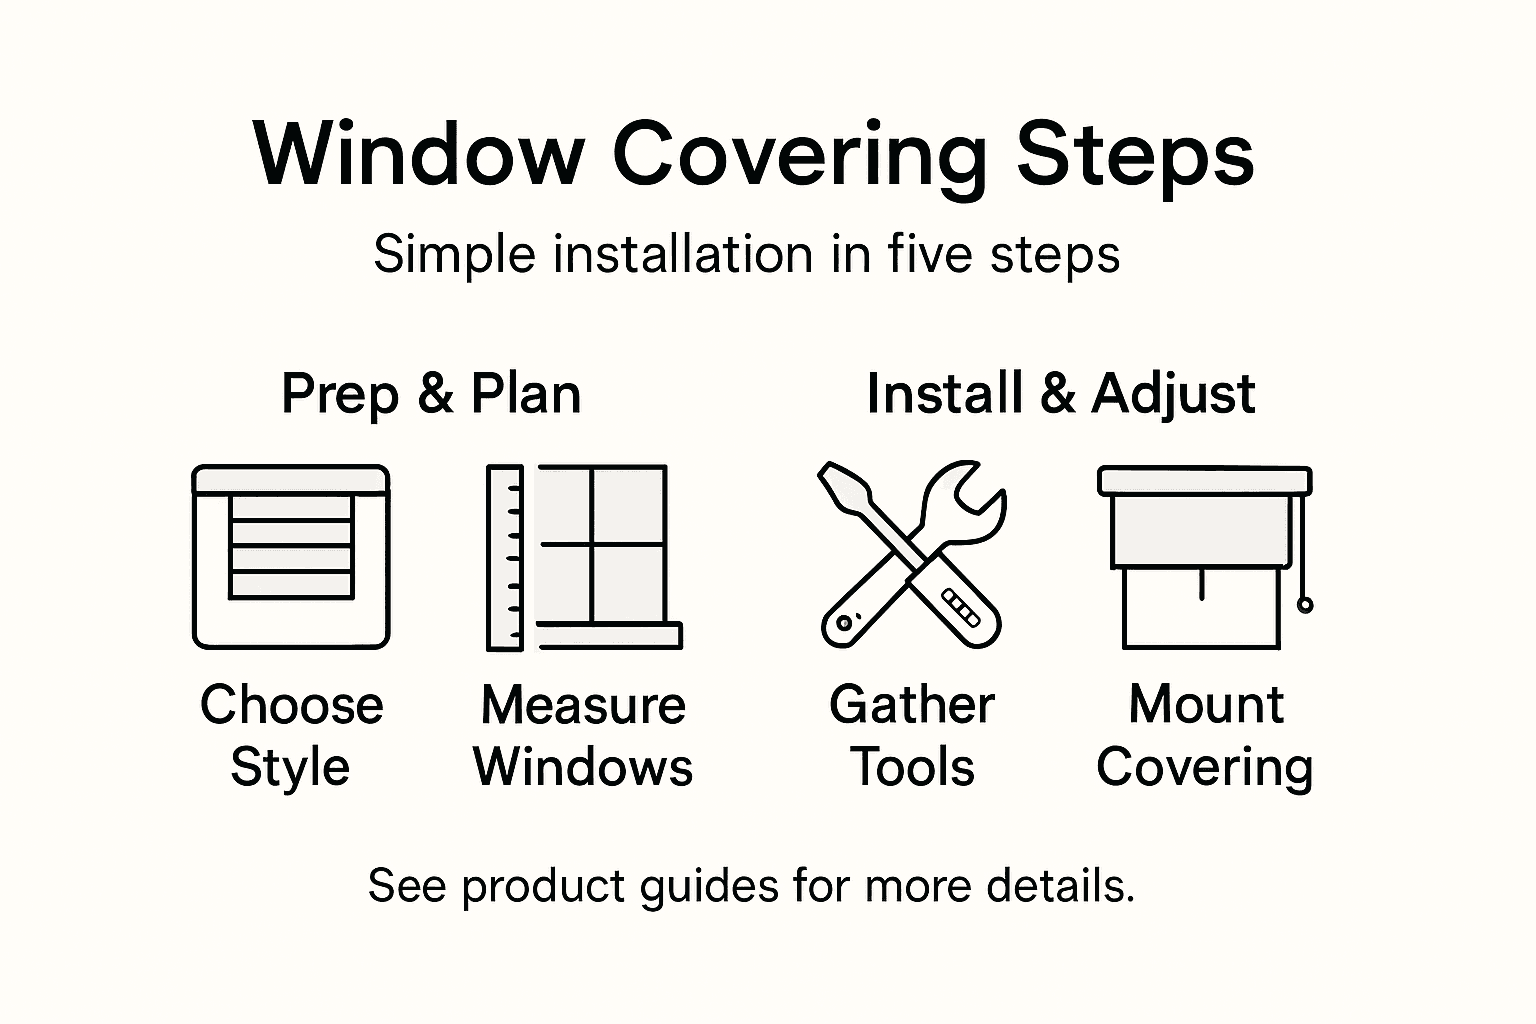
Choosing window coverings can feel overwhelming when you want both style and simplicity for your home. For homeowners looking to boost comfort and save energy, finding solutions that fit your specific space and install with ease makes a noticeable difference. This guide shares clear steps for picking the right treatments, measuring accurately, prepping your space, and making installation a breeze, helping you enjoy both custom looks and effortless operation in any room.
Step 1: Choose the Right Easy to Install Blinds for Your Windows
Selecting the perfect window blinds requires understanding your specific home needs and energy efficiency goals. The right blinds can transform your space while providing practical benefits like light control, privacy, and temperature management.
When choosing window blinds, focus on several key factors that impact both aesthetics and functionality. Energy-efficient window coverings play a crucial role in home comfort, with options ranging from cellular shades to horizontal and vertical blinds. Consider your window orientation, room temperature requirements, and desired light control when making your selection.
Different blind types offer unique advantages. Cellular shades excel in insulation, creating air pockets that help regulate indoor temperatures. Horizontal blinds provide excellent solar heat gain control, particularly effective in warmer climates. Consumer research suggests prioritizing factors like window size, privacy needs, and potential energy savings when making your decision.
Pro Tip: Always measure your windows precisely and order samples to test color and light filtering before final installation.
Here is a comprehensive comparison of common blind types and their installation ease:
|
Type |
Installation Ease |
Best For |
Energy Impact |
|---|---|---|---|
|
Cellular Shades |
Straightforward bracket mount |
Bedrooms, living rooms |
Superior insulation, reduces heat loss |
|
Horizontal Blinds |
Standard mounting brackets |
Kitchens, home offices |
Flexible light control, limits solar heat gain |
|
Vertical Blinds |
Track installation |
Sliding doors, large patio windows |
Large coverage, improves temperature regulation |
|
Roller Shades |
Simple two-bracket setup |
Bathrooms, hallways |
Modern look, modest energy savings |
|
Tension Rod Shades |
Extremely easy, no hardware fixed to frame |
Rentals, kitchens, square recesses |
Moderate insulation with zero frame damage |
|
Peel and Stick Shades |
Easiest, completely tool-free |
Dorms, temporary setups, narrow openings |
Instant privacy and light blocking |
|
No Tool Clip Mounted Cellular Shades |
Very easy, brackets clip to frame |
Renters wanting a permanent look without holes |
Excellent thermal barrier and cell insulation |
No Drill and Renter Friendly Options
Not every window covering needs a drill. If you rent, if the frame is metal or tiled, or if you would rather not put holes in the trim, there are mounting methods that hold a covering securely and come down again without leaving a mark.
Tension mounted shades brace themselves inside the window recess using spring pressure against the two side walls. Nothing is fixed to the frame at all, which makes them the cleanest option in a rental, and they suit recesses that are square and sound. They are not the right choice for a very wide opening or for a heavy covering, because the span and the weight work against the tension that holds them up. Value Blinds carries a no drill cellular shade that mounts this way.
No tool clip brackets grip the top of the window frame or the sash and hold the headrail without a screw. Clip mounted coverings suit standard recesses with a lip for the bracket to grip, and they are usually the fastest option of any to put up.
Adhesive and peel and stick coverings bond to the frame face or the glass surround. They handle light shades and films well, they suit narrow or shallow openings that will not take a bracket, and they are the option most sensitive to surface preparation. Clean the surface with isopropyl alcohol rather than a household spray, because residue from a general cleaner is the usual reason an adhesive mount lets go a couple of weeks later.
If you are renting, decide the mounting method before you choose the covering rather than after. Check the lease for a clause on fixtures and alterations, photograph the frame before you mount anything, and keep the original covering and its hardware if the property came with one, because putting it back at the end of the lease is usually a condition of getting the deposit returned.
For a covering that comes down as cleanly as it went up, choose a tension or clip mounted product over an adhesive one. Adhesive holds well but it removes least predictably from painted trim, and paint that lifts with the tape is a deposit problem rather than an installation problem.
Step 2: Measure Your Windows for a Perfect Blind Fit
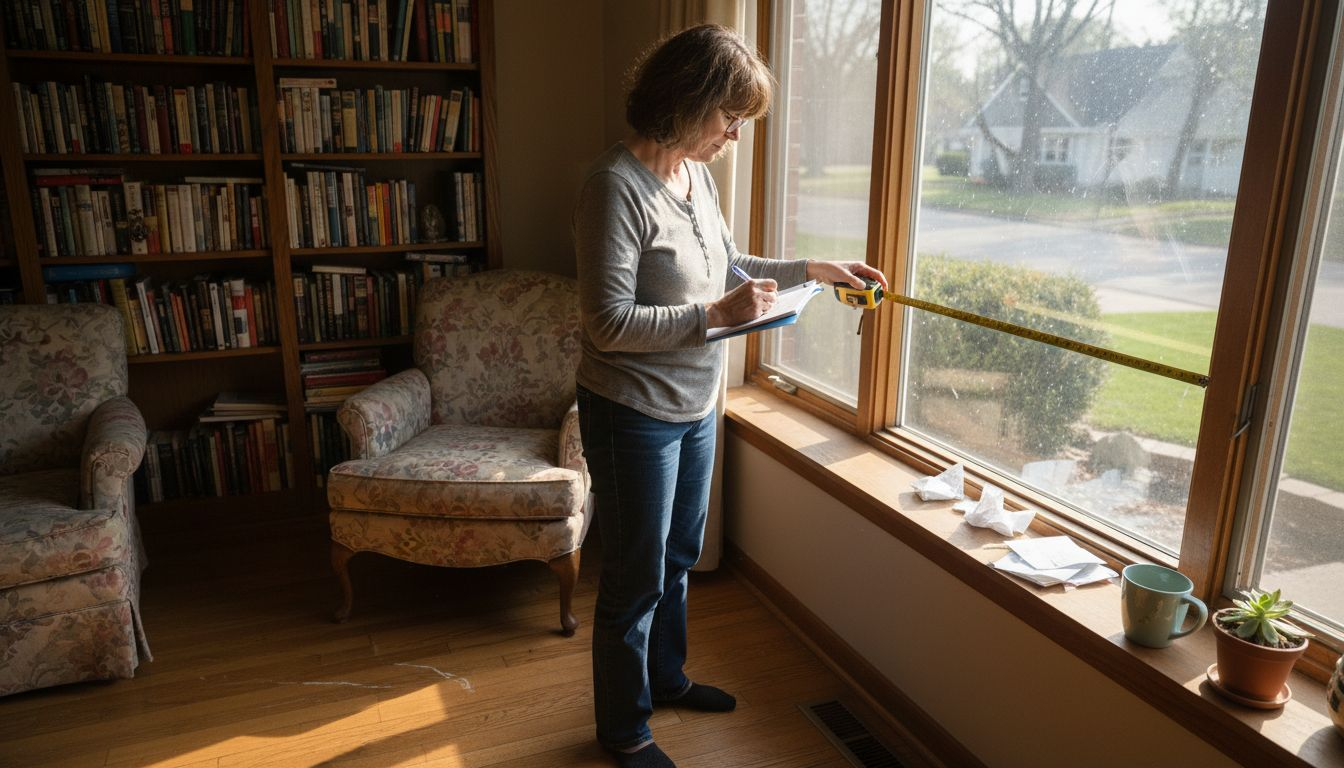
Getting precise window measurements is crucial for ensuring your blinds fit perfectly and look professionally installed. The right measurements will prevent gaps, improve energy efficiency, and create a polished appearance in your living space.
Window measurement techniques require careful attention to detail. You will need to measure the width at three different points across your window: top, middle, and bottom. Always use the narrowest width measurement to ensure a proper fit. For height, measure at three points as well, using the longest measurement. When measuring inside mount blinds, make sure to check the window recess depth to confirm compatibility with your chosen blind style.
Your measurement approach will differ slightly depending on whether you choose an inside or outside mount. Energy performance ratings recommend taking precise measurements to minimize air leakage and maximize thermal efficiency. Inside mounts work best when your window frame is deep enough to accommodate the blind mechanism, while outside mounts provide more flexibility and can cover imperfections in window frames.
Pro Tip: Use a metal measuring tape for accuracy and always measure twice to confirm your dimensions before ordering.
Step 3: Gather Necessary Tools and Prepare Your Workspace
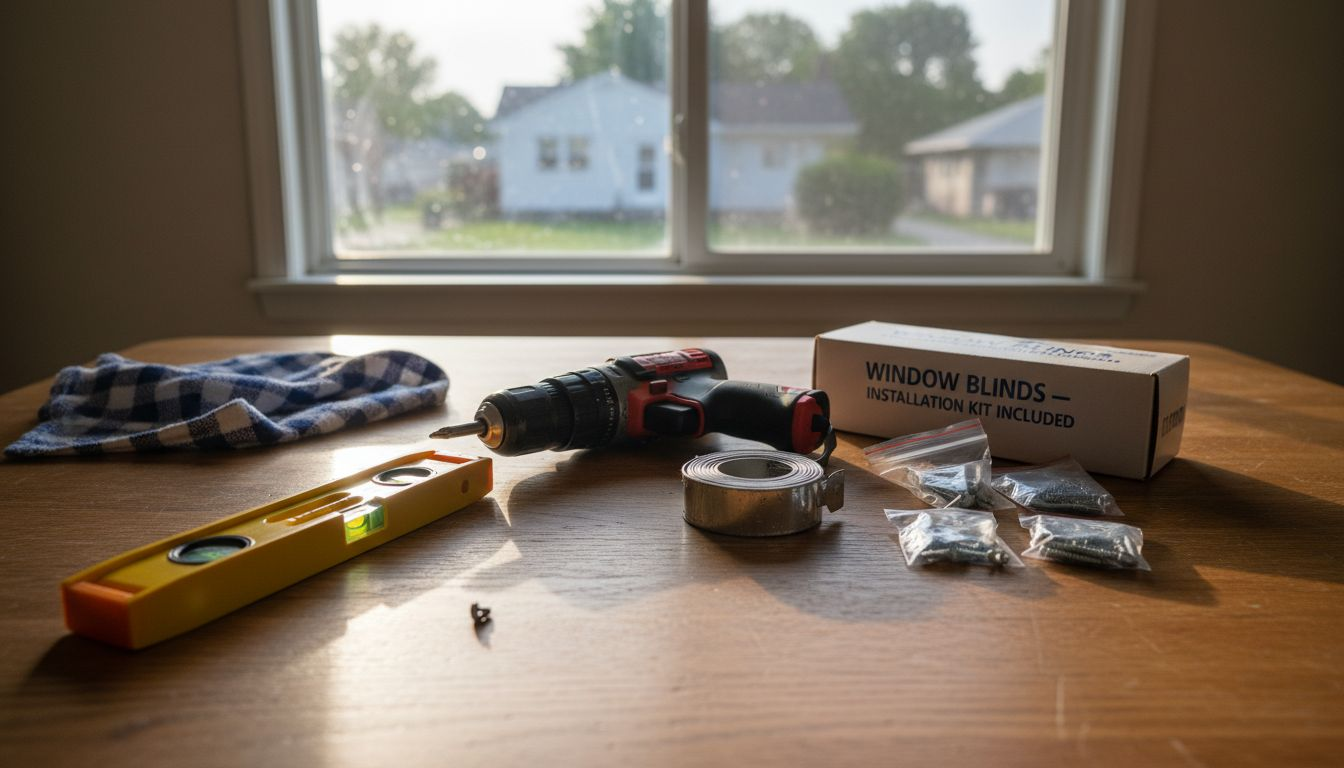
Preparing your workspace and collecting the right tools is essential for a smooth and successful blind installation process. Taking time to organize your materials will save you frustration and ensure a professional result.
Your basic toolkit should include a metal measuring tape, pencil, level, stepladder, drill, drill bits, mounting brackets, screwdriver, and safety glasses. Clear the area around your windows completely to create an unobstructed workspace. Remove any existing window treatments, furniture, or decorative items that might interfere with your installation process.
Consider the surface you will be mounting your blinds on: wood trim, drywall, or metal window frames each require different preparation and potentially specialized tools. Ensure you have the appropriate anchors or mounting hardware for your specific window type. Create a clean, well-lit workspace with a stable surface to lay out your tools and blinds, and have a helper available if possible to make the installation smoother and more efficient.
Pro Tip: Organize your tools and materials before starting and wear safety glasses to protect your eyes during drilling and installation.
Step 4: Install Blinds Securely Using the Provided Hardware
Man installing blind bracket in window frame with screwdriver
Installing window blinds requires precision and careful attention to detail to ensure a stable and professional looking result. Your goal is to mount the brackets securely and align the blinds perfectly for smooth operation and an appealing finish.
Blind installation techniques recommend starting by carefully marking your bracket positions using a level to guarantee straight alignment. Drill pilot holes before inserting screws to prevent surface damage and ensure easier installation. Choose screws that match your wall surface, since wood requires different anchoring compared to drywall or masonry. When attaching mounting brackets, apply consistent pressure and confirm each bracket is level and firmly secured.
Slide the headrail into the mounted brackets following the manufacturer's specific instructions. Some blinds require a slight angle or specific technique to lock into place. Double check that the blinds move smoothly and are level after installation. If you prefer to avoid drilling entirely, no-drill brackets and tension mounting provide reliable alternative solutions.
Pro Tip: Always keep the installation manual nearby and test blind movement before fully tightening all screws to allow minor adjustments.
Step 5: Verify Proper Alignment and Test Blind Functionality
After installation, carefully checking your blinds ensures they operate smoothly and look professionally mounted. A thorough functionality test will help you catch and address any potential issues immediately.
Window blind installation techniques recommend systematically verifying several key aspects of your new blinds. Start by visually inspecting the headrail and brackets to confirm they are perfectly level and evenly positioned. Operate the blinds using their control mechanism, lift cords or control wand, and observe their movement. Check that they raise, lower, and tilt without catching, binding, or showing uneven resistance.
Troubleshooting blinds becomes easier when you identify issues early. If you notice any slight misalignment, gently adjust the brackets or headrail positioning. Pay attention to how the slats or fabric hang, and make sure they fall uniformly and create a clean, consistent appearance. Minor adjustments during this initial test can prevent long term operational problems and ensure your blinds look and function perfectly.
Pro Tip: Test your blinds multiple times under different lighting conditions to ensure consistent performance and identify any subtle alignment issues.
Discover Easy to Install Blinds Tailored for Your Home
Struggling with tricky window measurements or searching for custom blinds that balance style and energy efficiency? This step-by-step guide highlights common challenges such as precise measuring and choosing the right blinds for temperature control and privacy. At Value Blinds, we understand your need for quality, easy-to-install window treatments that fit perfectly and enhance your living space.
Explore our wide selection of energy-efficient options including cellular shades , motorized custom blinds , and no drill shades designed for effortless installation. Ready to transform your home with minimal hassle? Visit Value Blinds today to order free swatches, access expert measurement guides, and enjoy fast shipping on blinds that truly fit your windows and your lifestyle.
Transform Your Space with Easy to Install Custom Window Coverings
Choosing the right window treatments is about more than style. It’s about solving common challenges like perfect measurements, simple installation, and lasting durability. If you want customized blinds and shades that provide excellent light control, privacy, and easy setup, Value Blinds has you covered. Our extensive catalog includes user-friendly options such as roller shades, cellular shades, and roman shades designed to match your unique space with effortless installation.

Explore our selection of New Arrivals for the latest easy-to-install designs and take advantage of expert resources made to simplify every step from measuring to mounting. Feel confident knowing you are backed by our quality standards, free swatches, and dedicated customer support. It’s time to upgrade your home with custom window solutions that combine style, function, and convenience. Visit Value Blinds now to start your seamless window covering journey and experience the difference immediate customization can make.
Frequently Asked Questions
How do I measure my windows for the perfect fit of easy to install blinds?
To measure your windows accurately for easy to install blinds, measure the width at three points: the top, middle, and bottom, and use the narrowest measurement. For height, measure at three different points as well, and use the longest measurement to ensure a perfect fit.
What tools do I need to install blinds securely?
You will need a metal measuring tape, pencil, level, stepladder, drill, drill bits, mounting brackets, screwdriver, and safety glasses. Gather these tools to prepare your workspace for a smooth installation process.
How can I ensure my blinds are installed correctly?
Start by marking your bracket positions carefully using a level to guarantee straight alignment before drilling pilot holes. After installation, test the blinds' movement and adjust as necessary to confirm that they are level and function smoothly.
What are the benefits of different types of blinds?
Different types of blinds offer unique advantages; for example, cellular shades provide superior insulation, whereas horizontal blinds allow flexible light control. Assess your needs for energy efficiency, light control, and aesthetics to choose the best option for your space.
How can I improve energy efficiency with window blinds?
To enhance energy efficiency, select window blinds that suit your specific needs, like cellular shades for insulation or horizontal blinds for solar heat gain control. Properly measuring and installing the blinds can minimize air leakage and help maintain your desired indoor temperature.
What should I do if my newly installed blinds do not function properly?
If your blinds are not functioning smoothly, check for misalignment in the headrail and brackets, and adjust them as needed. Conduct thorough tests multiple times to ensure consistent performance and identify any subtle issues early.
How do I cover windows without drilling?
Tension mounted shades brace inside the recess with spring pressure and fix nothing to the frame. No tool clip brackets grip the frame or sash and hold the headrail without a screw. Adhesive and peel and stick coverings bond to the frame face and suit light shades in shallow openings. Tension and clip mounts remove the most cleanly, which matters in a rental.
Are window coverings renter friendly?
Many are. Choose the mounting method before the covering, and favor tension or clip mounted products over adhesive, because adhesive removes least predictably from painted trim. Check the lease for a clause on fixtures and alterations, photograph the frame before mounting, and keep any covering the property came with so it can be put back at the end of the lease.