How to Install Window Shades: A Step-by-Step Guide
Measuring windows for shades might sound straightforward but most people are surprised to learn that even windows in the same room can differ by up to half an inch in width. That means one-size-fits-all just does not work. Getting your measurements and installation steps right is the secret to shades that look custom made and perform flawlessly.
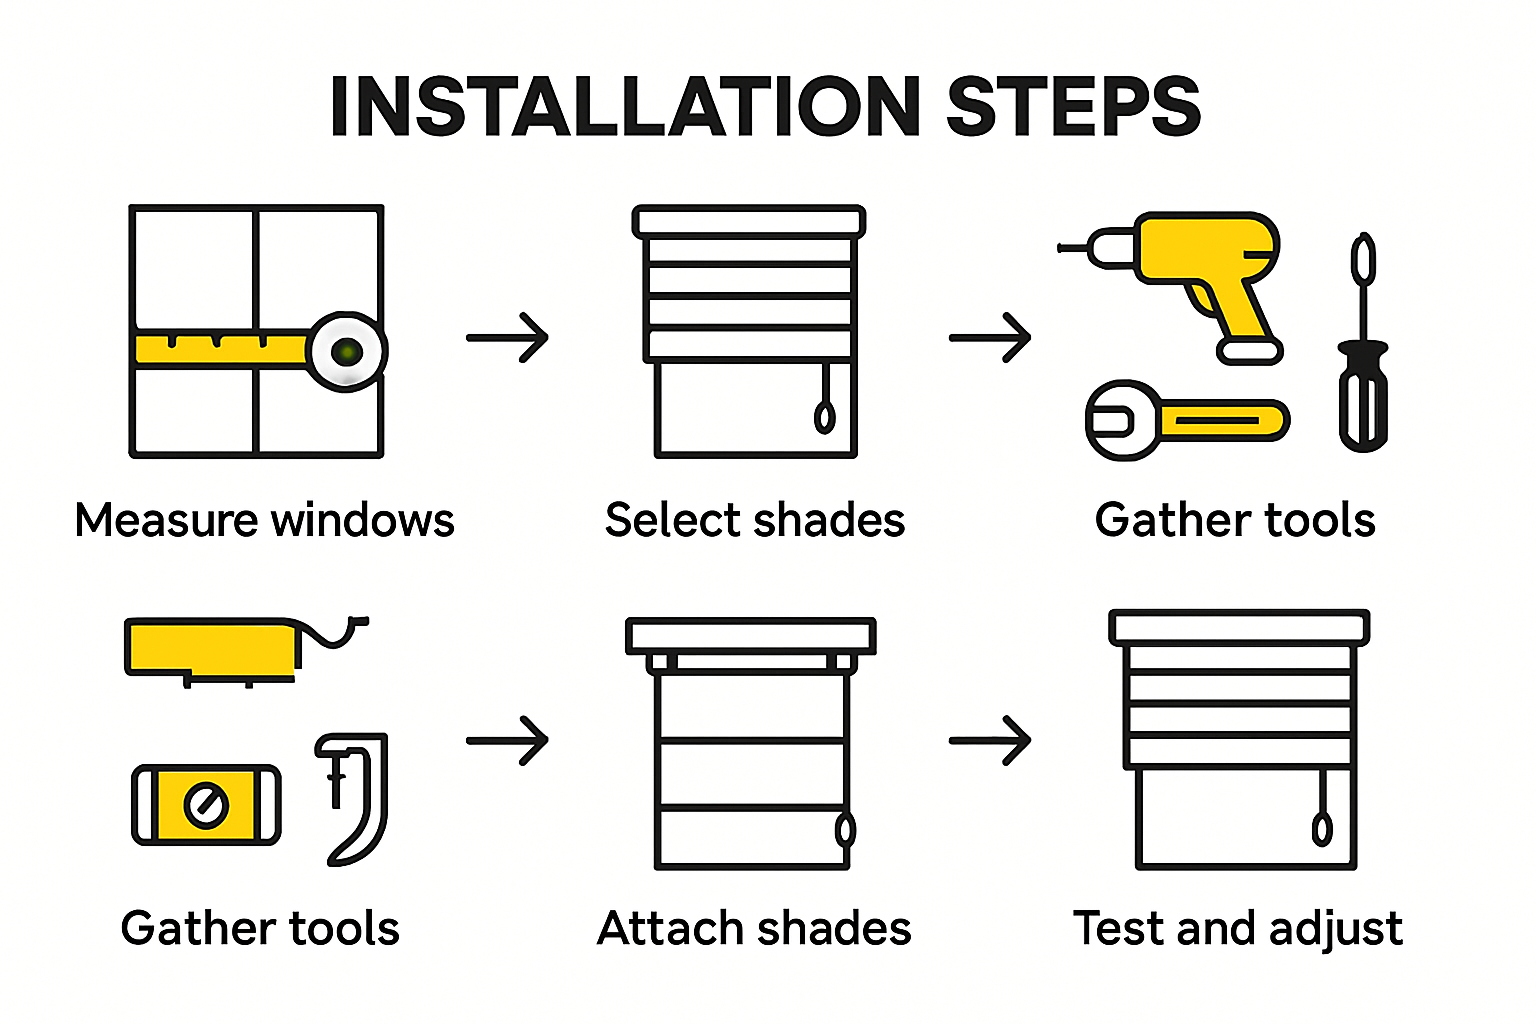
The following table summarizes the main steps for installing window shades, including each step’s goal and a brief outcome to help guide your installation process at a glance.
| Step | Goal | Outcome |
|---|---|---|
| 1. Measure Windows | Ensure shades fit properly | Accurate measurements for perfect fit |
| 2. Select Shades | Choose appropriate shades for the room | Shades match room needs and style |
| 3. Gather Tools | Prepare all necessary items | Smooth, uninterrupted installation |
| 4. Install Brackets | Securely mount support hardware | Strong foundation for shades |
| 5. Attach Shades | Properly secure shades to brackets | Reliable and smooth operation |
| 6. Test & Adjust | Verify and refine installation | Perfect function and appearance |
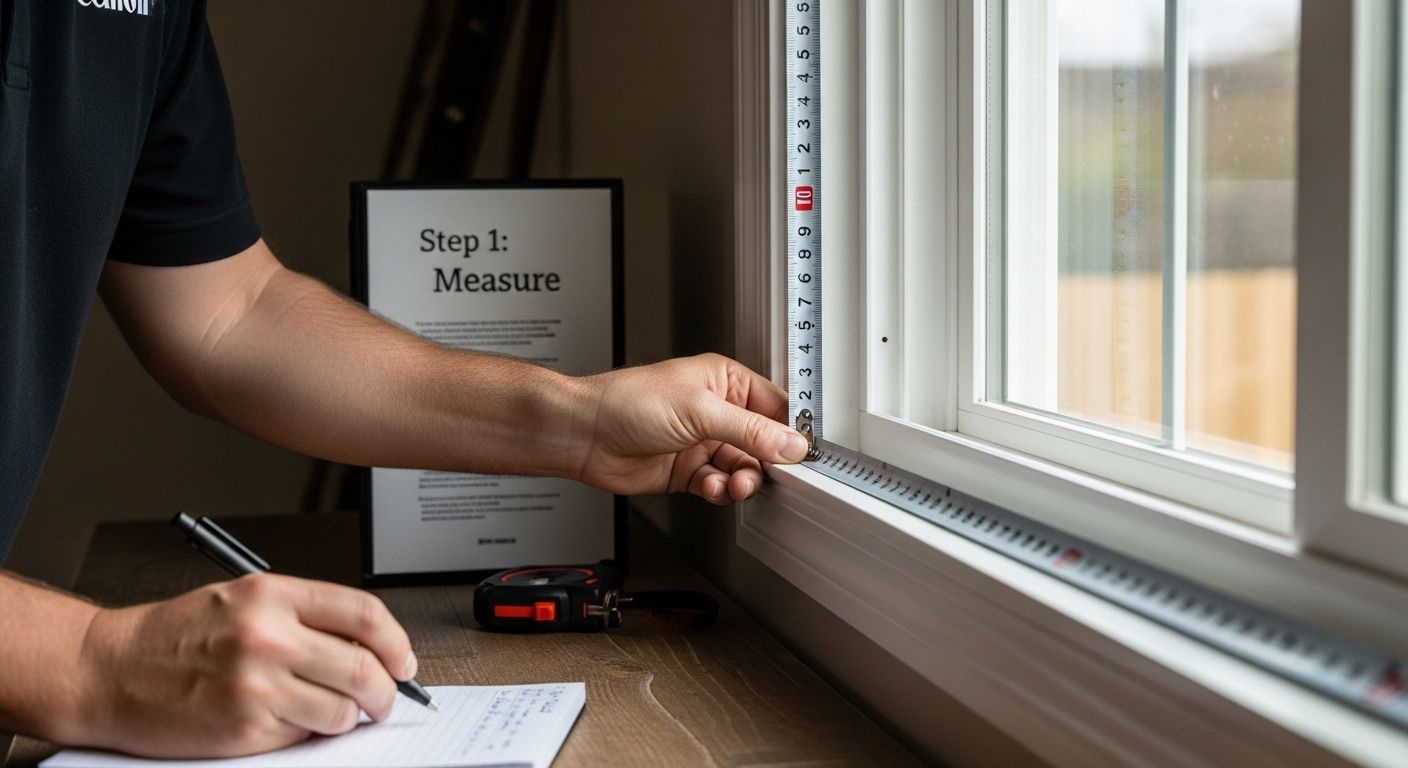
Table of Contents
- Step 1: Measure Your Windows Accurately
- Step 2: Select The Right Window Shades
- Step 3: Gather Necessary Tools And Materials
- Step 4: Install Mounting Brackets Securely
- Step 5: Attach The Window Shades Properly
- Step 6: Test And Adjust For Perfect Function
Quick Summary
| Key Point | Explanation |
|---|---|
| 1. Measure Windows Precisely | Accurate window measurements ensure your shades fit correctly and function properly. Always measure each window individually for best results. |
| 2. Choose Shades for Room Function | Select window shades based on the specific needs of each room. Consider factors like light control and privacy requirements for optimal performance. |
| 3. Gather Essential Tools | Prepare necessary tools such as a metal measuring tape, drill, and safety gear before starting the installation to ensure a smooth process. |
| 4. Securely Install Mounting Brackets | Proper installation of brackets provides a sturdy support structure for your shades. Mark points carefully and use appropriate anchors for the weight of your shades. |
| 5. Test for Smooth Operation | Once installed, test your shades multiple times for smooth operation and adjust as needed to eliminate any issues with movement or alignment. |
Step 1: Measure Your Windows Accurately
Accurate measurements are the foundation of a successful window shade installation. Getting this initial step right ensures your new window treatments will fit perfectly, look professional, and function smoothly. Before you grab any tools, understand that precision matters more than speed.
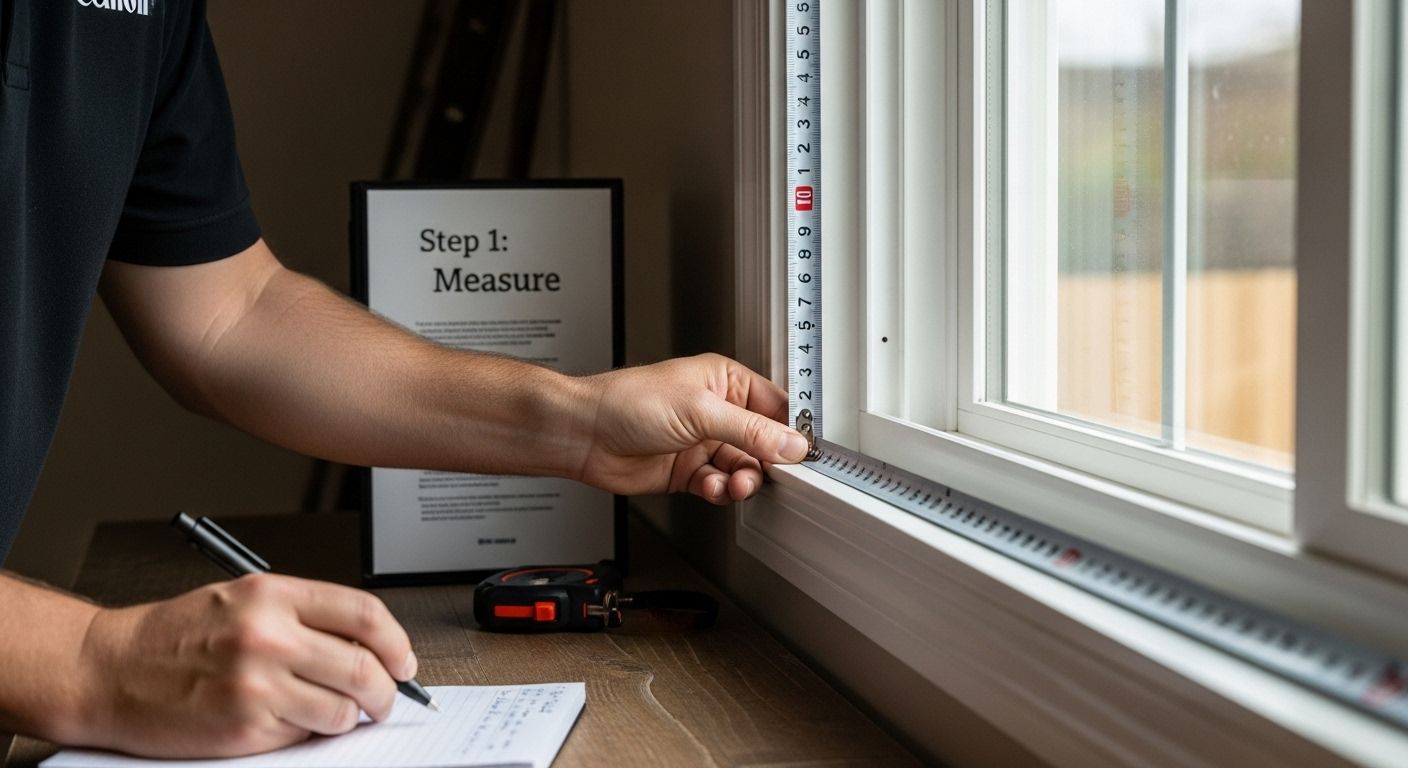
To begin your measurement process, you’ll need a few essential tools: a metal measuring tape (fabric tapes can stretch), a pencil, paper, and potentially a step ladder for hard-to-reach windows. Always measure each window individually, even if they appear identical, as architectural variations can create subtle differences.
Start by determining whether you want an inside mount or outside mount for your window shades. Inside mount means the shade will sit within the window frame, creating a clean, built-in look. Outside mount involves installing the shade above and beyond the window frame, which can make windows appear larger and cover potential imperfections in window frames.
For inside mount measurements, measure the width at the top, middle, and bottom of the window opening. Record the narrowest measurement to ensure your shade will fit. Measure the height on the left, center, and right sides, again using the shortest measurement. Add a small clearance of about 1/4 inch to prevent rubbing against the window frame.
Outside mount requires a different approach. Measure the width by determining how far beyond the window frame you want the shade to extend typically 2-3 inches on each side. For height, measure from where you want the top of the shade to sit down to your desired endpoint. Learn more about precise measurement techniques with our comprehensive guide on measuring windows.
Critical verification steps include:
- Measurements are recorded in inches
- You’ve measured three points for both width and height
- You’ve decided on inside or outside mount
- You’ve accounted for potential frame irregularities
By meticulously measuring your windows, you’re setting the stage for a smooth installation process and ensuring your new window shades will look and perform exactly as you envision.
Step 2: Select the Right Window Shades
Choosing the perfect window shades involves more than just aesthetic preferences. This critical step requires thoughtful consideration of functionality, room characteristics, and your specific lifestyle needs. Understanding the nuanced world of window treatments will help you make an informed decision that balances style, comfort, and practicality.
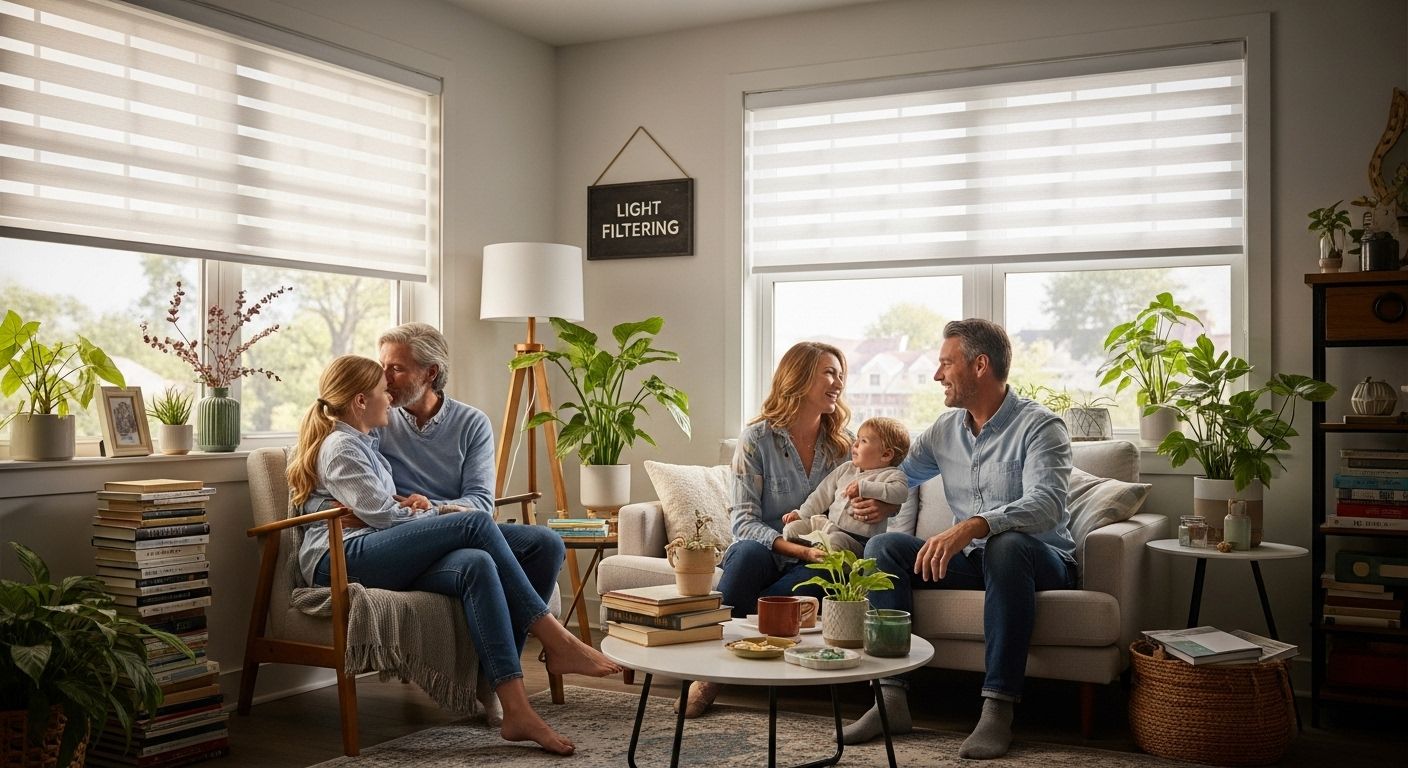
Begin by evaluating the specific requirements of each room. A bedroom might demand blackout shades for optimal sleep conditions, while a home office could benefit from light-filtering options that reduce glare on computer screens. Living areas typically require versatile solutions that provide privacy without completely blocking natural light. Consider factors like sunlight exposure, window orientation, and the room’s primary function when making your selection.
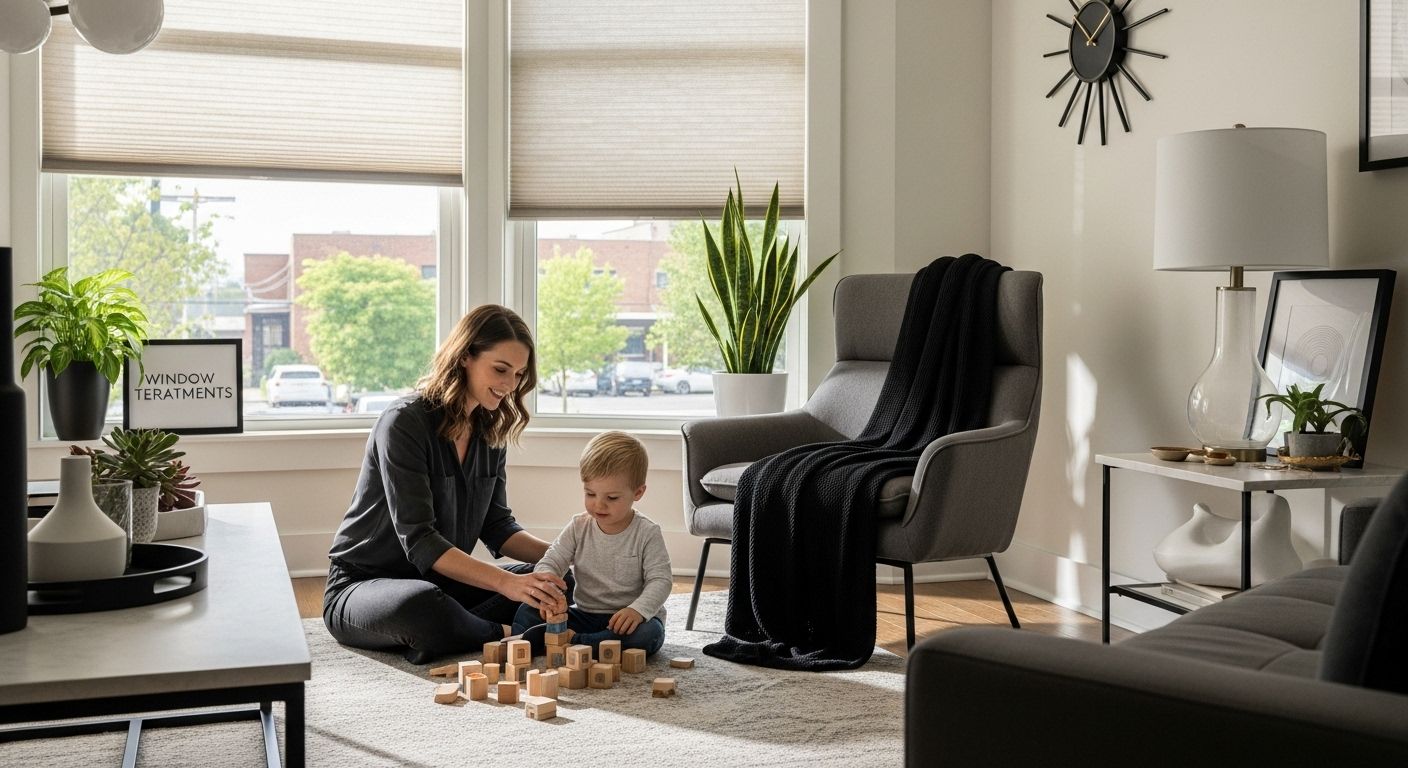
Material selection plays a crucial role in your window shade performance. Fabric shades offer soft textures and varied light control, while cellular shades provide exceptional energy efficiency by creating an insulating air pocket. Wooden and bamboo options introduce natural warmth and can complement various interior design styles. Explore our comprehensive guide to understanding different window shade styles for deeper insights into material characteristics.
Practical considerations extend beyond appearance. Motorized shades offer convenience for hard-to-reach windows or for individuals with mobility challenges. Cordless designs provide enhanced safety for homes with children and pets. Consider additional features like UV protection, thermal insulation, and noise reduction when evaluating your options.
Key verification points for selecting window shades include:
- Matches room’s functional requirements
- Complements existing interior design
- Provides desired level of light control
- Fits within your budget
- Meets safety and energy efficiency standards
By carefully analyzing these factors, you’ll select window shades that not only look stunning but also enhance your living space’s comfort and functionality.
Step 3: Gather Necessary Tools and Materials
Preparation is the key to a smooth window shade installation. Before diving into the actual mounting process, assembling the right tools and materials will save you time, frustration, and potential errors. Think of this step as setting the stage for a successful home improvement project.
Your primary toolkit should include several precision instruments. A metal measuring tape remains essential, providing more accuracy than flexible fabric alternatives. You’ll want a quality electric drill with variable speed settings, along with drill bits that match your mounting surface. Phillips and flathead screwdrivers are crucial for securing brackets and making minor adjustments. A reliable level ensures your shades will hang straight, preventing future visual annoyances and potential functional issues.
Protective gear matters as much as your installation tools. Safety glasses shield your eyes from potential debris, while work gloves protect your hands during drilling and handling. A sturdy step ladder becomes indispensable for reaching higher windows, ensuring stability and preventing potential accidents. Consider having a friend nearby to stabilize the ladder and assist with complex installations.
Materials specific to your window shade installation will vary depending on your chosen product. Check out our comprehensive installation resources for specific material requirements. Typical materials include mounting brackets, screws, wall anchors for drywall or plaster surfaces, and potentially additional support hardware. Some shade systems might require specialized mounting plates or tension mechanisms.
Additional recommended items include:
- Pencil for marking precise mounting points
- Stud finder for locating secure mounting locations
- Tape measure for double-checking dimensions
- Clean cloth for wiping installation area
- Small level for ensuring perfect horizontal alignment
Before proceeding, verify your toolkit by laying out all necessary items. A well-organized workspace prevents interruptions and reduces the likelihood of forgotten tools or materials. Your meticulous preparation now will translate directly into a professional-looking window shade installation.
Here’s a quick reference table of common tools and materials needed for window shade installation, along with their purpose and when they are especially useful.
| Tool/Material | Purpose | Notes |
|---|---|---|
| Metal measuring tape | Accurate window measurement | Prevents stretching and errors |
| Electric drill & drill bits | Create pilot holes / drive screws | Use correct bit for wall type |
| Phillips/Flathead screwdrivers | Fasten screws and adjust hardware | For securing brackets |
| Level | Ensure horizontal alignment | Prevents slanted shades |
| Step ladder | Access high windows | Adds safety and stability |
| Safety glasses & gloves | Protect from debris and injury | Especially during drilling |
| Mounting brackets, screws, anchors | Secure the shades to wall/frame | Anchors needed for drywall |
| Pencil | Mark drill or bracket locations | For precision placements |
Step 4: Install Mounting Brackets Securely
Installing mounting brackets represents the critical structural foundation for your window shades. This step requires precision, patience, and careful attention to detail to ensure your window treatments will hang correctly and remain secure for years to come. The goal is to create a rock-solid mounting surface that can support the weight of your chosen shades without compromising your window frame or wall integrity.
Begin by carefully marking your mounting points using the level and pencil. Precise measurements matter immensely here. If you’re installing an inside mount, you’ll want to mark points directly inside the window frame, typically about 2 inches from each side. For outside mounts, measure and mark points slightly wider than the window frame, ensuring symmetry and allowing sufficient overlap for proper light blocking.
Before drilling, use your stud finder to identify wall studs or solid mounting surfaces. When mounting into drywall, wall anchors become essential. Select anchors rated for the weight of your specific window shades, typically ranging from 25 to 50 pounds depending on the material and size. Plastic drywall anchors work for lighter shades, while metal toggle bolts provide superior support for heavier treatments.
Drilling requires a steady hand and calculated approach. Start with a pilot hole slightly smaller than your mounting screws to prevent wall cracking. Hold your drill perpendicular to the wall, applying steady, moderate pressure. Explore our professional installation tips for more detailed mounting techniques. When inserting screws, tighten gradually and evenly to prevent bracket warping or misalignment.
Critical verification points for bracket installation include:
- Brackets are level and symmetrically positioned
- Mounting surfaces can support shade weight
- Pilot holes are clean and precise
- Screws are fully seated but not over-tightened
- No visible wall damage or structural compromise
Remember that taking your time during this step prevents future frustrations. A meticulously installed bracket set transforms a potentially complex home improvement task into a smooth, achievable project.
Step 5: Attach the Window Shades Properly
Attaching window shades represents the culmination of your careful preparation, transforming measured plans and secured brackets into a functional home improvement project. This step requires a delicate balance of precision, patience, and mechanical understanding to ensure your shades operate smoothly and look professionally installed.
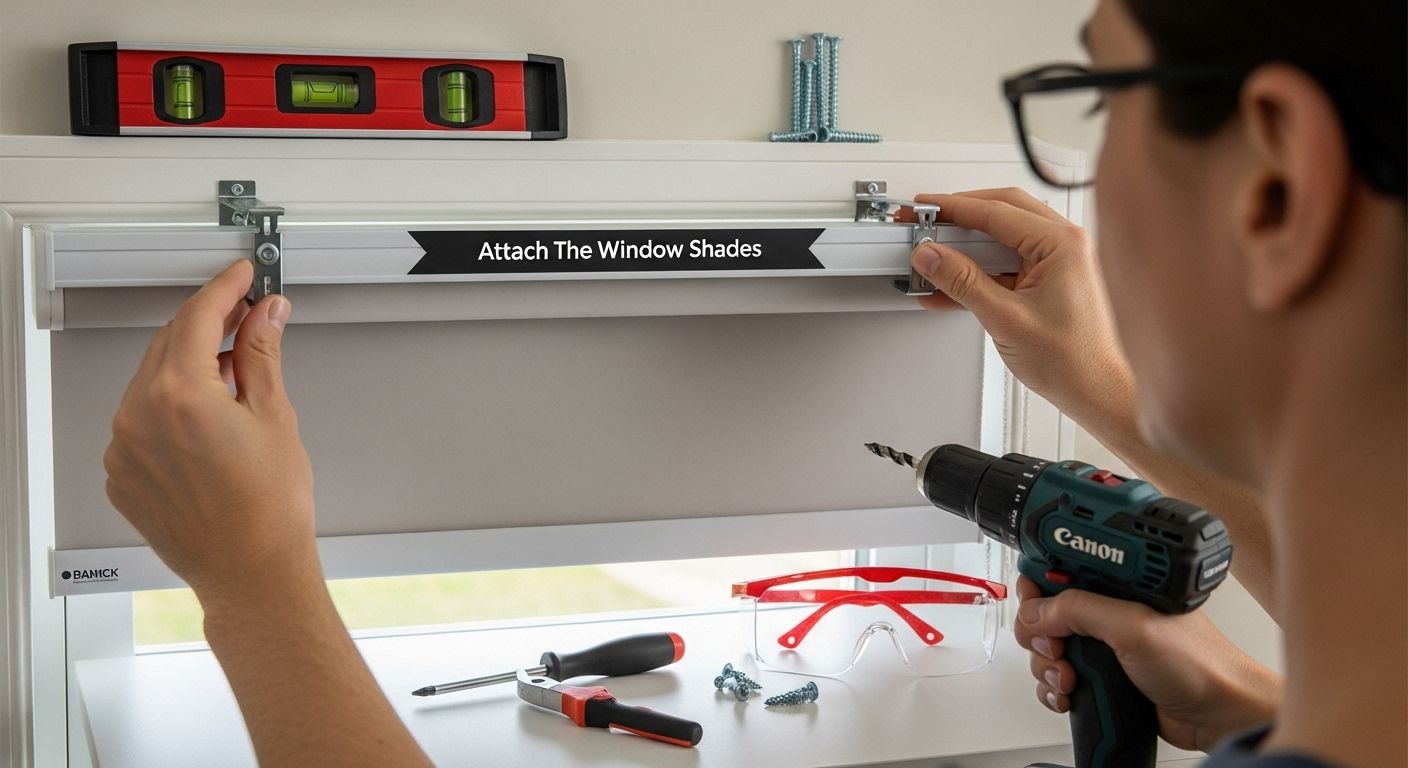
Begin by carefully reviewing the manufacturer’s specific installation instructions, as different shade styles may have unique attachment mechanisms. Motorized and cordless systems often require additional consideration compared to traditional manual shades. For most installations, you’ll need to align the shade’s mounting rail with the pre-installed brackets, typically using a sliding or clicking mechanism that secures the shade in place.
Pay close attention to the orientation of your shade. Many window treatments have a specific top and bottom, with mounting hardware designed to work in only one direction. Gently test the shade’s movement before fully securing it, ensuring it extends and retracts smoothly without catching or binding. Discover professional tips for seamless shade installation to avoid common pitfalls that can compromise your window treatment’s performance.
If you’re installing cellular or roller shades, you might encounter slightly different attachment methods. Cellular shades often use spring-loaded brackets that require careful alignment, while roller shades might use end caps that slide directly into mounted brackets. Gentle but firm pressure is key when attaching these components. Avoid forcing any part of the mechanism, as this could damage delicate mounting points or the shade itself.
Critical verification points for shade attachment include:
- Shade moves up and down smoothly
- No visible gaps between shade and mounting brackets
- Shade remains level when fully extended
- All attachment points are secure
- No unusual sounds or resistance during operation
Take a moment to step back and visually inspect your work. A perfectly attached window shade should look seamless, operate silently, and enhance both the functionality and aesthetic of your living space.
Step 6: Test and Adjust for Perfect Function
Testing and fine-tuning your newly installed window shades is the final critical step that transforms a good installation into a great one. This phase ensures your shades not only look professional but function flawlessly, providing the precise light control and aesthetic you envisioned during your initial planning.
Begin by conducting a comprehensive operational test through multiple complete raise and lower cycles. Smooth, consistent movement is your primary indicator of a successful installation. Pay close attention to any unusual sounds, jerky motions, or resistance during operation. Motorized shades should move with quiet precision, while manual shades should glide effortlessly without catching or binding. If you encounter any irregularities, slight bracket adjustments might be necessary to ensure perfect alignment.
Light gaps and alignment become crucial aesthetic and functional considerations. Stand back and observe how the shades sit when fully extended. Perfectly installed shades should create a uniform appearance, with minimal spaces between the shade and window frame. For inside mounts, check that the shade sits squarely within the window frame without tilting or leaving uneven spaces. Outside mounts should extend uniformly, providing clean coverage that enhances your room’s overall design.
Explore our professional troubleshooting guide for common window shade installation challenges to address any minor issues you might encounter. Temperature and humidity can occasionally impact shade performance, so test your installation under different environmental conditions to ensure consistent functionality.
Critical verification points for shade performance include:
- Shade moves up and down smoothly without resistance
- No visible light gaps or misalignment
- Consistent operation across multiple test cycles
- Proper tension and weight distribution
- No unusual sounds during movement
Remember that minor adjustments are normal and expected. Patience during this final testing phase ensures you’ll enjoy perfectly functioning window shades that not only look professional but provide the exact light control and aesthetic you desire for your living space.
The following checklist table compiles all essential verification points for each key step in the installation to help you track quality and thoroughness at every stage.
| Step | Checklist for Completion |
|---|---|
| Measuring | Window measured at three points for width and height |
| Measuring | Mount type (inside/outside) chosen and recorded |
| Measuring | Frame irregularities accounted for |
| Selecting Shades | Room function and decor considered |
| Selecting Shades | Desired light control and safety features checked |
| Installing Brackets | Brackets are level and symmetrically placed |
| Installing Brackets | Pilot holes drilled; proper anchors used |
| Attaching Shades | Smooth, level shade movement verified |
| Attaching Shades | All attachment points fully secure |
| Testing & Adjusting | No light gaps, misalignment or resistance present |
Upgrade Your Window Shade Installation with Value Blinds Solutions
Struggling with tricky measurements or unsure if you are choosing the right product for your space? If this step-by-step guide left you wanting even more confidence before installation, Value Blinds can turn those DIY hurdles into smooth, satisfying wins. Our Best Sellers collection showcases proven favorites, making it easy to pick shades that balance quality, function, and style for any room. Get peace of mind by selecting from products designed for easy installation and maximum impact.

Bring your vision to life with custom window treatments that fit perfectly and operate flawlessly. Experience our free measurement guides, expert support, and versatile selection all in one place. Get started now at Value Blinds and step into a home transformation that is truly effortless.
Frequently Asked Questions
How do I measure my windows for window shades?
To measure your windows accurately, use a metal measuring tape and measure the width at the top, middle, and bottom of the window. Record the narrowest measurement. For height, measure the left, center, and right sides, again using the shortest measurement. If you’re mounting inside the window frame, add about 1/4 inch for clearance. For outside mount, determine how far beyond the window frame you want the shade to extend, typically 2-3 inches on each side.
What is the difference between inside mount and outside mount for window shades?
An inside mount means the shade sits within the window frame, providing a clean, built-in look. An outside mount involves installing the shade above and beyond the window frame, which can create the illusion of larger windows and cover potential frame imperfections.
How do I choose the right type of window shades for my room?
Consider the specific needs of each room. For example, bedrooms may require blackout shades for sleep, while home offices might benefit from light-filtering shades to reduce glare. Also, factor in the material and features that suit your lifestyle and decor, such as energy efficiency, safety for children, and ease of operation like motorized options.
What tools do I need for installing window shades?
You’ll need a metal measuring tape, electric drill with appropriate drill bits, Phillips and flathead screwdrivers, a level, safety glasses, work gloves, and a step ladder. Depending on the type of shades, you may also need mounting brackets, screws, and wall anchors for secure installation.


