

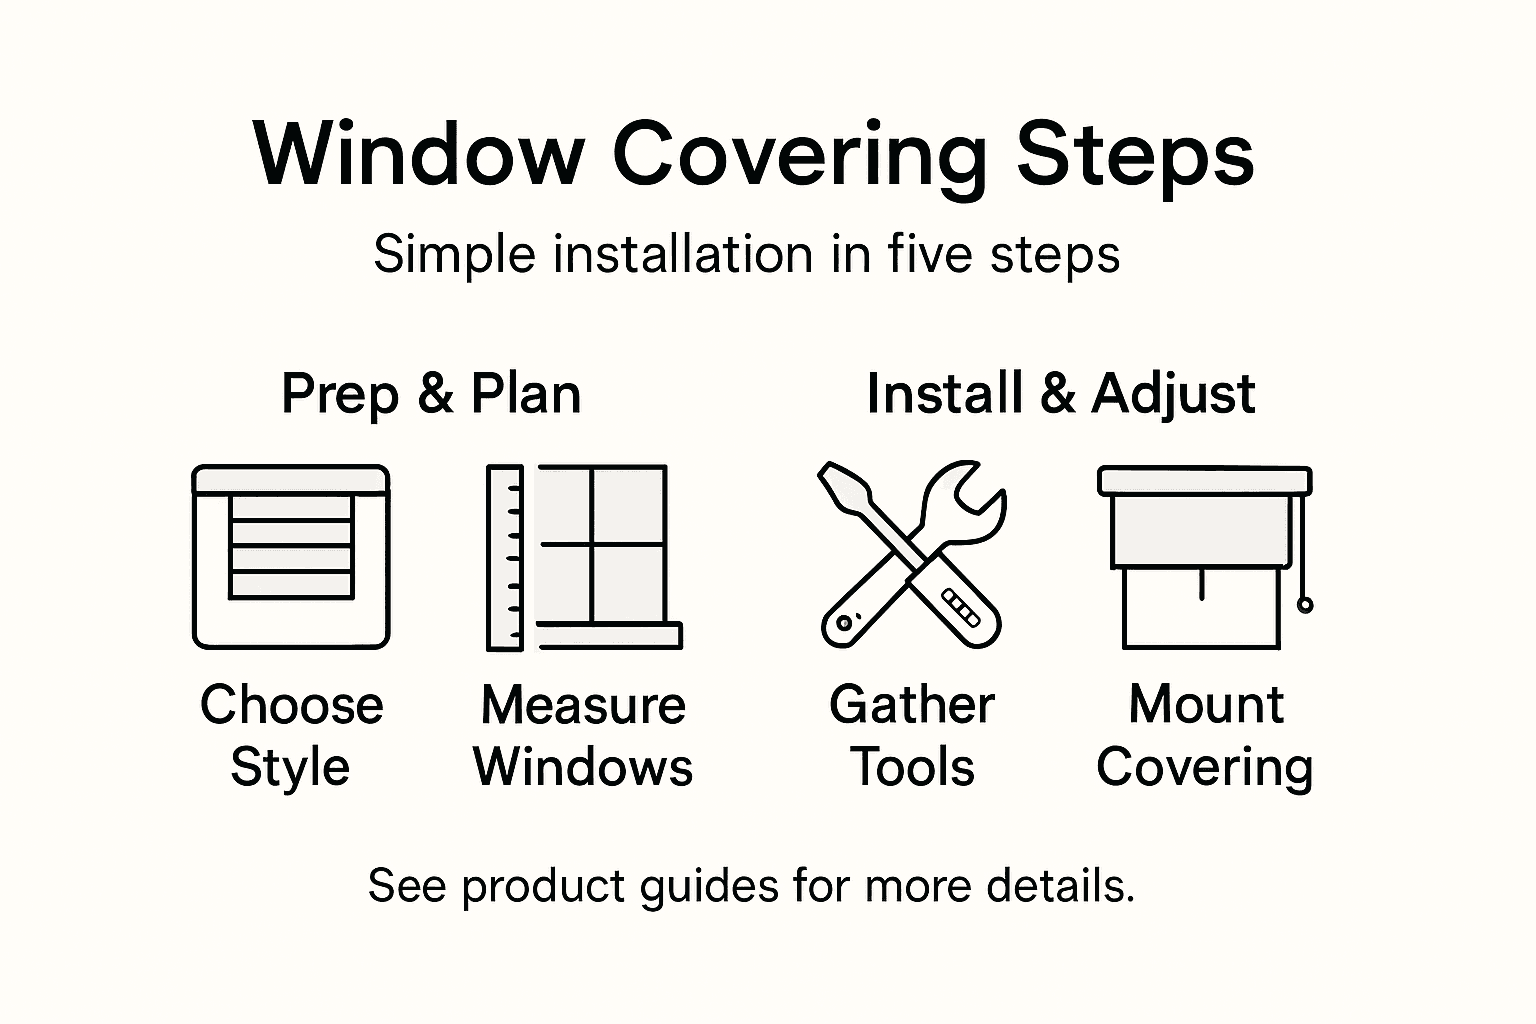
Easy to Install Window Coverings: Step-by-Step Guide
Choosing window coverings can feel overwhelming when you want both style and simplicity for your home. For homeowners looking to boost comfort and save energy, finding solutions that fit your specific space and install with ease makes a noticeable difference. This guide shares clear steps for picking the right treatments, measuring accurately, prepping your space, and making installation a breeze, helping you enjoy both custom looks and effortless operation in any room.
Table of Contents
- Step 1: Choose The Right Easy To Install Window Coverings
- Step 2: Measure Windows Accurately With Provided Guides
- Step 3: Prepare Surfaces And Gather Necessary Tools
- Step 4: Install Window Coverings According To Instructions
- Step 5: Test Fittings And Make Adjustments For Best Results
Quick Summary
| Key Point | Explanation |
|---|---|
| 1. Choose user-friendly coverings | Focus on window treatments with simple installation mechanisms, like clip-in brackets or peel-and-stick options, for an effortless setup. |
| 2. Measure accurately for best fit | Take precise measurements of width and height at different points to ensure your window coverings fit perfectly. |
| 3. Prepare installation surfaces | Clean and inspect the window frame before starting installation to ensure a smooth, secure attachment of coverings. |
| 4. Follow manufacturer instructions closely | Adhere to the specific installation guidelines provided with your window treatments to achieve a professional appearance. |
| 5. Test and adjust the installation | After installation, test for smooth operation and make adjustments to ensure the window coverings function correctly. |
Step 1: Choose the right easy to install window coverings
Selecting the perfect window coverings can transform your home’s aesthetic and functionality with minimal effort. Your goal is to find treatments that not only look great but also install quickly and easily, matching your specific room requirements.
When choosing window coverings, start by evaluating your primary needs. Window covering selection involves understanding room-specific factors like light control, privacy, and design style. Consider these key criteria:
- Room function: Bedrooms need blackout options, while living rooms might prefer light-filtering treatments
- Window size and shape: Measure precisely to ensure proper fit
- Mounting options: Look for treatments with simple bracket systems
- Material durability: Select fabrics and materials suitable for the room’s humidity and usage
Focus on window coverings with straightforward installation mechanisms like clip-in brackets, tension rod systems, or peel-and-stick options. Roller shades, cellular shades, and simple roman shades typically offer the most user-friendly installation processes.
Here’s a quick comparison of common easy-to-install window covering types and their benefits:
| Window Covering Type | Installation Ease | Ideal Room Use |
|---|---|---|
| Roller Shades | Very easy | Living room, bedroom |
| Cellular Shades | Easy | Bedroom, office |
| Roman Shades | Easy | Dining room, living room |
| Tension Rod Curtains | Extremely easy | Kitchens, rentals |
| Peel-and-Stick Blinds | Easiest | Dorms, temporary settings |
Tip: Choose window coverings that require minimal tools and can be installed in under 30 minutes for true ease of use.
Pro tip: Always order free swatches before purchasing to ensure color, texture, and light-filtering capabilities match your specific room requirements.
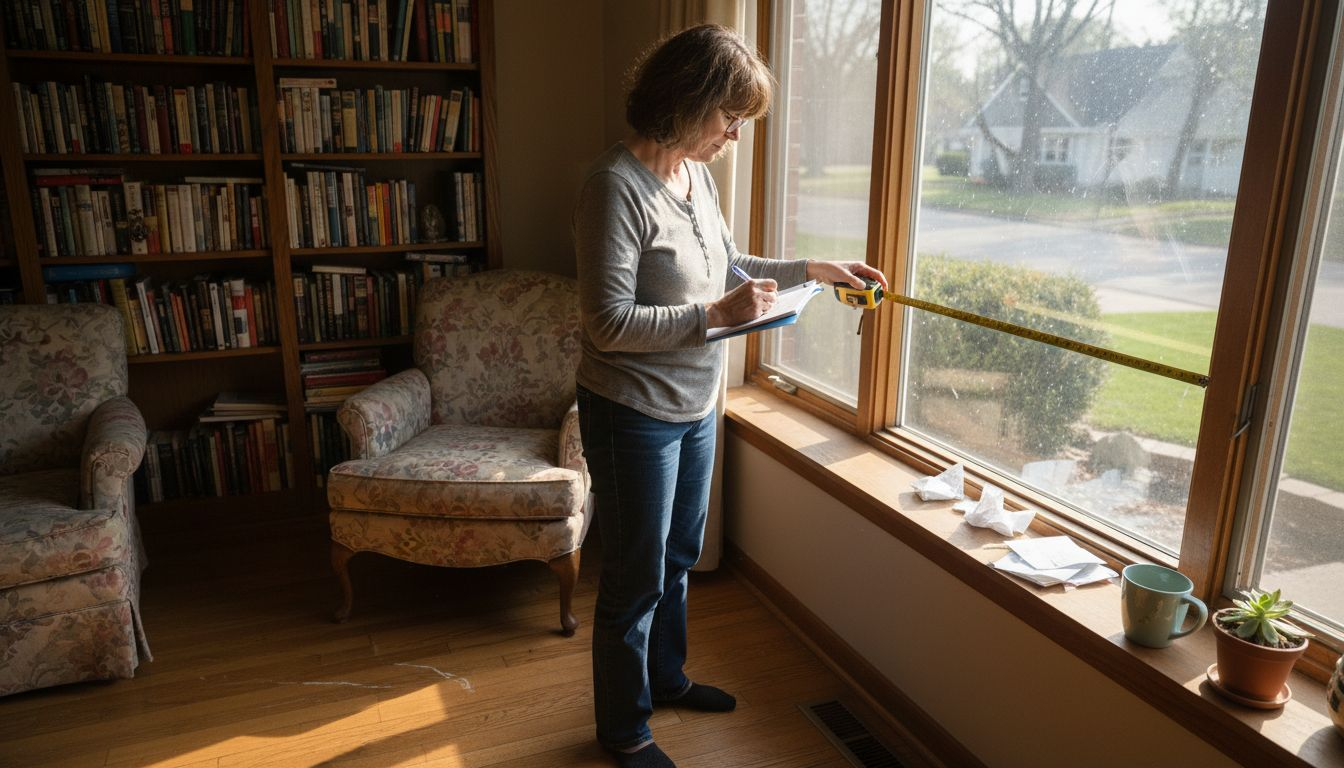
Step 2: Measure windows accurately with provided guides
Accurately measuring your windows is crucial for ensuring a perfect fit with your new window coverings. Getting precise measurements will save you time, money, and frustration during installation.
Precise window measurements are essential for optimal coverage and achieving a professional look. To guarantee accuracy, you’ll need a few basic tools and a systematic approach:
- Metal measuring tape for precise measurements
- Pencil and notepad to record dimensions
- Ladder or step stool for hard-to-reach windows
- Measure width at three points: top, middle, and bottom of the window
- Measure height at three points: left side, center, and right side
- Record the smallest measurement for each dimension to ensure proper fit
When measuring, avoid common mistakes like measuring from existing hardware or not accounting for window frame variations. For inside mount treatments, measure the exact width and height of the window opening. For outside mount treatments, add 2-3 inches to each side to ensure complete coverage.
Here is a summary of inside mount vs. outside mount measurements to guide your selection:
| Mount Type | Measurement Focus | Coverage Result |
|---|---|---|
| Inside Mount | Exact window opening size | Clean, built-in look |
| Outside Mount | Window + 2-3 inches each side | Maximum light blockage |
Tip: Always measure twice and record carefully to prevent costly installation errors.
Pro tip: Use a digital laser measuring tool for even more precise and consistent window measurements.
Step 3: Prepare surfaces and gather necessary tools
Successful window covering installation starts with thorough preparation and having the right tools at your disposal. Gathering your equipment and preparing the installation area will make the entire process smoother and more efficient.
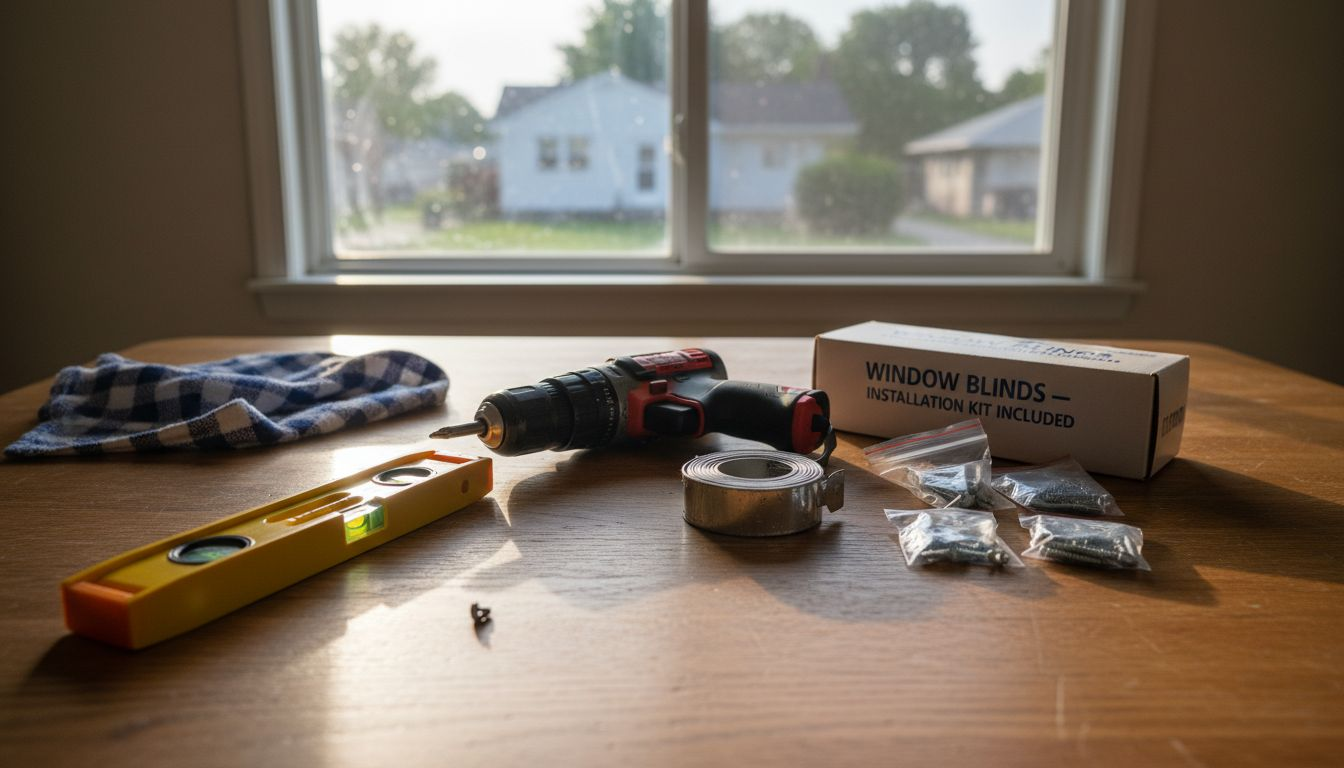
Essential window installation tools ensure professional results before you begin mounting your new window treatments. Here’s a comprehensive list of tools and preparation steps:
Essential Tools:
- Power drill with various drill bits
- Measuring tape for precision
- Level to ensure straight installation
- Pencil for marking mounting points
- Stud finder for secure anchoring
- Safety glasses and work gloves
Preparation Steps:
- Clean the window frame thoroughly
- Remove any existing hardware
- Inspect the surface for damage or irregularities
- Clear the area around the window
Before installation, check window frame integrity and repair any structural issues. Ensure the mounting surface is clean, dry, and free from dust, old paint, or debris that could interfere with secure attachment.
Tip: A well-prepared surface is the foundation of a perfect window covering installation.
Pro tip: Organize your tools on a nearby workspace before starting to minimize interruptions during the installation process.
Step 4: Install window coverings according to instructions
With your measurements taken and tools prepared, you’re now ready to install your new window coverings. Following the manufacturer’s instructions precisely will ensure a secure, professional-looking fit that enhances your home’s interior.
Window covering installation requires careful attention to detail and a methodical approach. Here’s a general installation guide that applies to most window treatments:
Installation Steps:
- Mark mounting bracket locations using your level and pencil
- Pre-drill pilot holes to prevent wood splitting
- Securely attach mounting brackets
- Test bracket stability before hanging the window covering
- Carefully snap or slide the window covering into the mounted brackets
- Double-check alignment before final installation
- Verify smooth operation of the window covering
- Test all mounting points for stability
If you encounter any challenges during installation, consult the specific manufacturer’s instructions included with your window coverings. Different styles like roller shades, cellular shades, or roman shades might have slight variations in their mounting process.
Tip: Take your time and follow each step carefully to avoid potential damage or improper installation.
Pro tip: Keep the instruction manual nearby during installation and work systematically to ensure a perfect mount.
Step 5: Test fittings and make adjustments for best results
After installing your window coverings, it’s crucial to conduct a thorough testing process to ensure perfect functionality and appearance. This final step will help you identify and resolve any potential issues before completing your installation.
Carefully test each component of your window covering, checking for smooth operation and proper alignment. Pay close attention to the following key aspects:
- Raising and lowering mechanism works smoothly
- Side rails or brackets are securely mounted
- Fabric or slat movement is unobstructed
- Cord alignment and tension are correct
If you notice any minor misalignments, most window coverings allow for slight adjustments:
- Check mounting bracket positioning
- Verify level and plumb installation
- Adjust tension mechanisms
- Realign side channels or guide wires
- Test multiple times to ensure consistent performance
Tip: Small adjustments can dramatically improve the overall performance and appearance of your window coverings.
Pro tip: Keep your installation tools nearby during the testing phase to make quick, precise adjustments as needed.
Transform Your Space with Easy to Install Custom Window Coverings
Choosing the right window treatments is about more than style. It’s about solving common challenges like perfect measurements, simple installation, and lasting durability. If you want customized blinds and shades that provide excellent light control, privacy, and easy setup, Value Blinds has you covered. Our extensive catalog includes user-friendly options such as roller shades, cellular shades, and roman shades designed to match your unique space with effortless installation.

Explore our selection of New Arrivals for the latest easy-to-install designs and take advantage of expert resources made to simplify every step — from measuring to mounting. Feel confident knowing you are backed by our quality standards, free swatches, and dedicated customer support. It’s time to upgrade your home with custom window solutions that combine style, function, and convenience. Visit Value Blinds now to start your seamless window covering journey and experience the difference immediate customization can make.
Frequently Asked Questions
What are the easiest types of window coverings to install?
Roller shades, cellular shades, and tension rod curtains are some of the easiest types to install. Choose options like clip-in brackets or peel-and-stick designs for a quick setup.
How do I measure my windows for new window coverings?
Measure the width and height at multiple points along the window frame to ensure accuracy. Record the smallest measurements to guarantee a perfect fit for your new window coverings.
What tools do I need for installing window coverings?
Essential tools include a power drill, measuring tape, level, and a stud finder. Gather these items beforehand to streamline the installation process and avoid unnecessary delays.
How do I ensure that my window coverings are installed straight?
Use a level to mark the mounting locations for your window coverings. After securing the brackets, double-check alignment and make adjustments as necessary to achieve a professional look.
What should I do if my window coverings have a misalignment after installation?
First, check the mounting bracket positioning and adjust as needed. Making small adjustments to the tension mechanisms and side channels will often resolve the issue and improve functionality.


