
How to Measure Windows for Perfect Custom Treatments

Measuring your windows for custom treatments can feel like a small detail, yet it holds huge impact. Most people reach for a cloth measuring tape and start jotting numbers, but slips as tiny as an eighth of an inch can lead to window blinds that just do not fit. One wrong move and you could join the over 40 percent of homeowners who order window coverings that need to be returned or altered. Find out how the pros make sure every measurement lines up perfectly every single time.
Table of Contents
- Step 1: Gather Your Tools and Materials
- Step 2: Determine Measurement Types for Your Windows
- Step 3: Measure Width and Height of Each Window
- Step 4: Record Measurements Precisely for Reference
- Step 5: Verify Measurements for Accuracy
Quick Summary
| Key Point | Explanation |
|---|---|
| 1. Assemble Accurate Measurement Tools | Use a steel tape measure and additional tools to ensure precise and reliable measurements for window treatments. |
| 2. Understand Inside vs. Outside Mounts | Choose the correct measurement approach based on window frame characteristics and desired aesthetics for optimal coverage. |
| 3. Measure Each Window Individually | Always measure width and height for each window separately, accounting for any irregularities to guarantee a perfect fit. |
| 4. Document Measurements Thoroughly | Create a comprehensive record that includes all dimensions, window types, and notes on any unique characteristics for reference. |
| 5. Verify Measurements for Precision | Cross-check each measurement multiple times to catch any errors and ensure your recorded dimensions are accurate for custom treatments. |
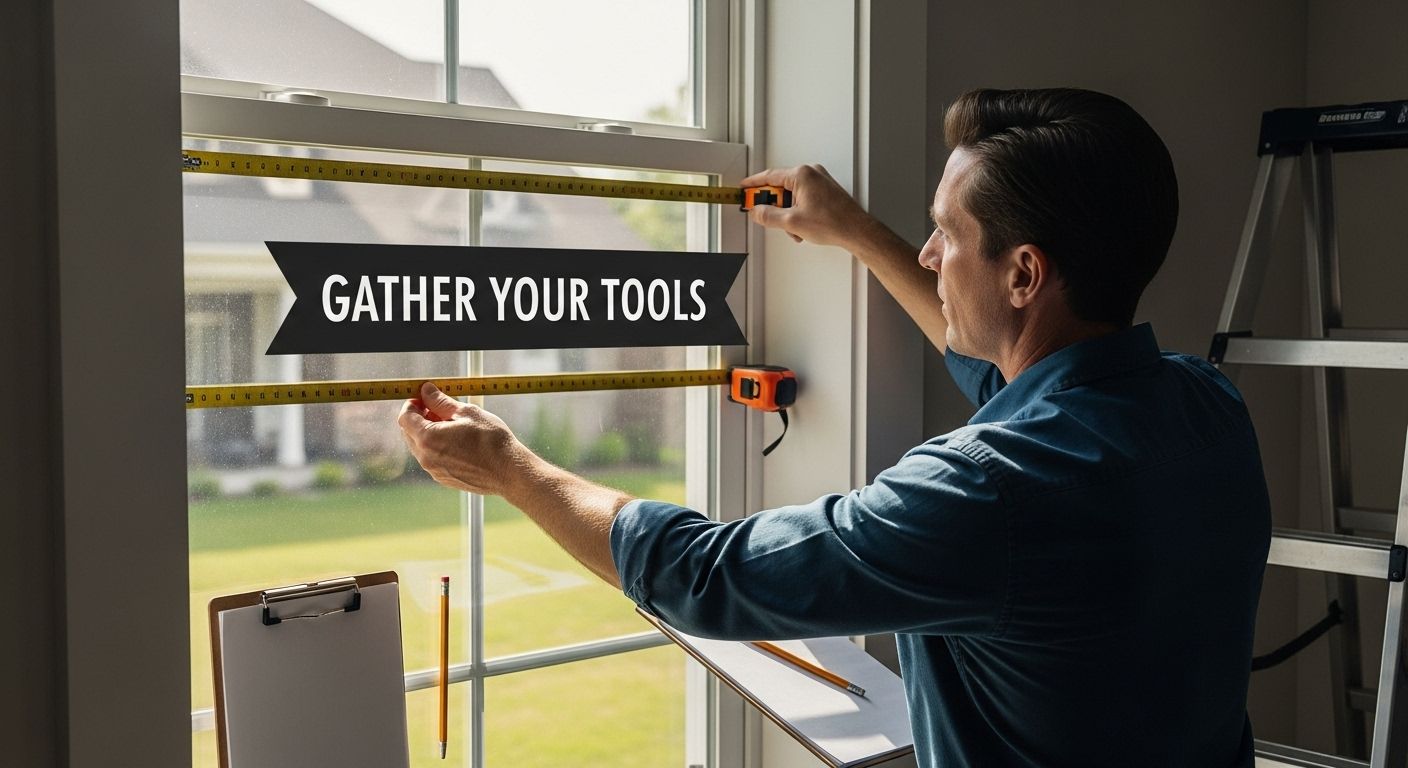
Step 1: Gather Your Tools and Materials
Successfully measuring windows for custom treatments starts with proper preparation and having the right tools at hand. Before diving into measurements, assembling a comprehensive toolkit will ensure accuracy and efficiency throughout the process.
Essential Tools for Window Measurement
Your window measurement toolkit should include several precise instruments that help capture exact dimensions. A steel tape measure is the most critical tool, offering reliable and straight measurements without stretching or bending like fabric tape measures. Select a tape measure that extends at least 25 feet and has clear, legible markings in both inches and fractions. Digital laser measuring devices can also provide exceptional precision for those wanting advanced technology.
Additionally, you will need a few supporting materials to record and verify your measurements:
- Clipboard or notebook for recording dimensions
- Pencil or permanent marker
- Sharp carpenter’s pencil for marking precise points
- Stepladder (if measuring tall or hard to reach windows)
- Smartphone or camera (optional for documenting measurements)
Before starting your measurements, clear the area around each window. Remove curtains, blinds, or any obstructions that might interfere with taking accurate readings. Ensure good lighting so you can clearly see measurement lines and markings.
Preparing your workspace is just as crucial as selecting the right tools. Work systematically by measuring one window at a time, double checking each dimension before moving to the next. Create a simple recording template beforehand where you can consistently log width, height, and depth measurements for each window.
Pro tip: Always measure in three locations for width and height windows to account for potential variations in wall construction or window frame irregularities. Measure at the top, middle, and bottom of the window, recording the smallest measurement to ensure a perfect custom fit for your window treatments.
By meticulously gathering your tools and setting up a structured approach, you set the foundation for precise window measurements that will translate directly into perfectly fitted custom window treatments.
Below is a quick-reference table summarizing the essential tools and materials needed for accurate window measurement, including their specific purpose or usage during the process.
| Tool / Material | Purpose / Usage |
|---|---|
| Steel tape measure | Provides precise, reliable measurements without stretching |
| Digital laser measuring tool | Delivers high-precision measurements with advanced technology |
| Clipboard or notebook | Records individual window dimensions for easy reference |
| Pencil or permanent marker | Marks precise points and notes measurements |
| Sharp carpenter’s pencil | Makes accurate, visible markings for alignment |
| Stepladder | Allows safe access to tall or hard-to-reach windows |
| Smartphone or camera | Documents windows and measurements visually (optional) |
Step 2: Determine Measurement Types for Your Windows
Understanding the different measurement approaches for window treatments is crucial for achieving a perfect fit. Not all windows are created equal, and selecting the right measurement method can dramatically impact the final look and functionality of your custom treatments.
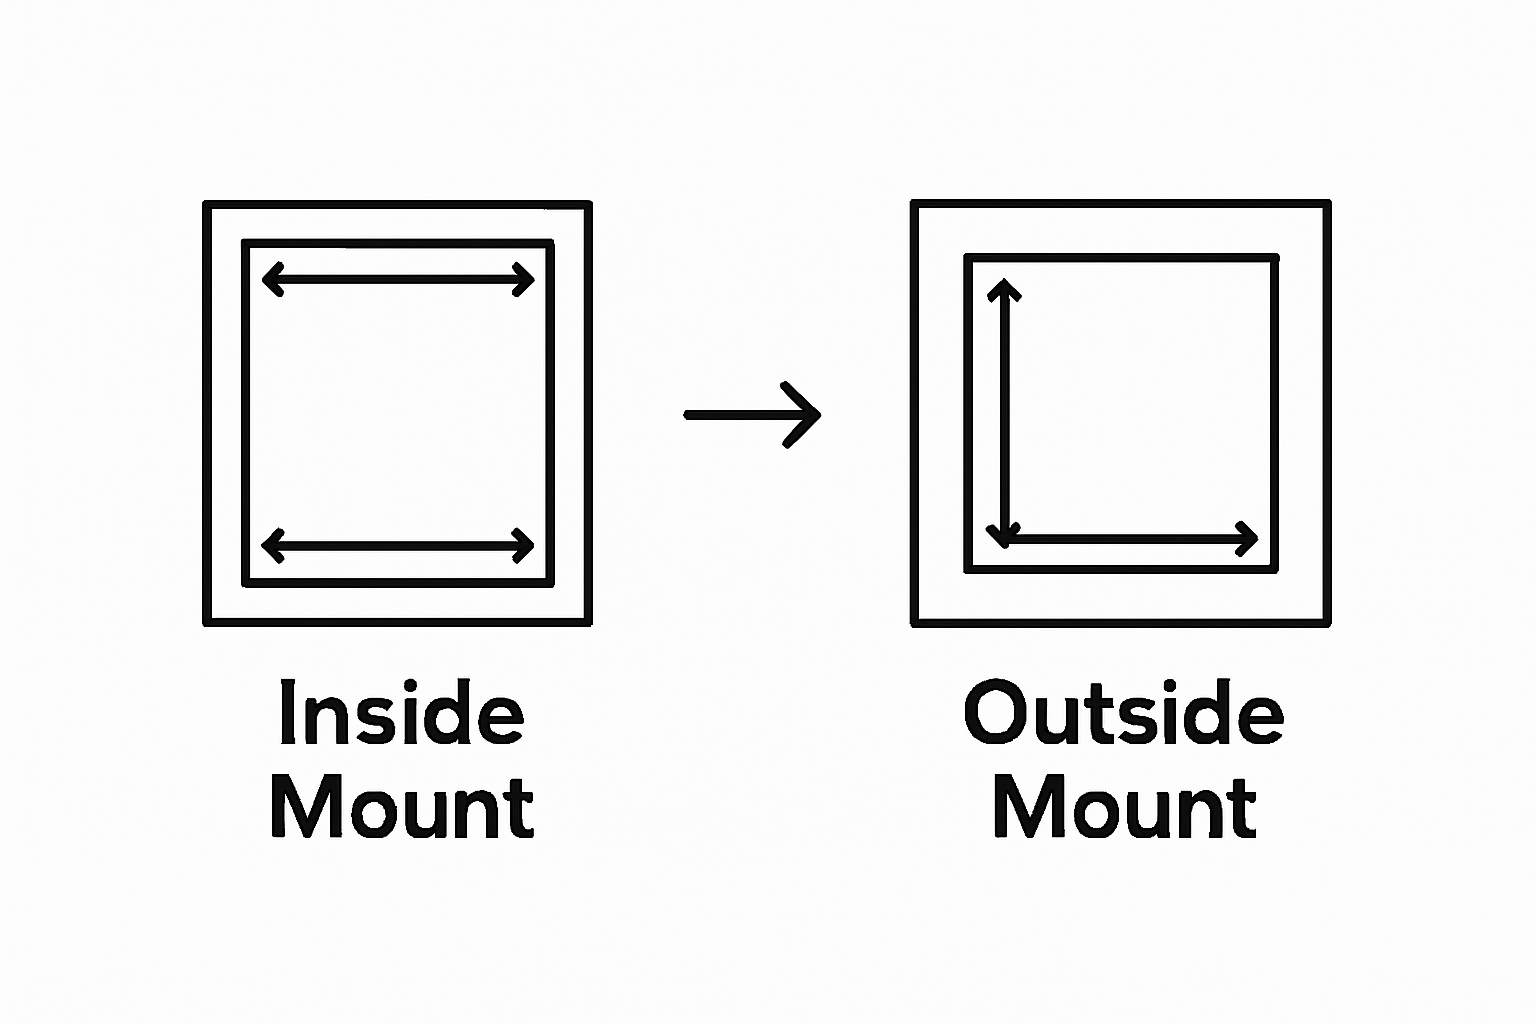
Inside Mount vs Outside Mount Measurements
Two primary measurement approaches exist: inside mount and outside mount. An inside mount installation fits within the window frame, creating a clean, minimalist appearance that showcases the window’s architectural details. This method works best for windows with deep, unobstructed frames and no significant irregularities. Alternatively, an outside mount covers the entire window frame, extending beyond the window’s edges. This approach works wonderfully for windows with shallow frames, uneven surfaces, or when you want to create the illusion of larger windows.
Carefully evaluate your specific window characteristics before selecting a measurement method. Inside mount measurements require precise width and height calculations taken from the inside of the window frame. Measure the exact width at three points horizontally top, middle, and bottom and record the narrowest measurement. For height, measure vertically from the top inside edge to the bottom inside edge at three points, again using the shortest measurement.
Outside mount measurements involve a different strategy. Here, you will measure the total area you want the window treatment to cover. This typically means adding extra width and height to ensure complete window coverage. Professional designers often recommend adding 2 to 3 inches to the width and 3 to 4 inches to the height for optimal coverage.
learn more about precise window measurement techniques to ensure your custom treatments fit perfectly.
Consider these critical factors when determining your measurement approach:
- Window frame depth and condition
- Desired aesthetic and light control
- Architectural style of your space
- Potential obstructions like handles or trim
By carefully assessing these elements, you will select the most appropriate measurement method that guarantees a professional, tailored look for your window treatments. Each window presents a unique canvas, and understanding its specific characteristics is key to achieving a flawless installation.
This table compares the two primary window measurement approaches—inside mount and outside mount—highlighting their installation location, ideal window conditions, and the typical measurement strategy recommended for each.
| Measurement Approach | Installation Location | Ideal Window Condition | Measurement Strategy |
|---|---|---|---|
| Inside Mount | Within window frame | Deep, unobstructed frames | Measure inside edges, record narrowest width/height |
| Outside Mount | Beyond window frame edges | Shallow or uneven frames, obstructions | Add width/height to ensure complete coverage |
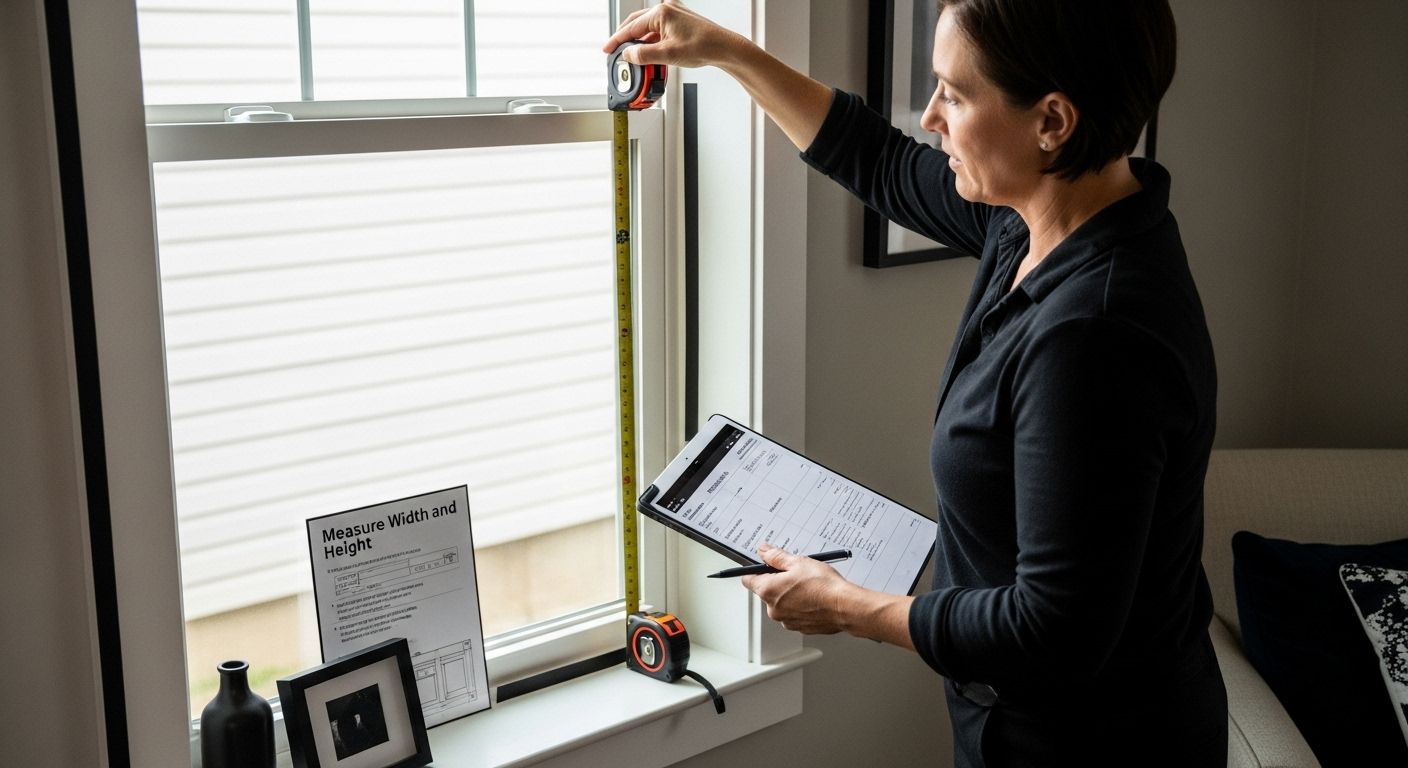
Step 3: Measure Width and Height of Each Window
Accurate window measurements are the cornerstone of perfectly fitted custom treatments. This step requires precision, patience, and a systematic approach to capturing exact dimensions that will ensure your window coverings look professionally installed.
Precise Measurement Techniques
Begin by understanding that windows can have subtle variations even within the same room. Measure each window individually, regardless of how similar they might appear. Start with the width measurement, which is always taken from the inside edge of the window frame for inside mount treatments or from the desired outer coverage area for outside mount installations.
For inside mount measurements, place your steel tape measure horizontally across the top, middle, and bottom of the window frame. Record each measurement carefully, noting that the narrowest width will be your official measurement. This approach compensates for any slight irregularities in the window frame that could impact your custom treatment’s fit. Round down to the nearest 1/8 inch to ensure a smooth installation.
Height measurements follow a similar methodical process. Measure vertically from the top inside edge to the bottom inside edge at three points: left side, center, and right side of the window. For outside mount treatments, add 3 to 4 inches to your total height to provide adequate coverage and create a more luxurious, tailored appearance.
explore our comprehensive window measurement guide for additional professional tips and techniques.
Pay special attention to potential measurement challenges:
- Uneven window frames
- Molding or trim that might interfere with measurements
- Windows with unique architectural features
- Potential obstructions like window handles or locks
Verify your measurements by reviewing them twice and comparing the numbers. A consistent, methodical approach minimizes errors that could compromise your custom window treatment’s fit. Remember that manufacturers typically require exact measurements, so precision is paramount. Take your time, double check your work, and create a clear, organized record of each window’s dimensions to guarantee a flawless final result.
Step 4: Record Measurements Precisely for Reference
Documenting your window measurements accurately is the critical bridge between measurement and successful custom treatment installation. This step transforms your raw measurements into a comprehensive reference that will guide future decisions and ensure a perfect fit for your window coverings.
Creating a Comprehensive Measurement Record
Develop a systematic approach to recording measurements that provides clarity and prevents potential errors. Begin by creating a dedicated measurement worksheet or digital spreadsheet where you can organize information methodically. For each window, create a separate entry that includes critical details such as room location, window orientation, measurement type (inside or outside mount), and precise dimensions.
Use a consistent recording format that includes width and height measurements taken at multiple points. Document the narrowest width and shortest height to guarantee proper fitting. Include additional notes about unique window characteristics like irregular frames, architectural details, or potential installation challenges. Photograph each window alongside its measurements as a visual backup and reference point.
discover expert tips for window measurement documentation to streamline your process.
Your measurement documentation should capture these essential elements:
- Exact window width measurements (top, middle, bottom)
- Precise height measurements (left, center, right)
- Mount type (inside or outside)
- Room and window location
- Date of measurement
- Potential installation obstacles
- Rough sketch or photo of the window
Consider creating both a physical and digital backup of your measurements. A handwritten notebook provides a reliable hard copy, while a digital spreadsheet or cloud document offers easy accessibility and the ability to make quick edits. Some homeowners find it helpful to use color coding or numbering systems to track measurements across multiple rooms or windows.
Finalize your documentation by reviewing each measurement twice, confirming all numbers are accurate and clearly legible. A meticulous recording process eliminates guesswork and provides a reliable reference that will serve you throughout the window treatment selection and installation journey.
Step 5: Verify Measurements for Accuracy
Verification is the final safeguard against potential measurement errors that could compromise your custom window treatment installation. This critical step transforms your raw measurements into a reliable blueprint for perfect fitting treatments, preventing costly mistakes and ensuring professional results.
The Verification Process
Approach measurement verification with a methodical and patient mindset. Start by reviewing your recorded measurements against the original window dimensions, checking each number for consistency and accuracy. Use your original measuring tools to cross reference the documented measurements, paying special attention to width and height numbers taken at different points of the window frame.
A crucial verification technique involves measuring each window multiple times, preferably with different tools or by different individuals. This cross checking approach helps eliminate potential human error or measurement inconsistencies. When measuring, ensure your tape measure is pulled taut and straight, avoiding any slack that could introduce inaccuracies. Look for subtle variations between your initial measurements and repeat measurements, investigating any discrepancies immediately.
explore advanced window measurement verification techniques to refine your skills.
Consider these critical verification checkpoints:
- Confirm measurements are recorded in consistent units
- Verify measurements match at top, middle, and bottom of window
- Check for any visual irregularities in window frame
- Compare digital and handwritten measurement records
- Validate measurements against room layout sketch
Remember that professional installers typically recommend rounding down measurements for inside mount treatments. This subtle adjustment ensures your window coverings will fit smoothly without unnecessary tension or binding. For outside mount treatments, slightly larger measurements provide adequate coverage and a more polished appearance.
Finalize your verification by creating a comprehensive checklist that documents each window’s precise measurements, mount type, and any unique characteristics. Photograph each window alongside its measurement record as an additional reference point. This thorough approach transforms measurement from a simple task into a precise science, guaranteeing your custom window treatments will look professionally installed and function flawlessly.
Here is a checklist-style table detailing the key verification steps to ensure your window measurements are precise and reliable before proceeding with custom treatments.
| Verification Step | What to Do |
|---|---|
| Review recorded measurements | Cross-check each value against the window with original tools |
| Measure each window multiple times | Use different tools or a second person to double-check accuracy |
| Confirm consistent units | Make sure all numbers are in inches or the same measurement unit |
| Compare top, middle, and bottom measurements | Ensure no major inconsistencies between points |
| Inspect for irregularities | Visually check window frame for uneven areas |
| Validate with both digital and paper records | Compare digital backup with handwritten notes |
| Round down for inside mount, round up for outside | Adjust as recommended for smooth fitting |
Bring Your Precise Measurements to Life With Custom Solutions
You have just learned how to measure your windows for the perfect custom fit. But turning those careful measurements into stylish, energy-efficient treatments can still feel overwhelming. You want a simple way to order window coverings that match your exact specifications and personal style, without the risk of costly mistakes or disappointing results. Value Blinds understands the frustration of investing time in accurate measurements only to struggle with limited product choices, confusing customization steps, or uncertain quality. Our expertise bridges the gap by offering a wide range of best-selling custom treatments engineered for seamless installation and beautiful results.

Ready to transform your careful window measurements into a space you love? Shop our latest arrivals or explore the full selection at Value Blinds for premium blinds and shades, easy design tools, and expert guidance every step of the way. Do not wait to experience how stress-free perfect fit and lasting beauty can be—get started today and enjoy window treatments made just for you.
Frequently Asked Questions
How do I choose between inside mount and outside mount for my window treatments?
Inside mount installations fit within the window frame for a clean look, while outside mount installations extend beyond the window frame to provide full coverage. Consider your window frame depth, desired aesthetic, and any obstructions when selecting the best option.
What tools do I need to measure my windows accurately?
Essential tools include a steel tape measure for reliable measurements, a clipboard or notebook for recording dimensions, a pencil, and a stepladder for hard-to-reach areas. Digital laser measuring devices can also enhance precision.
How should I record my window measurements?
Create a dedicated measurement worksheet or spreadsheet. Document the width and height measurements for each window at multiple points, including details such as room location, mount type, and any unique characteristics. A clear recording format prevents errors.
Why is verification important after measuring windows?
Verification is crucial as it ensures accuracy in your recorded measurements. Cross-reference your measurements by checking them multiple times and from different locations. This step helps identify any discrepancies and prevents costly mistakes during installation.


