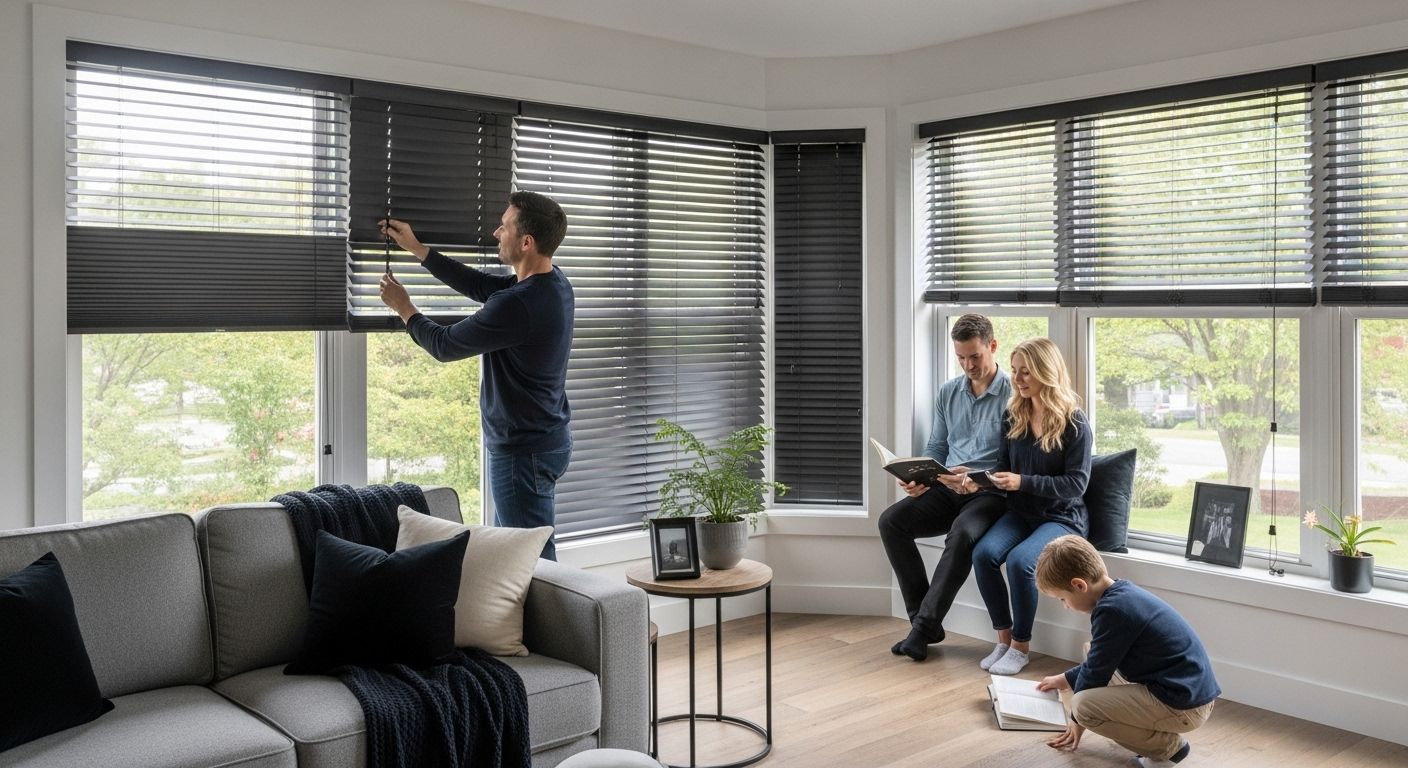
Installing Cordless Blinds: A Step-by-Step Guide
Installing cordless blinds might seem simple, but there is more to it than just snapping them into place. Believe it or not, even a tiny measurement error—sometimes as little as 1/8 of an inch—can ruin the entire fit and function. Most people think you need professional skills to get perfect results, yet with the right steps, anyone can achieve a flawless, custom look right at home.
Table of Contents
- Step 1: Measure Your Windows Accurately
- Step 2: Purchase the Right Cordless Blinds
- Step 3: Prepare the Installation Area
- Step 4: Install the Brackets Securely
- Step 5: Hang the Cordless Blinds Properly
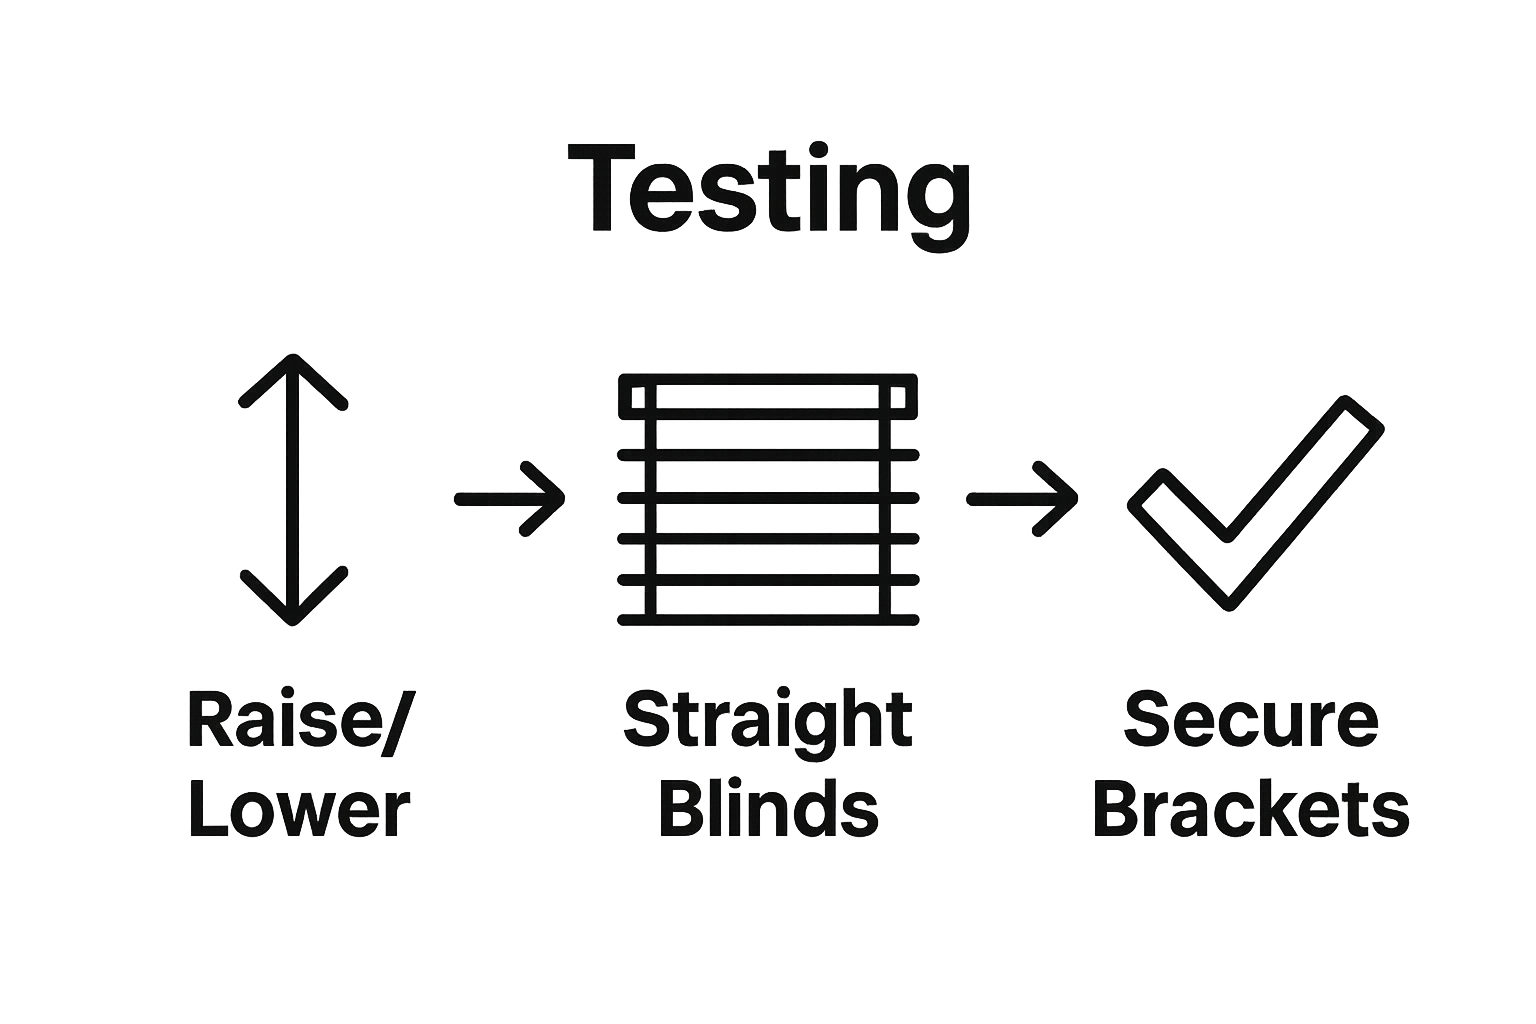
- Step 6: Test the Blinds for Smooth Operation
Quick Summary
| Key Point | Explanation |
|---|---|
| 1. Measure windows precisely for a perfect fit | Accurate measurements prevent costly mistakes and ensure your blinds fit and operate smoothly. Always record the smallest dimension and measure in multiple spots. |
| 2. Consider room-specific needs for blinds | Choose materials and styles suited for each room, such as blackout for bedrooms and moisture-resistant options for kitchens. This enhances functionality and aesthetics. |
| 3. Properly prepare the installation area | Clean the window frame and check for structural integrity to ensure a stable and secure mounting surface, preventing installation challenges. |
| 4. Install brackets with precision | Correct bracket placement is crucial for stability. Use a level, check alignment, and ensure screws are securely fastened without over-tightening. |
| 5. Test blinds for smooth operation | After installation, test the blinds for smooth movement to confirm proper alignment and function. Address any binding or resistance immediately. |
Step 1: Measure Your Windows Accurately
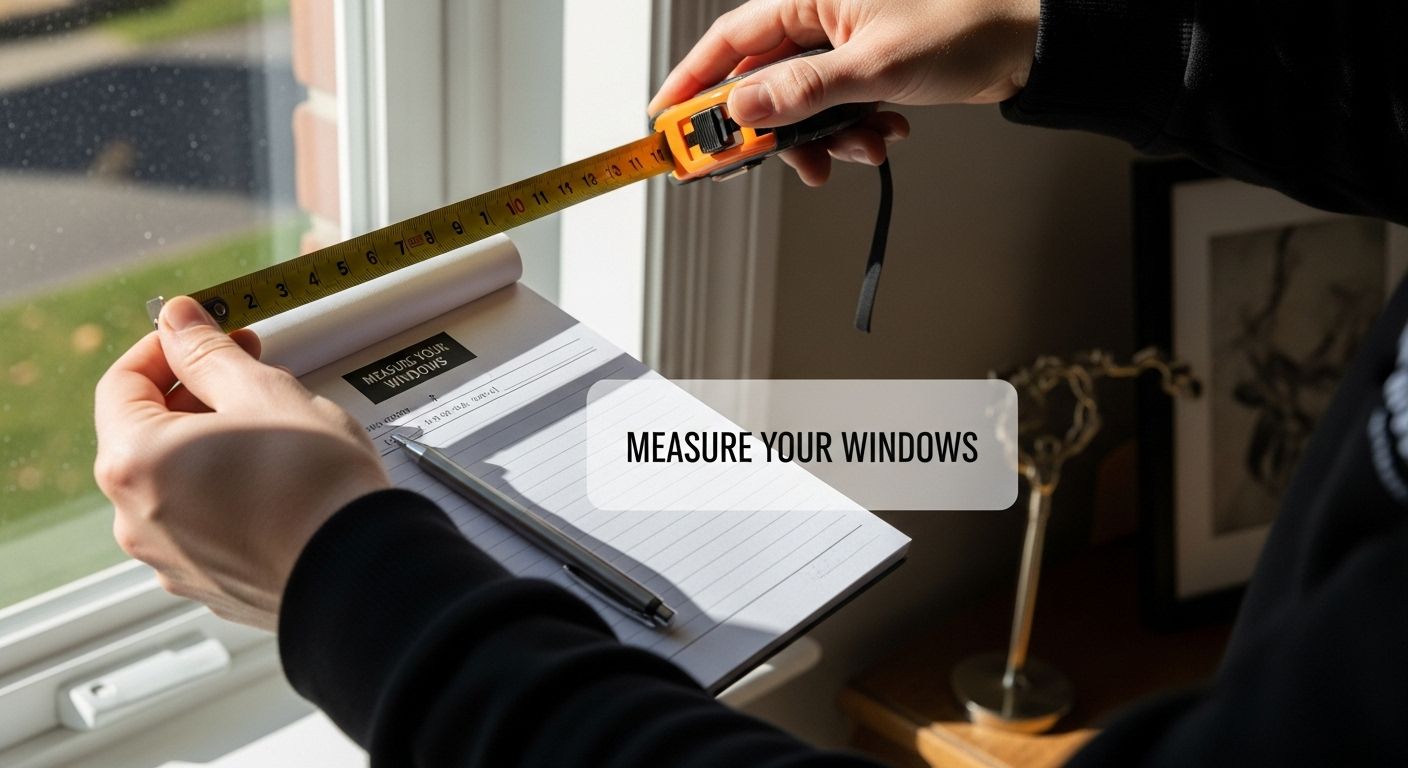
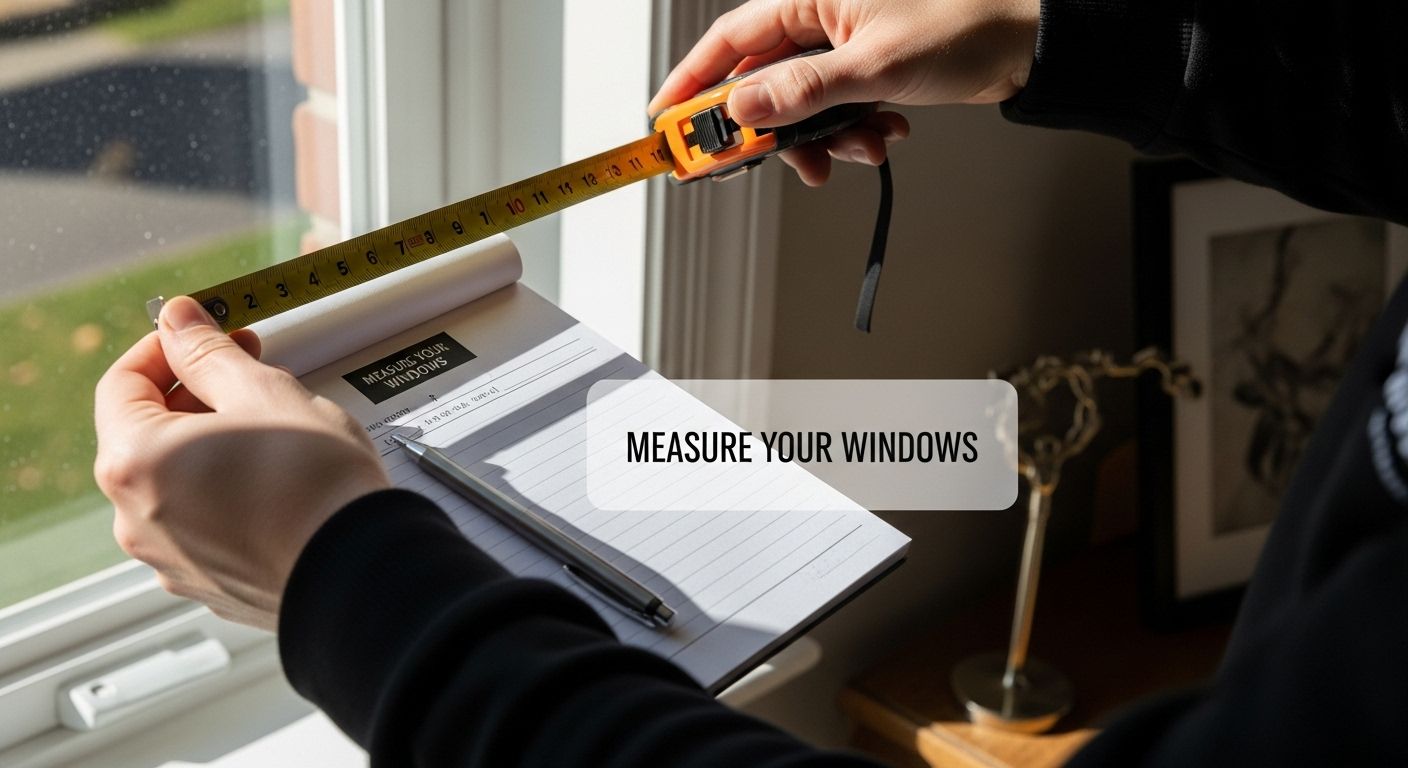
Accurate window measurements are the foundation of a successful cordless blind installation. Before purchasing or installing your new window treatments, you must capture precise dimensions that will ensure a perfect fit and professional appearance. This initial step prevents costly mistakes and guarantees your blinds will look seamless and function smoothly.
To begin measuring your windows, you will need a few essential tools: a reliable metal tape measure, a pencil, and a notepad. Precision is critical, so avoid using fabric measuring tapes which can stretch and provide inaccurate readings. When measuring, always measure the width and height inside the window frame where the blinds will be mounted. Take three separate measurements for both width and height to account for potential variations in your window frame.
Start by measuring the width at the top, middle, and bottom of the window frame. Record the smallest measurement to ensure your blinds will fit comfortably. For height, measure from the top of the window frame to the bottom in three locations: left side, center, and right side. Again, use the shortest measurement to guarantee proper installation. For inside mount installations, subtract approximately 1/2 inch from your measurements to allow for mounting brackets and ensure smooth operation.
Learn more about precise window measurements to guarantee a perfect fit for your cordless blinds. Professional installers recommend double-checking your measurements before placing any order, as accuracy is paramount in achieving a polished, custom look for your window treatments.
Key verification points for your measurements include:
- Measurements are consistent across top, middle, and bottom of the frame
- Width and height measurements are taken to the nearest 1/8 inch
- Smallest measurement is recorded for both width and height
- No obstructions like window handles or locks will interfere with blind installation
By meticulously capturing these dimensions, you set the stage for a smooth and successful cordless blind installation that will enhance both the functionality and aesthetic appeal of your windows.
Step 2: Purchase the Right Cordless Blinds
Selecting the perfect cordless blinds requires careful consideration of multiple factors beyond simple measurements. After accurately measuring your windows, the next critical step involves choosing window treatments that not only fit perfectly but also complement your home’s aesthetic and functional requirements. Material, color, light filtering capabilities, and mounting style will significantly impact your final selection.
Consider the specific room and its unique characteristics when selecting cordless blinds. Living areas might benefit from light filtering materials that create soft ambient lighting, while bedrooms could require blackout options for enhanced privacy and light control. Kitchens and bathrooms demand moisture resistant materials like vinyl or faux wood that can withstand humidity and occasional splashes. Pay close attention to the width and mounting depth you measured in the previous step, ensuring the blinds you select will install smoothly without obstructions.
Explore the differences between cordless blind styles to make an informed decision that balances aesthetics and functionality. When shopping, request product samples to verify color accuracy and texture, as digital representations can sometimes differ from actual materials. Budget considerations are important, but remember that investing in quality blinds can provide long term value through durability and energy efficiency.
Key considerations when purchasing cordless blinds include:
- Precise matching of window measurements
- Material appropriate for the specific room environment
- Color and style compatibility with existing decor
- Light filtering and privacy requirements
- Mounting type compatible with your window frame
By methodically evaluating these factors, you will select cordless blinds that not only fit perfectly but also enhance your living space’s comfort and visual appeal. The right window treatments can transform a room, providing both practical functionality and aesthetic refinement.
Step 3: Prepare the Installation Area
Preparing the installation area is a critical step that determines the success of your cordless blind installation. This phase involves creating a clean, stable environment that will support secure and smooth mounting of your new window treatments. Proper preparation prevents potential installation challenges and ensures your blinds will function perfectly from day one.
Begin by thoroughly cleaning the window frame and surrounding wall area. Remove any dust, cobwebs, or old mounting hardware using a soft cloth and mild cleaning solution. Pay special attention to the mounting points where your blind brackets will attach. If you notice any loose paint, peeling surfaces, or minor wall damage, use spackling compound to create a smooth, even surface. Allow the repair to dry completely and lightly sand the area to ensure a seamless mounting surface. Inspect the window frame for any structural issues that might interfere with blind installation, such as warping, rotting wood, or uneven surfaces.
Learn more about proper window treatment preparation to ensure a flawless installation. Gather all necessary tools before beginning the installation process. Your toolkit should include a power drill, level, pencil, measuring tape, screwdriver, wall anchors, and the mounting hardware that came with your cordless blinds. Having everything within reach will streamline the installation and reduce potential mistakes.
Below is a summary table of essential tools and their purposes to help you properly prepare for cordless blind installation.
| Tool | Purpose |
|---|---|
| Metal tape measure | Accurate window measurement |
| Pencil | Marking measurements and bracket locations |
| Notepad | Recording window dimensions |
| Power drill | Drilling pilot holes for screws |
| Level | Ensuring brackets and blinds are even |
| Screwdriver | Securing screws and mounting hardware |
| Wall anchors | Supporting brackets in drywall or plaster |
| Spackling compound & sandpaper | Repairing and smoothing surface damage |
Key preparation steps to ensure a successful installation include:
- Clear the area around the window of furniture or obstacles
- Clean and repair the mounting surface thoroughly
- Verify all necessary tools are readily available
- Check that mounting surface can support blind weight
- Ensure electrical outlets or window mechanisms will not interfere with blind placement
By meticulously preparing your installation area, you create the optimal conditions for mounting your new cordless blinds. This thoughtful approach minimizes potential complications and sets the stage for a professional, polished result that will enhance your home’s aesthetic and functionality.
Step 4: Install the Brackets Securely
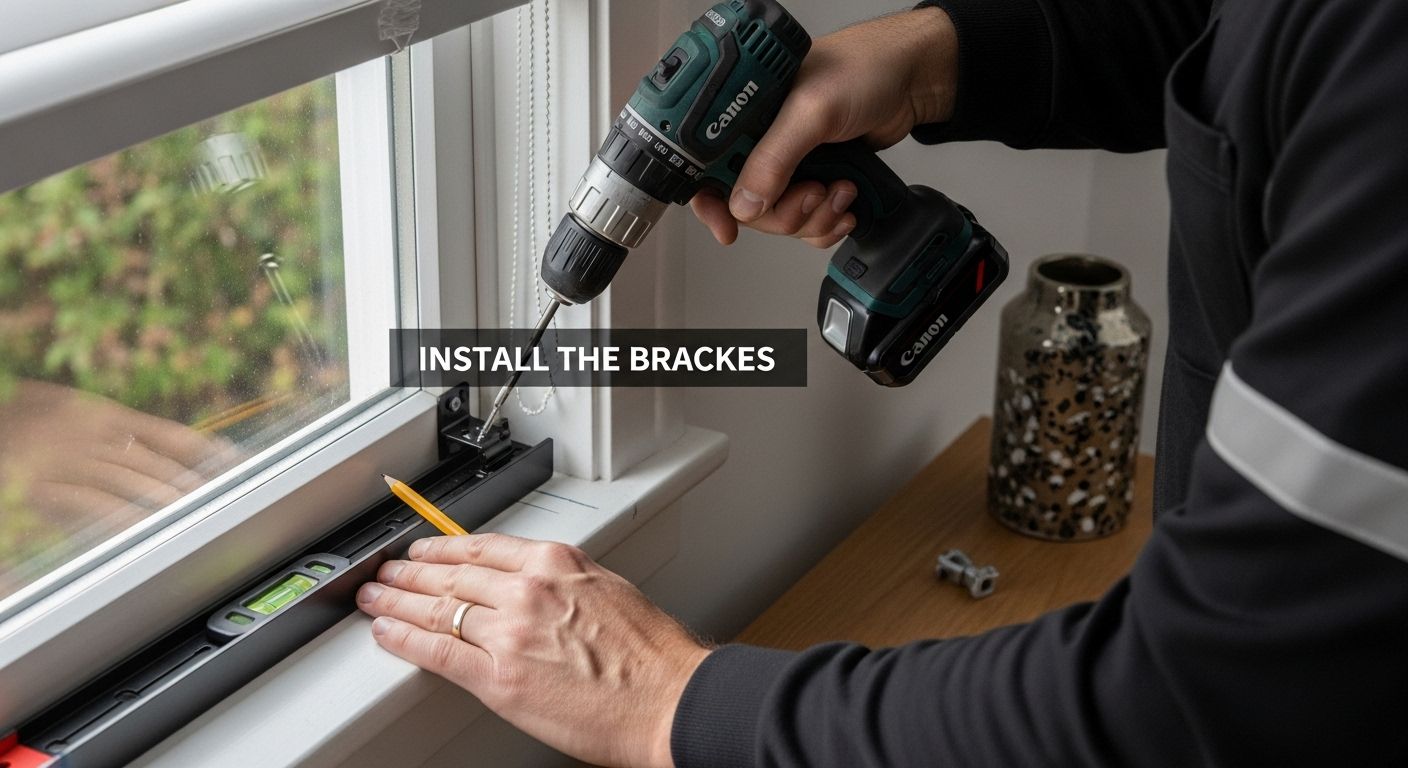
Installing brackets is a precision task that forms the critical foundation for your cordless blind installation. Proper bracket placement ensures stability, smooth operation, and prevents potential damage to both your window frame and the blinds themselves. This step requires patience, careful measurement, and attention to detail to guarantee a professional result.
Begin by using your level to mark precise bracket locations directly on the window frame. Measure twice and mark carefully, positioning the first bracket approximately 2-4 inches from each end of the window frame. Ensure these initial marks are perfectly horizontal by using a carpenter’s level or digital laser level. If your window frame is uneven, you might need to use shims to create a stable mounting surface. When drilling pilot holes, select a drill bit slightly smaller than your mounting screws to prevent wood splitting. Use wall anchors for drywall or plaster surfaces to provide additional support, especially for heavier blinds.
Explore expert tips for secure blind installation to enhance your mounting technique. Insert screws slowly and carefully, avoiding over-tightening which could strip the mounting holes or cause the bracket to sit at an angle. Check the bracket’s alignment after each screw to maintain a level position. Some cordless blind systems include adjustable brackets, which can help compensate for minor frame irregularities and ensure a perfect fit.
Key verification points for bracket installation include:
- Brackets are level and evenly spaced
- Screws are fully seated but not over-tightened
- Mounting surface feels stable with no wobbling
- Brackets can support the weight of the cordless blinds
- No visible gaps between the bracket and window frame
By methodically installing your brackets with precision and care, you create a solid foundation for your cordless blinds. This meticulous approach ensures smooth operation, professional appearance, and long-lasting performance of your new window treatments.
Step 5: Hang the Cordless Blinds Properly
Hanging cordless blinds requires precision and careful handling to ensure smooth operation and a professional appearance. Proper installation is crucial for maintaining the functionality and aesthetic appeal of your new window treatments. This step transforms your carefully selected and prepared blinds from a standalone product into an integrated part of your home’s interior design.
Carefully remove the cordless blinds from their packaging, handling them gently to avoid any potential damage. Identify the top and bottom rails and examine the mounting brackets you previously installed. Most cordless blinds feature a simple clip or snap mechanism that allows them to lock securely into the pre-installed brackets. Start by positioning the blind’s top rail into the first bracket, typically beginning at one end of the window. Apply gentle, even pressure to ensure the blind clicks firmly into place. Repeat this process for the opposite end, checking that the blind sits level and straight. Some cordless blind systems include a small release mechanism or locking pin that provides additional stability and prevents accidental removal.
Discover expert techniques for seamless blind installation to enhance your mounting skills. After securing the blind, test its movement by gently raising and lowering it. Cordless blinds typically operate through a simple push or pull mechanism at the bottom rail. Verify that the blind moves smoothly without catching or binding, which could indicate misalignment or improper installation. If you encounter resistance, carefully remove the blind and recheck your bracket positioning.
Key verification points for hanging cordless blinds include:
- Blind is level and evenly positioned in brackets
- Top and bottom rails are securely attached
- Blind moves smoothly without resistance
- No visible gaps between blind and window frame
- Bottom rail sits parallel to the windowsill
By methodically hanging your cordless blinds with attention to detail, you ensure a professional installation that enhances both the functionality and visual appeal of your window treatments. Take your time and make minor adjustments as needed to achieve the perfect fit.
Step 6: Test the Blinds for Smooth Operation
Testing your newly installed cordless blinds is the final crucial step that ensures your window treatment functions perfectly and meets your expectations. Smooth operation is the hallmark of a professional installation, and this phase allows you to verify that all your careful preparation and mounting work has paid off. A thorough testing process will reveal any potential issues that might require minor adjustments.
Begin by gently raising and lowering the blinds multiple times, using the bottom rail with consistent, even pressure. Watch for any resistance, uneven movement, or binding that could indicate misalignment or installation problems. Pay close attention to how the blind moves through its entire range of motion, from fully extended to completely raised. Each movement should feel smooth and require minimal effort. If you notice any sticking points or areas where the blind seems to catch or hesitate, this might indicate that the brackets are not perfectly level or that the blind is not seated correctly in its mounting hardware.
Explore comprehensive blind troubleshooting techniques to address potential installation challenges. Check the blind’s position when fully raised and fully lowered, ensuring it sits evenly and maintains a consistent appearance. Test the blinds during different times of day to verify performance under varying light conditions. Gently apply pressure from different angles to confirm the stability of your mounting brackets and the overall security of the installation.
Key verification points for testing cordless blinds include:
- Blinds move up and down smoothly without resistance
- Bottom rail remains level when raised or lowered
- No unusual sounds during operation
- Blind stops and stays in desired position
- Mounting brackets feel secure with no wobbling
By meticulously testing your cordless blinds, you ensure a high-quality installation that will provide reliable performance and enhance your home’s interior for years to come. Minor adjustments during this final step can prevent potential issues and guarantee your complete satisfaction with the window treatment.
This troubleshooting table outlines common cordless blind installation problems, their likely causes, and recommended solutions based on the guidance provided.
| Problem | Likely Cause | Recommended Solution |
|---|---|---|
| Blinds do not fit window frame | Inaccurate measurement | Double-check measurements, reorder if needed |
| Blinds are difficult to raise/lower | Misaligned brackets or uneven mounting | Realign brackets and ensure level placement |
| Blinds catch or bind during operation | Blind not seated correctly in brackets | Reseat the blinds and check for obstructions |
| Blinds wobble or feel unstable | Loose screws or weak mounting surface | Tighten screws, use wall anchors if required |
| Blind does not remain in position | Improperly installed brackets | Adjust bracket alignment and reinstall |
| Visible gaps between blind and window frame | Incorrect blind dimensions or placement | Use correct measurement, reposition if possible |
| Sound during blind operation | Mounting hardware not secure | Check and secure all screws and brackets |
Ready to Make Cordless Blind Installation Easy and Flawless?
Finding the perfect cordless blinds and achieving a smooth installation can be stressful. You want blinds that fit exactly, operate without hassle, and elevate your space from day one. Our step-by-step guide shows how crucial precise measurements, sturdy mounting, and smart product choices are for a professional finish. Wish selecting and installing the right cordless blinds felt effortless from start to finish? Visit the Best Sellers collection now for popular, proven options that simplify your project.

Take control of your next window upgrade with Value Blinds. Our site offers free swatches, detailed measurement guides, and customization tools designed for hassle-free installation. Shop at Value Blinds Direct today to discover cordless blinds engineered for stress-free fitting, visual impact, and lasting satisfaction. Your flawless window makeover starts right here. Don’t wait—create your perfectly finished room now.
Frequently Asked Questions
How do I measure my windows for cordless blinds?
Accurate window measurements are crucial for a successful installation. Measure the width and height inside the window frame at the top, middle, and bottom. Record the smallest measurement for each dimension and subtract approximately 1/2 inch for inside mounts to account for mounting brackets.
What should I consider when purchasing cordless blinds?
Consider several factors such as the material suitable for each room, desired light filtering capabilities, color and style compatibility with your decor, and the mounting type that fits your measured window dimensions. Ensure your selected blinds match the precise measurements taken.
How do I prepare the area before installing cordless blinds?
Clear the installation area of furniture and obstacles, clean the window frame, and repair any surface damage. Make sure you gather all necessary tools like a power drill, level, and screwdrivers so that everything is ready for a smooth installation process.
What should I do if my cordless blinds don’t operate smoothly after installation?
If your cordless blinds don’t move smoothly, check for potential misalignment in the brackets or ensure the blinds are securely seated in the mounting hardware. Test the movement gently and adjust the positioning as needed to achieve a smooth operation.


