
How to Measure for Blinds: Accurate DIY Guide for Windows
Finding the perfect fit for window blinds trips up even the most detail-oriented American homeowners. A single misread measurement can lead to blinds that simply do not work, yet over 80 percent of ordering errors result from skipped preparation or imprecise tools. Knowing exactly how to prepare your space and measure each window gives you control, helping avoid wasted time and costly returns. This guide covers every step for confident, accurate window measuring so your results look and function exactly as planned.
Table of Contents
- Step 1: Gather Tools And Prepare Window Area
- Step 2: Identify Mount Type And Measurement Points
- Step 3: Measure Window Width And Height Correctly
- Step 4: Double-Check Measurements For Accuracy
- Step 5: Record And Submit Your Measurements
Quick Summary
| Essential Takeaway | Detailed Explanation |
|---|---|
| 1. Clear Workspace Required | Remove furniture and obstructions to ensure easy measuring access to the window frame. |
| 2. Use the Right Tools | Collect essentials like a steel tape measure, pencil, notepad, and level for accurate measurements. |
| 3. Know Your Mount Type | Choose between inside or outside mounts, as they require different measurement techniques and affect appearance. |
| 4. Measure Width and Height Accurately | Apply three-point measurement for width and height to capture the most precise dimensions for blinds. |
| 5. Double-Check Measurements | Review measurements meticulously to confirm accuracy and account for any anomalies in window structure. |
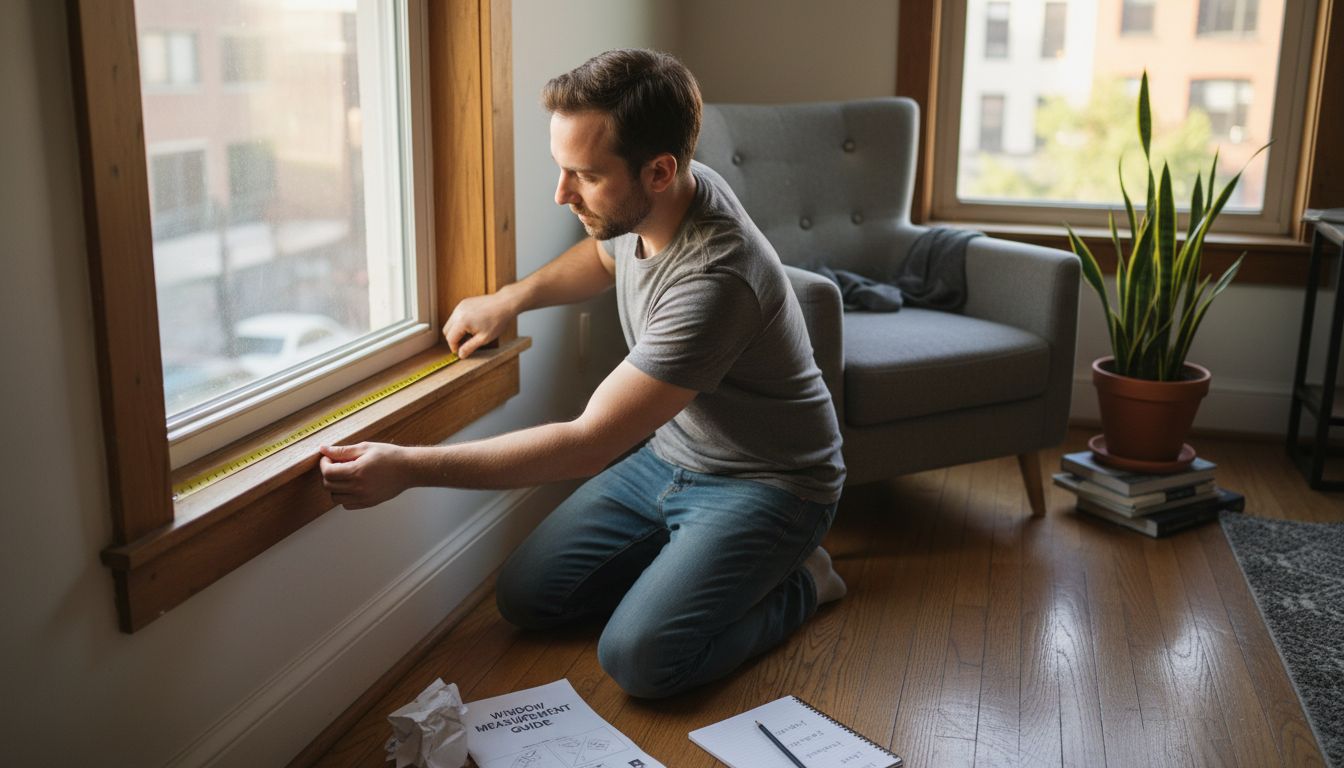
Step 1: Gather Tools and Prepare Window Area
Accurately measuring windows for new blinds starts with proper preparation and the right tools. Before diving into measurements, you’ll need to create a clear workspace and collect specific equipment that ensures precision. Experts recommend gathering a few essential items to make this process smooth and accurate.
Start by clearing the entire window area of furniture, curtains, decorative items, or anything that might obstruct your measuring process. Remove hanging curtains, push back chairs or side tables, and ensure you have unobstructed access to the entire window frame. For your measurement toolkit, collect a steel tape measure that provides exact readings, a sharp pencil for marking points, a notepad or smartphone to record measurements, and a reliable level to check for any frame irregularities. A stepladder might also be helpful for reaching higher windows safely.
This summary highlights essential tools and their roles for window measuring:
| Tool | Purpose | Why It Matters |
|---|---|---|
| Steel Tape Measure | Provides precise measurements | Ensures blinds will fit properly |
| Pencil | Marks key measurement points | Helps track exact positions |
| Notepad/Smartphone | Records all measurements and window details | Prevents data loss or confusion |
| Level | Checks frame alignment and irregularities | Reveals installation obstacles |
| Stepladder | Allows safe access to high windows | Enables accurate measurement |
Pro tip: Before beginning measurements, ensure your tape measure is fully extended and not bunched or twisted, which could skew your results. Check the tape measure’s zero point carefully to guarantee absolute precision in your window measurements.
Step 2: Identify Mount Type and Measurement Points
Understanding your blind mount type is crucial for accurate measurements and achieving the perfect window treatment. Homeowners have two primary mounting options that dramatically impact the final look and functionality of their window coverings.
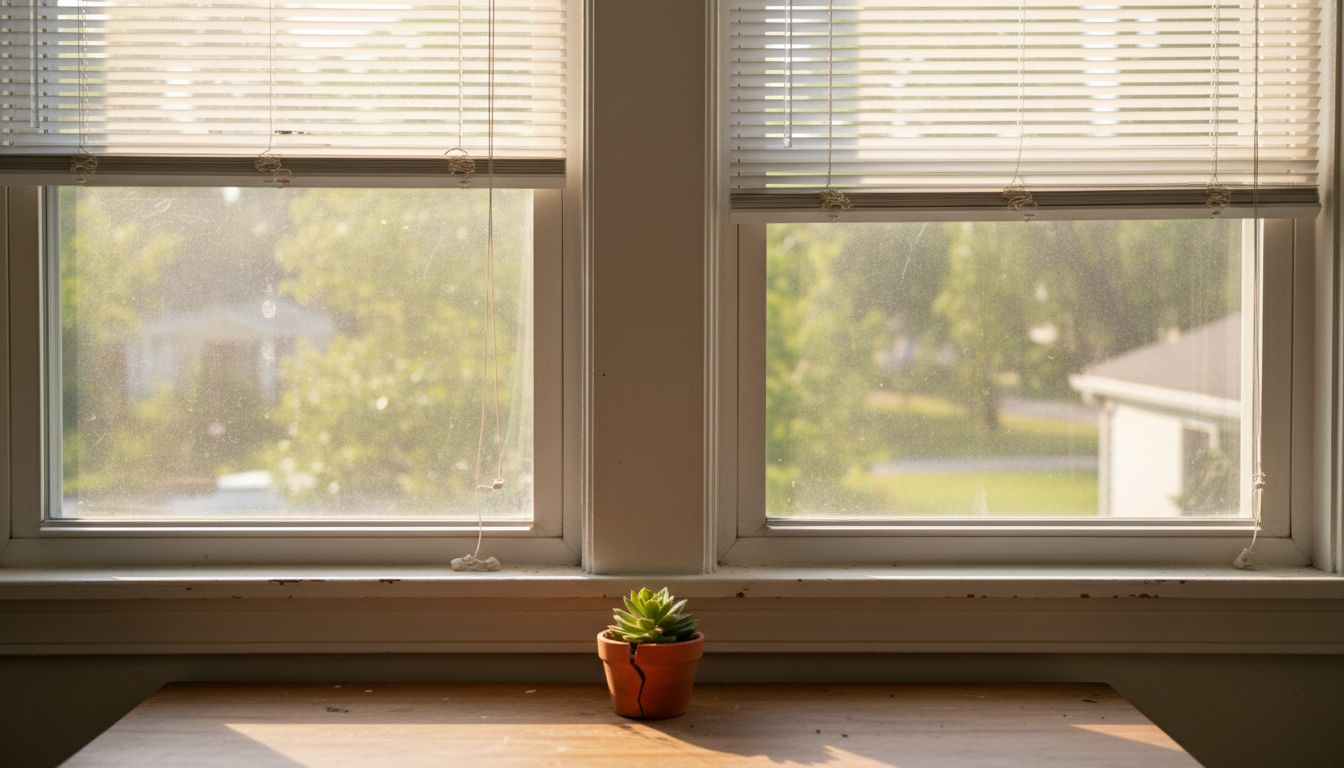
Inside mount blinds are installed within the window frame, creating a sleek and streamlined appearance that showcases the window trim and provides a clean interior look. These blinds require precise measurements of the window width, height, and depth inside the frame. Outside mount blinds attach to the wall or window molding surrounding the frame, offering greater flexibility for covering imperfect window frames, blocking more light, and providing enhanced privacy. When choosing an outside mount, you will measure the width and height of the area you want to cover, which typically extends several inches beyond the actual window frame.
Here is a comparison of inside mount versus outside mount blind installation:
| Comparison Factor | Inside Mount | Outside Mount |
|---|---|---|
| Visual Style | Sleek, showcases window trim | Covers trim, enhances privacy |
| Measurement Approach | Inside frame, use narrowest width | Beyond frame, add extra inches |
| Light Control | Some light at edges possible | Maximizes light blocking |
| Install Complexity | Requires precise measurements | More flexible placement |
| Frame Requirements | Minimum frame depth needed | Suitable for shallow or uneven frames |
Pro tip: Always measure each window individually, even if they appear identical. Window frames can have subtle variations that could significantly impact your blind fitting, so never assume one measurement works for all windows in your space.
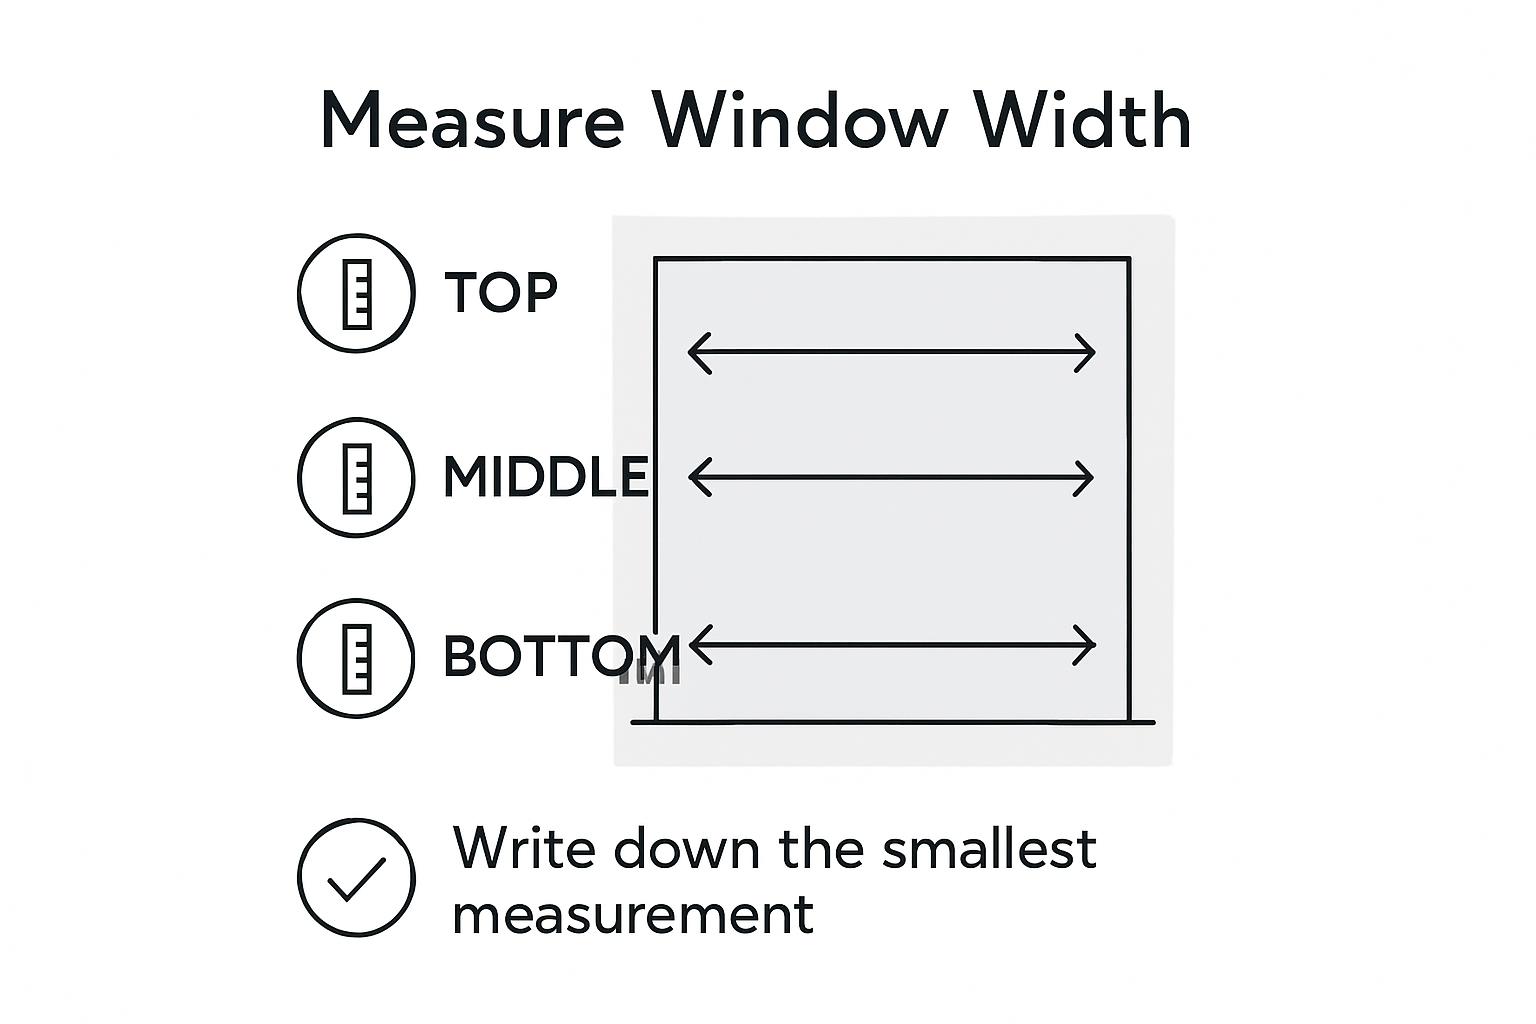
Step 3: Measure Window Width and Height Correctly
Accurate measurements are the cornerstone of perfectly fitted window blinds, and the process varies slightly depending on your chosen mount type. Professional window treatment experts recommend a precise three point measuring technique to ensure the most accurate fit.
For inside mount blinds, you will need to measure the width at three distinct points: the top, middle, and bottom of the window frame. Always record the narrowest measurement to guarantee the blinds will fit properly within the window opening. When measuring height, take measurements at the left, center, and right sides of the window, from the top of the window opening down to the sill. Use the longest measurement to ensure full coverage. Outside mount measurements follow a different approach. Determine your desired headrail position slightly above the window frame, then measure the width from the outer edge of the left trim to the outer edge of the right trim. Add an extra 2 to 3 inches on each side to improve light blocking and create a more polished appearance. For height, measure from your chosen headrail position to the desired endpoint, typically the window sill or slightly below.
Pro tip: Always measure twice and write down your measurements immediately to prevent confusion or errors. Use a metal tape measure for the most precise results, and ensure the tape is pulled taut and straight during each measurement.
Step 4: Double-Check Measurements for Accuracy
Careful verification is the final critical step in ensuring your window blinds will fit perfectly. Window measurement experts emphasize the importance of meticulously reviewing all dimensions before placing an order.
Start by reviewing your recorded measurements systematically. Check each window individually, as even windows that appear identical can have subtle variations in size. Verify the width measurements at the top, middle, and bottom of the window frame, confirming you have recorded the narrowest point for inside mounts or the full trim-to-trim width for outside mounts. Repeat the same careful process for height measurements, double-checking that you have noted the longest measurement from your three-point check. Pay special attention to potential obstacles like window handles, radiators, or deep window sills that might impact blind installation. Confirm that you have accounted for any additional inches needed for mounting brackets, light gaps, or your desired aesthetic coverage.
Pro tip: Take clear photos of your written measurements and window spaces as a backup reference. This provides a visual confirmation and can be helpful if you need to consult with a window treatment professional or review your measurements later.
Step 5: Record and Submit Your Measurements
The final stage of measuring for window blinds involves documenting your measurements with precision and clarity. Professionals recommend creating a systematic approach to recording window dimensions to prevent potential ordering mistakes.
Create a detailed measurement worksheet for each window, clearly labeling the room location and specific window position. Write down your measurements in a consistent format always listing width first, followed by height. Include specific details such as mount type inside or outside and any additional notes about window characteristics like obstructions or unique architectural features. When submitting your measurements, verify that you have recorded the exact numbers you measured double checking width and height for each window. If ordering online, carefully input the measurements into the customization interface, ensuring you select the correct mount type and any additional options like color or material. For complex windows or unusual spaces, consider including photographs of the window area to provide additional context for the blind manufacturer.
Pro tip: Create a digital backup of your measurement documentation by taking clear photos of your written measurements or saving a spreadsheet with all window details. This provides an extra layer of protection against potential loss or confusion during the ordering process.
Perfect Your Window Blinds with Confidence and Style
Measuring your windows accurately for new blinds can be challenging and mistakes can lead to costly returns or ill-fitting products. This guide helps you master every step—from gathering tools to double-checking measurements to ensure your blinds fit flawlessly. Whether you choose an inside mount for a sleek look or an outside mount for enhanced privacy, precise measuring means a perfect fit and a beautiful result.
Ready to bring your measurements to life with premium custom blinds and shades? Explore the latest styles in our New Arrivals collection designed for easy installation, energy efficiency, and lasting quality.

Take the next step now at Value Blinds where you can customize every detail with our expert support. Don’t let measurement doubts hold you back. Use our guides and tools to order your perfect blinds today and enjoy smart style, comfort, and privacy tailored to your home.
Frequently Asked Questions
How do I accurately measure the width and height of my windows for blinds?
To measure for blinds accurately, measure width at the top, middle, and bottom of the window frame and record the narrowest measurement. For height, measure at the left, center, and right sides from the top of the opening to the sill, using the longest measurement.
What are the differences between inside mount and outside mount blinds?
Inside mount blinds fit within the window frame for a sleek look, while outside mount blinds attach to the wall or molding, providing more light blocking and flexibility. Choose inside mount for a streamlined appearance and outside mount if your window has irregularities or if you want to enhance privacy.
How can I ensure my window measurements are accurate?
To ensure accuracy, measure twice and write down your dimensions immediately. Verify each measurement against the window frame, checking for variations and obstacles, and include additional inches for mounting brackets if needed.
What should I do if my windows are not the same size?
Always measure each window individually, even if they appear to be the same size. Subtle differences can impact how well your blinds fit, so avoid assumptions and use the measurements of the narrowest point for inside mounts or the full trim width for outside mounts.
How do I record my measurements before ordering blinds?
Create a detailed worksheet for each window, listing the room name, specific window location, width, height, and mount type. Keep your notes consistent, and consider taking photos to document your measurements in case you need to refer back to them later.


