
How to Install Blinds for a Perfect Window Fit
Did you know that even a one-eighth inch mistake can make blinds look uneven or poorly fitted? Getting your measurements right is the secret to a clean, functional window treatment that transforms any room. Taking careful steps before installation saves you frustration and expense later, giving you confidence that your new blinds will fit and operate smoothly from day one.
Table of Contents
- Step 1: Measure and Confirm Window Dimensions
- Step 2: Gather Tools and Prepare Your Workspace
- Step 3: Mount Brackets and Position the Headrail
- Step 4: Secure the Blinds and Attach Controls
- Step 5: Test Operation and Adjust for Perfection
Quick Summary
| Key Point | Explanation |
|---|---|
| 1. Accurately measure window dimensions | Take precise measurements at critical points to ensure a proper fit for your blinds. This avoids installation issues later on. |
| 2. Use the right tools for measurements | A metal tape measure, pencil, and notepad are essential for recording accurate dimensions without errors. |
| 3. Prepare your workspace thoroughly | Clear the area around your windows and ensure good lighting for unobstructed measurement and installation processes. |
| 4. Test operation and make adjustments | After installation, raise and lower the blinds multiple times and adjust brackets as needed for perfect alignment and functionality. |
| 5. Follow manufacturer instructions closely | Each blind type has unique installation requirements; adhering to them ensures a smooth installation and proper operation. |
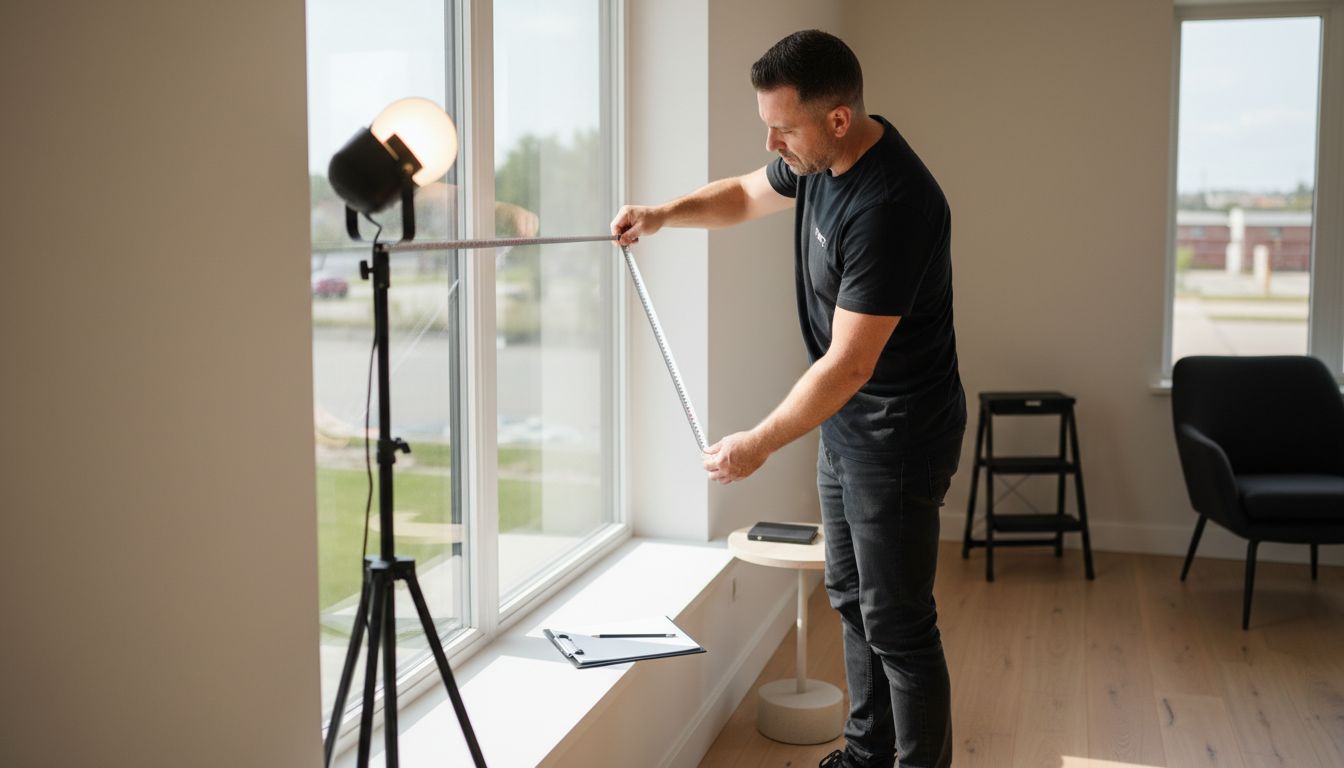
Step 1: Measure and Confirm Window Dimensions
Before installing your new blinds, measuring your window with precision is crucial. This step ensures a perfect fit that looks professional and functions smoothly.
Start by gathering essential tools: a metal tape measure (which provides more accuracy than cloth measuring tapes), a pencil, and a notepad. According to measuring experts from How to Measure Windows for Perfect Custom Treatments, accuracy matters more than estimated measurements.
If you are planning an inside mount installation, you will need to measure the width of your window frame at three critical points: the top, middle, and bottom. Record the narrowest width measurement. This ensures your blinds will fit comfortably within the window frame without obstruction.
For height measurements, measure vertically at the left side, center, and right side of the window. Always record the tallest height to guarantee your blinds cover the entire window opening. Precision here prevents potential installation challenges.
Pro Tip: Always measure twice and write down your measurements immediately to avoid confusion or mistakes.
If you are considering an outside mount installation, measure the total width and height of the area you want to cover. Add an extra 2 to 3 inches on each side to create proper overlap and ensure complete light blocking. This extra space helps create a more polished and professional appearance.
Double check your measurements before purchasing. A small error can lead to ill fitting blinds that look unprofessional and function poorly. Take your time and be meticulous.
Here’s a comparison of inside mount versus outside mount measurement methods for window blinds:
| Mount Type | Where to Measure | Record Which Measurement | Overlap Needed |
|---|---|---|---|
| Inside Mount | Inside window frame Top, middle, bottom for width Left, center, right for height |
Narrowest width Tallest height |
No overlap—fits within frame |
| Outside Mount | Entire area to be covered | Full desired width and height | Add 2-3 in. each side |
With accurate measurements complete, you are now ready to select and order the perfect blinds for your windows. Our Measuring Windows for Blinds guide can provide additional support if you need more detailed instructions.
Step 2: Gather Tools and Prepare Your Workspace
Before diving into window measurements, preparing your workspace and gathering the right tools will set you up for success. This preparatory step is more important than many people realize.
According to measuring experts, you will need a few specific tools to ensure accurate window measurements. A steel tape measure tops the list as the most critical instrument. Unlike cloth measuring tapes that can stretch or warp, a metal tape provides precise readings every single time. Measuring Windows for Blinds guide recommends selecting a tape measure that is at least 25 feet long.
Additional essential items include a sharp pencil for recording measurements (avoid pens that might bleed or smudge) and a dedicated notepad or measurement worksheet. Having a clipboard can also help you maintain clean and organized documentation.
Preparing your workspace requires careful attention. Clear the area around your windows completely. Remove curtains, existing blinds, decorative items, furniture or any objects that might obstruct your access or interfere with measurements. A clean workspace prevents accidental errors and provides unobstructed measuring conditions.
Pro Tip: Wear comfortable clothing that allows easy movement and avoid loose sleeves that might interfere with your measuring process.
Check that you have good lighting in the room. Natural daylight works best for accurate visual assessments. If natural light is limited, use a bright portable light to illuminate the window area clearly.
Finally, consider wearing comfortable shoes and having a stable step stool nearby if you need to reach higher windows. Safety and comfort contribute to precise measurements.
With your tools assembled and workspace prepared, you are now ready to begin the precise process of window measurement.
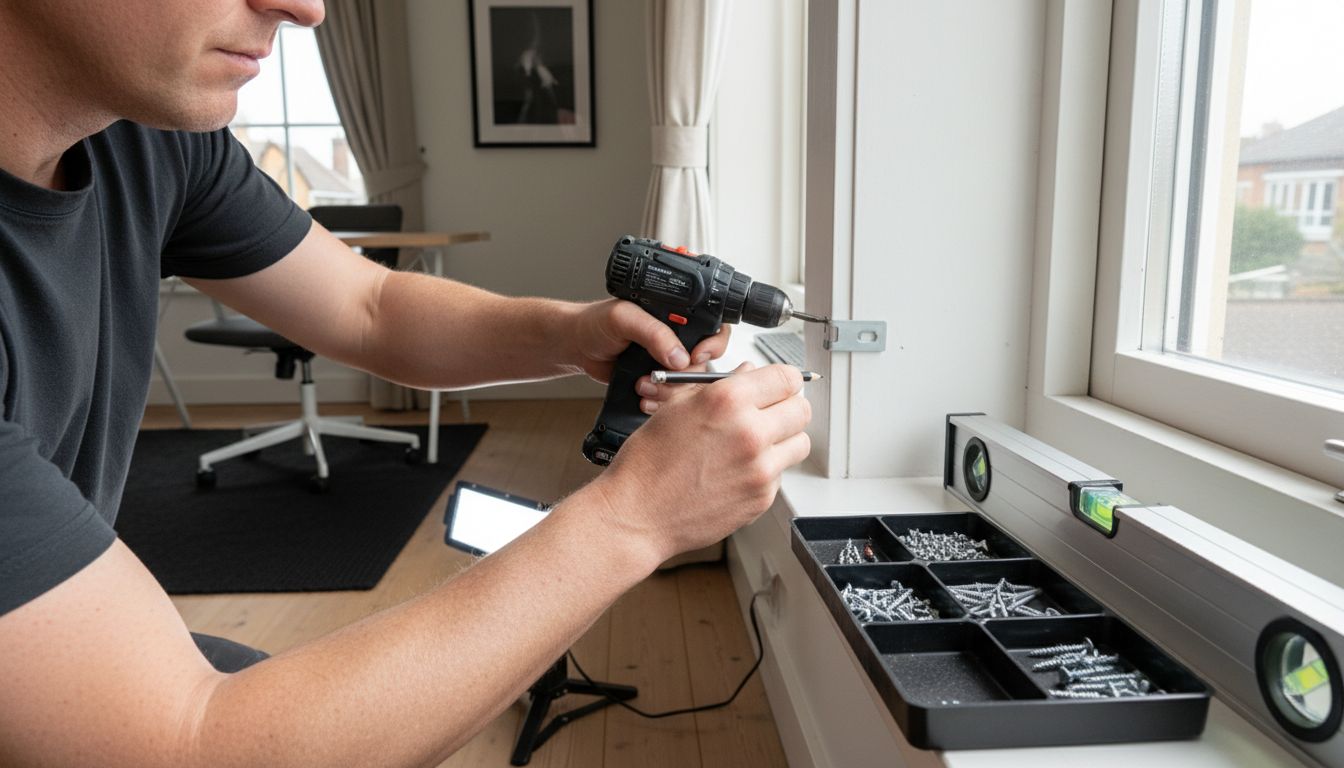
Step 3: Mount Brackets and Position the Headrail
With your measurements complete, you are now ready to install the mounting brackets and position the headrail. This critical step determines the stability and appearance of your new window treatment.
Begin by carefully marking the bracket positions. According to installation experts, precision is key. Use a pencil to lightly mark where each bracket will be mounted, ensuring they are perfectly level. Installing Cordless Blinds guide recommends using a level tool to confirm absolute horizontal alignment.
For inside mount installations, brackets typically attach to the window frame or jamb. If you are doing an outside mount, you will attach brackets to the wall or window trim. Pay close attention to the specific mounting instructions that came with your blinds, as different styles may have unique requirements.
When drilling pilot holes, choose a drill bit slightly smaller than your mounting screws. This prevents wood splitting and ensures a secure attachment. Work slowly and carefully, maintaining a steady hand to keep your bracket positions precise and aligned.
Pro Tip: Always pre drill your holes and use wall anchors if you are mounting into drywall to prevent potential damage and ensure maximum stability.
Once the brackets are securely mounted, gently place the headrail into the brackets. Most headrails will simply snap or slide into place. Wiggle the headrail slightly to confirm it is seated correctly and will not shift or fall.
Check that the headrail is level and sits evenly across all brackets. Slight adjustments to the bracket positions might be necessary to achieve a perfect alignment. Take your time and make small corrections as needed.
With the brackets mounted and headrail positioned, you are now prepared for the next steps of your blind installation.
Step 4: Secure the Blinds and Attach Controls
With the headrail positioned, you are now ready to secure the blinds and attach their control mechanisms. This final installation phase transforms your carefully measured and mounted brackets into a fully functional window treatment.
Start by carefully following the manufacturer’s specific instructions for attaching the blinds to the headrail. Each blind style has unique connection points and methods. Some might require sliding the blinds into specific tracks, while others need precise clipping or snapping mechanisms.
Control attachments are crucial for smooth operation. If your blinds come with a cord mechanism, ensure the cord is threaded correctly through the designated guides. Motorized Blinds: Enhance Your Home with Convenience and Style suggests considering motorized options for added convenience if manual controls seem challenging.
When attaching wands or control rods, make certain they connect securely and move smoothly. Test the mechanism gently several times to confirm proper alignment and functionality. Avoid applying excessive force that might damage the delicate connection points.
Pro Tip: Always test your blinds multiple times after installation to ensure smooth operation and identify any potential adjustment needs.
For cordless or motorized blinds, double check that battery compartments are correctly installed or charging mechanisms are properly connected. Verify that wireless controls or remote systems are synchronized according to manufacturer instructions.
Once all controls are attached, perform a complete operational test. Raise and lower the blinds several times. Check for smooth movement, proper alignment, and consistent performance across the entire window treatment.
Congratulations. Your blinds are now fully installed and ready to enhance your living space.
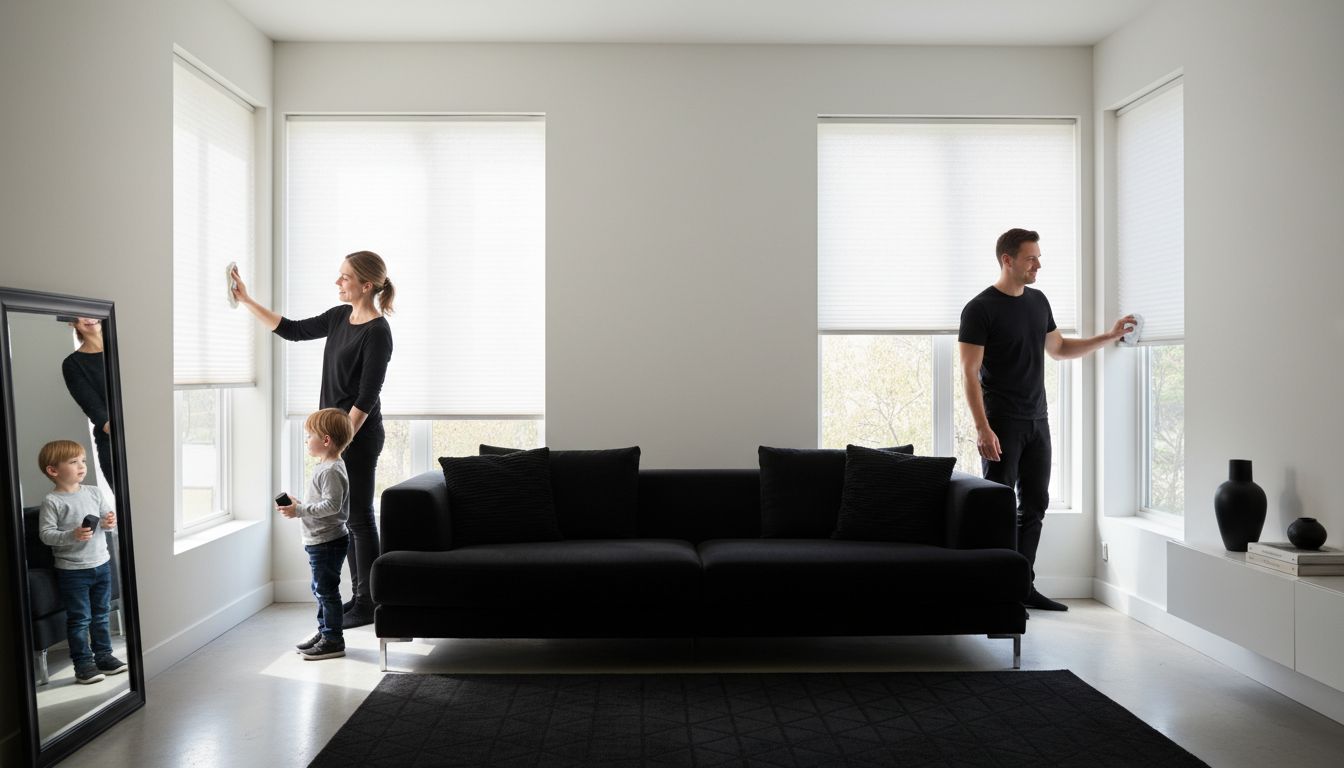
Step 5: Test Operation and Adjust for Perfection
With your blinds installed, the final critical step is thoroughly testing their operation and making precise adjustments. This ensures your window treatment functions smoothly and looks professionally installed.
Begin by fully raising and lowering the blinds multiple times. Pay close attention to their movement. How to Fix Crooked Blinds guide suggests watching for any uneven gliding or resistance during operation.
Check the blinds alignment from multiple angles. When fully extended, they should hang straight and parallel to the window frame. Slight tilting or unevenness might indicate that your initial bracket installation needs minor correction.
Test the control mechanisms comprehensively. Cord controls should move smoothly without snagging. Wand or motorized controls need to operate with minimal effort. Listen for any unusual sounds that might suggest misalignment or potential mechanical issues.
Pro Tip: Test your blinds at different times of day to ensure consistent performance under varying light conditions.
If you notice any minor misalignments, carefully adjust the mounting brackets. Sometimes just slightly loosening a screw and realigning can resolve small operational issues. Work slowly and make incremental adjustments.
For inside mount blinds, verify there is no rubbing against the window frame. Outside mount blinds should hang with a consistent gap from the window surface. Small adjustments can make a significant difference in both appearance and functionality.
Once you are satisfied with the performance, step back and admire your perfectly installed window treatment.
Achieve a Perfect Blind Installation with Custom Solutions from Value Blinds
Measuring and installing blinds can feel overwhelming when you want a flawless fit that enhances your home. The challenges of precise measurement, perfect mounting, and smooth operation are real. This article offers great tips but pairing that guidance with high-quality, customizable blinds makes all the difference. Whether you want cordless ease or blackout options, Value Blinds helps you avoid frustrations with professional-grade products designed for a perfect fit every time.

Explore our Best Sellers collection to find top-rated blinds that combine style and function. Discover new inspirations in our New Arrivals for the latest trends in custom window treatments. Ready to start your seamless installation journey today Visit Value Blinds now and use our detailed guides and expert support to enhance your home with window treatments that fit like they were made for you.
Frequently Asked Questions
How do I measure my windows for blinds to ensure a perfect fit?
To measure your windows accurately for blinds, use a metal tape measure and record the width at the top, middle, and bottom, as well as the height on the left, center, and right sides. Always use the narrowest width and tallest height measurements. This helps ensure your blinds will fit correctly inside or outside the window frame.
What tools do I need to install blinds?
You will need a metal tape measure, a sharp pencil, a notepad or worksheet, and a level tool to install your blinds correctly. Ensure you gather these tools to take precise measurements and secure your blinds effectively, minimizing any potential errors during the installation process.
How do I mount blinds on the wall versus the window frame?
For mounting blinds, first, determine if you are doing an inside mount or an outside mount. Inside mounts attach directly to the window frame, while outside mounts are affixed to the wall or window trim. Measure and mark your brackets accordingly to ensure stability and proper alignment.
How can I ensure my blinds operate smoothly once installed?
To ensure your blinds operate smoothly, test the lifting mechanism several times after installation to confirm ease of movement and alignment. Adjust the brackets if you notice any unevenness, and check that all control mechanisms are correctly attached. Make these adjustments carefully for optimal performance.
What should I do if my blinds are crooked or misaligned?
If your blinds are crooked, loosen the mounting brackets slightly and adjust their position until the blinds hang straight. Make small adjustments, checking the alignment from different angles as you go, to ensure they are properly corrected. This could often resolve minor operational issues without needing tools.
Why is it important to measure twice before installing blinds?
Measuring twice increases your chances of getting accurate dimensions, helping to avoid errors that could lead to ill-fitting blinds. By double-checking your measurements, you ensure a seamless installation process that looks professional and functions properly, saving you time and effort in the long run.


