Article: Cut 10–20 dB: Noise Reduction Techniques for Home, Plant, and Audio
Cut 10–20 dB: Noise Reduction Techniques for Home, Plant, and Audio
The most effective noise reduction techniques follow a strict order: control the source first, control the path second, add mass and absorption third, and reach for digital denoising only when you’re working with recorded audio. Skipping the diagnostic step (figuring out which noise source is actually dominant) wastes money on fixes that shave off less than a decibel. Done right, combining even two or three of these methods can knock out 10 to 20 dB of unwanted sound in a typical room 😊.
TL;DR:
- Controlling the noise source, such as fixing or replacing equipment, offers the largest impact but is only feasible if you own or can access the noisy item.
- Sealing gaps around windows, doors, and vents is a low-cost fix that can significantly reduce noise transmission by controlling air leaks.
- Windows are typically the main source of home noise leaks, and layering treatments like cellular shades combined with heavy curtains can reduce interior noise by up to 7 dB.
- Adding mass with drywall layers or decoupling walls can provide a 5 to 25 dB reduction, especially effective against impact and vibration noise.
- For industrial noise, damping panels and vibration isolation mounts are highly effective, reducing sound output by up to 25 dB when properly implemented.
Table of Contents
- Noise Reduction Techniques Ranked by Real-World Impact
- Home Noise Fixes: Windows, Doors, Walls, and Floors
- Industrial Engineering Controls for Plant and Facility Noise
- Digital Audio Denoising vs. Noise Reduction: What’s the Difference
- What dB and STC Numbers Actually Mean for You
- How to Diagnose Your Noise Problem Before Spending a Dollar
- Where Window Treatments Fit Into a Layered Plan
- Getting Started With Value Blinds for a Quieter Home
- Sources
- FAQ
Noise Reduction Techniques Ranked by Real-World Impact
Not every fix deserves equal attention, and that’s honestly the biggest mistake people make. They’ll drop cash on foam panels when the real culprit is a leaky window frame. Here’s how the major techniques stack up, roughly in order of cost-effectiveness for most situations:
- Source control (fixing the noisy thing itself, like tightening a rattling fan or replacing a worn bearing): often the single biggest win, but only possible when you own or control the equipment.
- Decoupling and isolation (vibration mounts, resilient channel, isolation pads): breaks the physical path noise travels through, especially for mechanical and impact noise.
- Mass and damping (extra drywall, sound-deadened steel, constrained-layer damping): adds weight and energy-absorbing layers that resist vibration, delivering 5 to 25 dB on radiating panels.
- Sealing gaps (weatherstripping, acoustic caulk, door sweeps): cheap, fast, and shockingly effective since sound loves to travel through the smallest air gap.
- Acoustic absorption (curtains, rugs, cellular shades, foam): reduces echo and reflected sound rather than blocking transmission outright, typically worth 3 to 7 dB.
- Barriers and enclosures (machine housings, sound walls, secondary glazing): physically block the path but add cost, weight, and sometimes maintenance headaches.
- Sound masking (white noise machines, fans, fountains): doesn’t reduce decibels at all, just covers unwanted sound with a more tolerable one.
- Digital denoising (spectral gating, ML-based tools): only relevant for recorded or transmitted audio, not physical spaces.
The trade-offs matter as much as the numbers. Source control is free once implemented but not always possible (you can’t exactly ask a highway to quiet down). Mass and damping work across almost any frequency but require construction. Absorption is cheap and reversible but does little against low-frequency rumble like bass or truck traffic. Pick your battles based on what’s actually dominant, which brings us to the next section.
Home Noise Fixes: Windows, Doors, Walls, and Floors
Before you buy anything, find the weak link. Walk your space and notice where sound gets loudest, whether that’s a window facing the street, a hollow-core door, or a floor that transmits every footstep from upstairs. Treating the wrong surface is the number one reason home soundproofing projects flop.
Windows: your biggest opportunity and biggest headache
Windows are almost always the dominant noise leak in a home, mostly because standard glazing is thin and frames rarely seal perfectly. You’ve got a few paths here, ranked from least to most invasive:
- Seal the gaps first. Weatherstripping and acoustic caulk around the frame cost next to nothing and can meaningfully tighten up a window before you spend another dollar on anything else.
- Add secondary glazing or window inserts. These clear acrylic or glass panels mount inside your existing frame, creating an air gap that interrupts sound transmission without a full window replacement.
- Layer glazing with heavy window treatments. This is where cellular shades and floor-to-ceiling curtains earn their keep. Thick, floor-to-ceiling curtains can reduce interior sound levels by roughly 3 to 7 dB, and pairing that softness with a rigid insert stacks the benefit further.
- Consider full window replacement only if you’re already renovating, since laminated or double-pane upgrades are the most expensive route and rarely justify their cost purely for noise.
Pro Tip: Mount curtain rods wider and higher than the window frame itself so the fabric wraps around the sides and forms a fuller seal against the wall. A curtain that just covers the glass barely touches the noise problem.
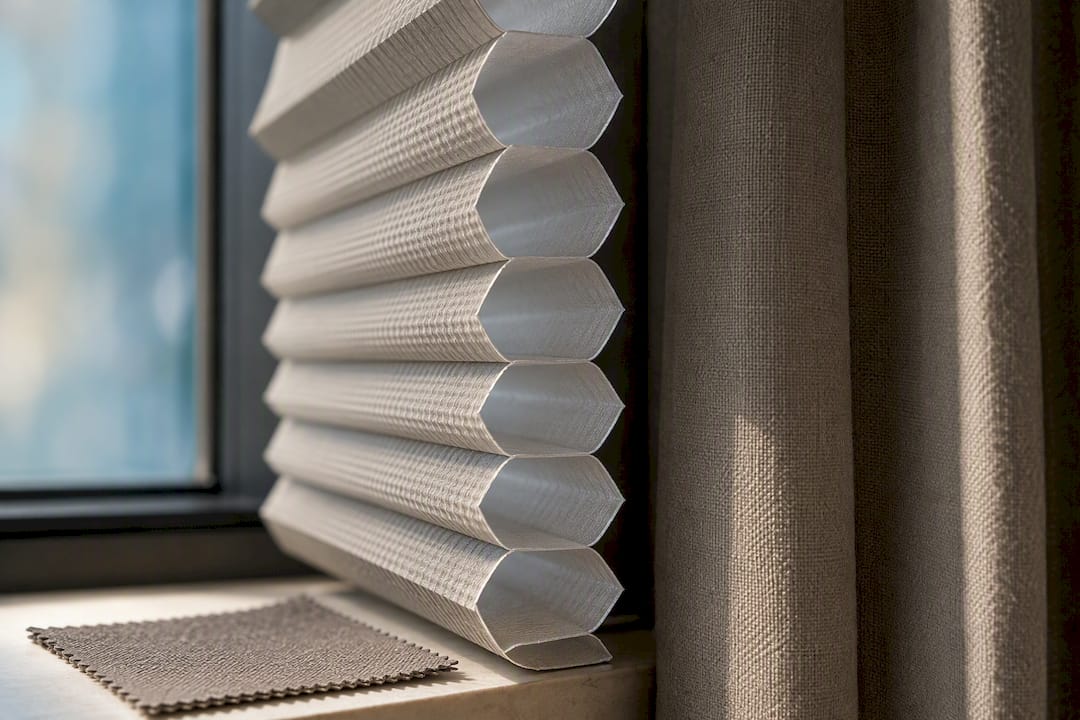
Cellular shades deserve a specific callout here. Their honeycomb structure traps air, which adds a modest layer of insulation and absorption beyond what a flat blind or sheer curtain offers, and when you layer window treatments (blackout cellular shade closest to the glass, heavier drapery on top), the combined effect on both temperature and sound tends to outperform either piece alone.
Walls, ceilings, and floors
Once windows are handled, walls and floors are next. If sound is coming through a shared wall or ceiling (think apartment living or a home office next to a noisy laundry room), a few interventions actually move the needle:
- Add a second layer of drywall with a damping compound. A product like Green Glue sandwiched between two layers of 5/8 inch drywall can add roughly 5 to 8 STC points to an existing wall, which is a real, measurable jump in how much conversation or bass gets blocked.
- Decouple the wall from the framing using resilient channel or sound isolation clips if you’re doing a full renovation. This breaks the direct vibration path between one room and the next.
- Address impact noise on floors separately. Footsteps and dropped objects travel through structure, not air, so rugs, floor underlayment, and even a floating floor system improve the Impact Insulation Class (IIC) rating in ways that wall treatments never will.
- Insulate wall cavities. Standard fiberglass or mineral wool batts inside a wall cavity add absorption that reduces sound transfer, and it’s a fix that pairs well with broader insulation upgrades if you’re already improving energy efficiency at the same time.
Doors and the small stuff
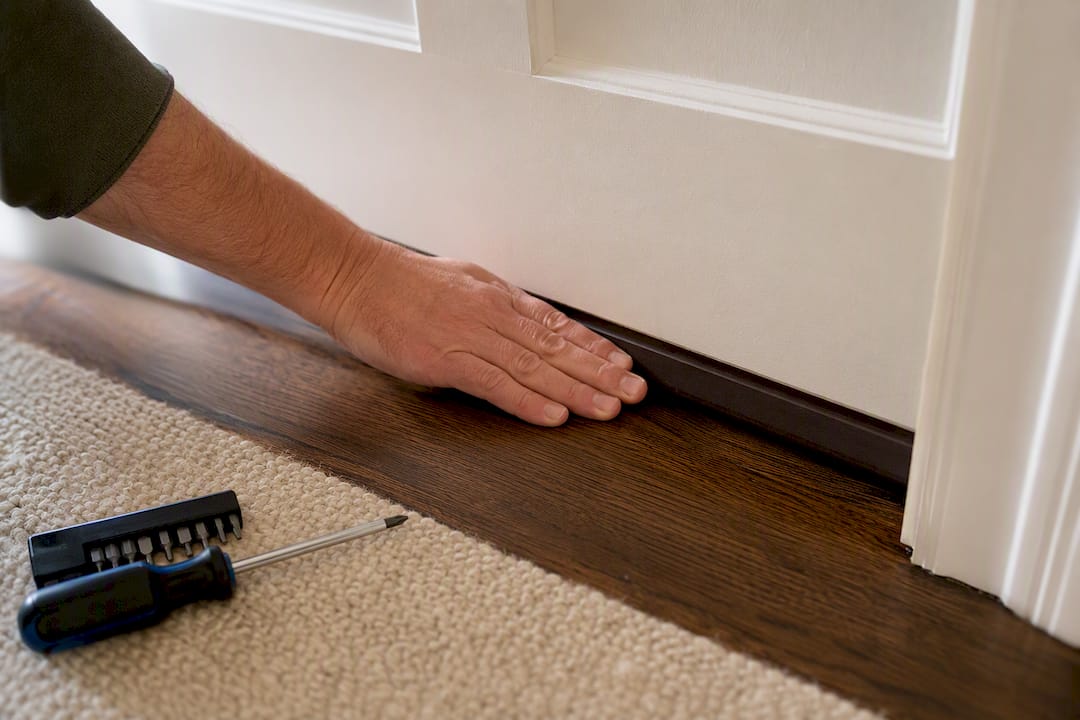
Hollow-core doors are basically noise sieves. Swapping to a solid-core door is a bigger job, but adding a door sweep and perimeter weatherstripping gets you most of the benefit for a fraction of the cost and effort. Do this before you spend money on anything more elaborate; a gap under a door can undo an otherwise well-sealed room.
A prioritized action plan
If you’re working room by room, here’s a sensible order based on cost and disruption:
- Seal every gap around windows, doors, and vents (weekend project, minimal cost).
- Layer window treatments, cellular shades under heavier drapery, on your loudest-facing windows.
- Add rugs, upholstered furniture, or wall panels for absorption in rooms with echo.
- Set up a masking source (fan, white noise machine) in bedrooms if outdoor noise persists after sealing.
- Tackle wall or floor construction (drywall layering, underlayment, decoupling) only if the above steps don’t get you close enough. Real homeowner data shows that combining sealing, inserts, and heavy curtains commonly removes 10 to 20 dB total, which is often the difference between “I can hear every car” and “I barely notice traffic.”
For a broader rundown of what fits which room, our guide on boosting noise reduction at home walks through more room-specific combinations.
Industrial Engineering Controls for Plant and Facility Noise
Facility managers face a different scale of problem, and the guidance here comes straight from occupational safety bodies, not general home advice. Both the CDC’s NIOSH division and the UK’s Health and Safety Executive are explicit: engineering controls come before hearing protection, not after. PPE is the last line of defense, not the first.
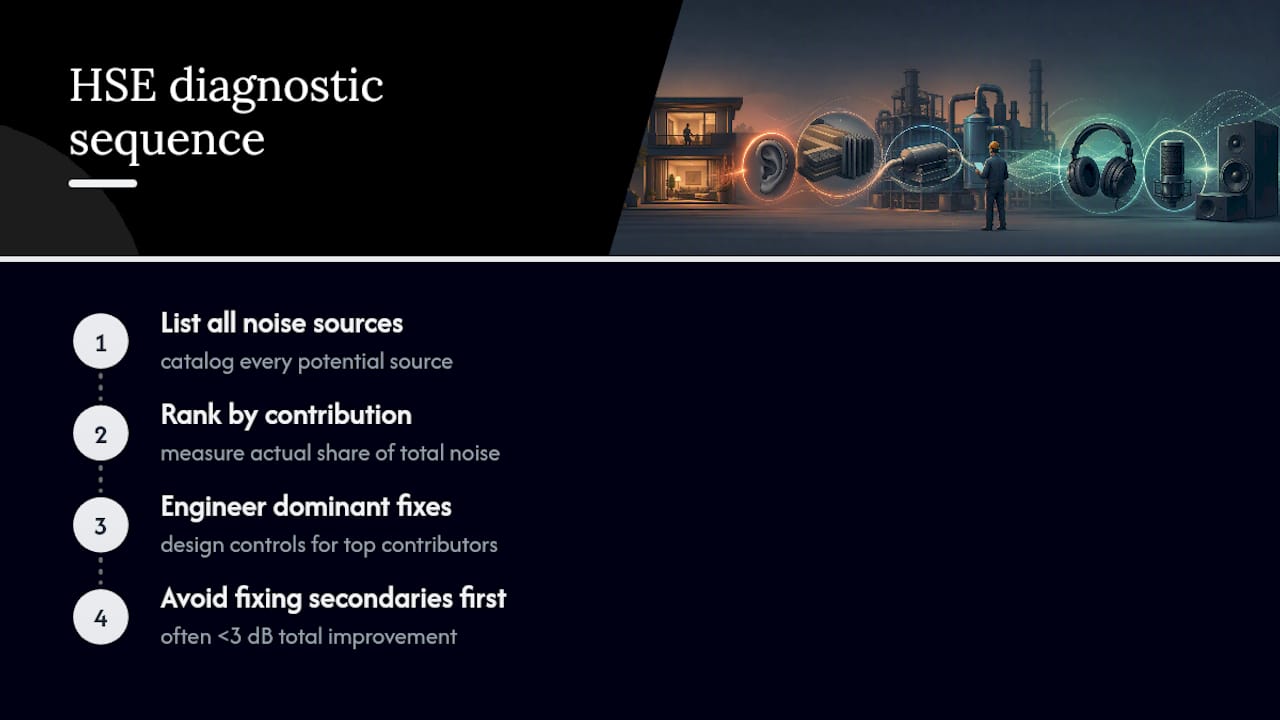
The HSE’s own ranking methodology is the diagnostic backbone here: list every potential noise source in a space, rank them by actual contribution to the problem, then design fixes only for the dominant contributors. Treating a secondary source first is one of the most common (and expensive) mistakes plant managers make, since it can improve total noise by less than 3 dB while draining the budget meant for the real fix.
Damping and isolation
Two techniques do most of the heavy lifting on industrial floors:
- Constrained-layer damping. Applying self-adhesive sound-deadened steel or a viscoelastic damping layer across roughly 80% of a vibrating panel can cut radiated noise by 5 to 25 dB, depending on the frequency involved and panel thickness.
- Vibration isolation. Mounts, rubber pads, and flexible connectors stop vibration from transferring into the building structure. The catch: a single rigid bolt bridging an isolated machine to its frame (“short-circuiting” the isolation) can undo the entire benefit, so hardware choice matters as much as the mount itself.
Ductwork and fan noise
Fans and ducts generate a disproportionate share of industrial noise complaints, and they’re also some of the cheapest problems to fix once you know where to look.
- Lining the interior of a duct or machine guard with acoustic absorbent material (foam or mineral wool) reduces airborne noise by about 10 to 20 dB.
- Straight duct runs generate less turbulence noise than sharp bends, so lining the last bend before a room opening usually delivers more benefit than lining the whole run.
- Fan speed and noise scale together in a predictable way: dropping a fan’s speed even modestly cuts both airflow and noise, so slightly oversizing a fan and running it slower often beats running a smaller fan at full tilt.
Pro Tip: Before ordering a full enclosure, check whether damping the vibrating panel itself solves the problem. Enclosures add cost, weight, and ongoing maintenance, while a self-adhesive damping sheet on the source panel is often cheaper and just as effective for mid-frequency noise.
Barriers, enclosures, and silencers
Full enclosures and barriers still have their place, mainly for equipment that can’t be modified directly or where multiple noise paths converge. The trade-off is real: enclosures need access panels for maintenance, add heat buildup risk for some equipment, and require ongoing upkeep to keep seals intact. They’re justified when simpler fixes (damping, isolation, duct lining) have already been ranked and ruled out as insufficient for the dominant source.
Quick troubleshooting checklist
- List and rank every noise source in the space before spending a dollar.
- Check for short-circuited isolation (rigid connections bypassing vibration mounts).
- Inspect duct linings and the last bend before any room opening.
- Confirm fan speed matches the minimum needed for airflow requirements.
- Reserve full enclosures for sources that survive the ranking process as still dominant.
Digital Audio Denoising vs. Noise Reduction: What’s the Difference
Noise reduction and denoising get used interchangeably, but they’re built on different math. Classic noise reduction uses techniques like spectral subtraction or Wiener filtering, which estimate the noise floor and subtract it. Denoising, particularly the machine-learning kind, reconstructs the signal from scratch using a model trained on what clean audio should sound like, similar to how a denoising autoencoder works. Broader background on this algorithm taxonomy shows the trade-off is consistent across audio, image, and signal processing: every method balances noise removal against preserving the actual detail you want to keep.
For podcasters and recordists, the practical toolbox breaks down into a few common techniques:
- Noise profiling. Most software samples a few seconds of pure background noise (room hum, fan noise) and builds a reference “fingerprint” it then subtracts from the whole track.
- Spectral gating. This suppresses frequencies below a set threshold, effectively muting quiet background hiss between words without touching the actual speech.
- Multiband suppression. Different frequency ranges get treated separately, which helps when your noise floor is uneven (a hum in the low end but hiss in the high end).
- Manual spectral editing. For stubborn clicks, pops, or a cough bleeding into a line, editing the spectrogram directly and repairing just that moment beats running heavier noise reduction across the entire file.
- ML-based denoisers. These work well on speech specifically but can sometimes smooth out natural vocal texture if pushed too hard.
The workflow that keeps quality high looks like this: capture the cleanest audio you can, profile the noise floor, apply conservative processing (not maximum settings), then go back and manually repair anything the automated pass missed. Audio professionals warn that aggressive noise reduction settings are the leading cause of that metallic, underwater-sounding artifact you’ve probably heard on a badly cleaned-up podcast. Once that artifact shows up, it’s genuinely hard to undo. The safer bet is always improving the capture (better mic placement, a treated room, a pop filter) over trying to fix a bad recording after the fact, since re-recording a rough section is almost always faster and cleaner than heavy digital repair.
What dB and STC Numbers Actually Mean for You
A 10 dB reduction is roughly perceived as cutting loudness in half. That’s the number worth memorizing, because it turns abstract decibel math into something you can actually feel the difference of. A jump from 70 dB to 60 dB in your bedroom isn’t a modest improvement, it’s close to half as loud to your ears.
Here’s how the major fixes compare when you line them up:
| Technique | Typical Effect | Best Suited For |
|---|---|---|
| Floor-to-ceiling curtains | 3 to 7 dB | Windows, reflected sound in a room |
| Drywall + damping compound | +5 to 8 STC points | Shared walls, apartment noise |
| Duct lining | 10 to 20 dB | Industrial airflow noise |
| Constrained-layer damping | 5 to 25 dB | Vibrating panels, machine housings |
| Combined home sealing + inserts + curtains | 10 to 20 dB | Whole-room street noise reduction |
STC (Sound Transmission Class) measures how well a wall or door blocks airborne sound; a higher number means less sound gets through. These improvements don’t simply add together in a straight line. Sealing a gap and adding mass to a wall doesn’t just stack dB by dB, since the weakest remaining path (usually a gap, not the wall material) still dominates the total result. That’s why sealing always comes first: fix the leak before upgrading the wall behind it, or the leak will erase most of your investment in the wall.
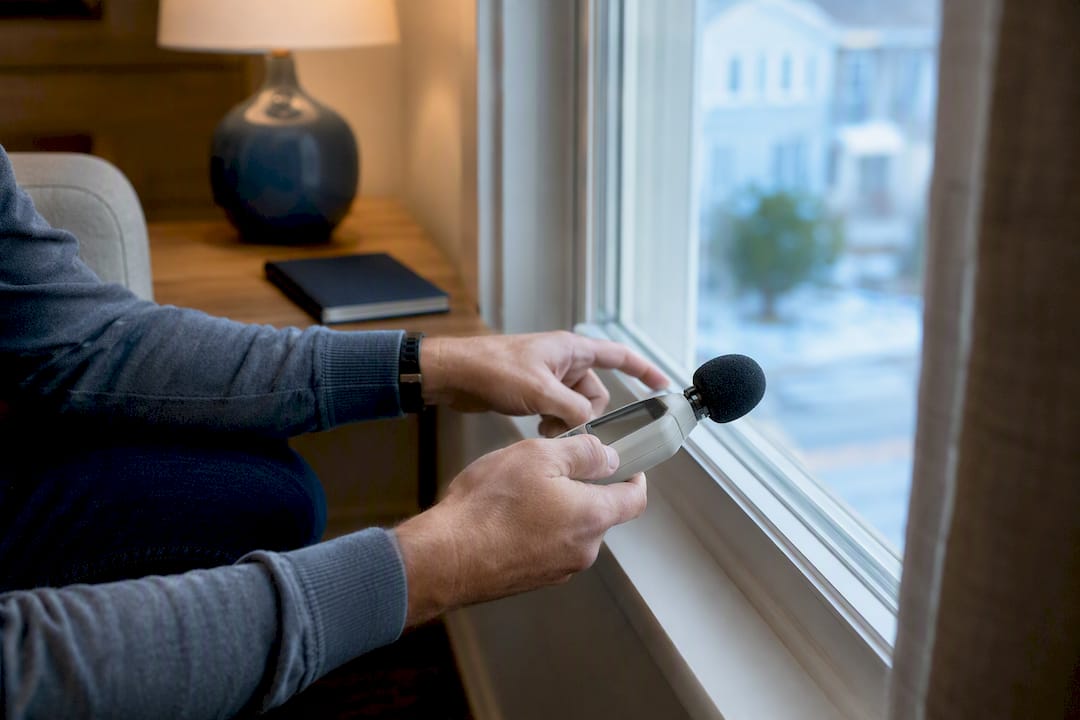
If you’re chasing a specific number for a home office or studio, a professional acoustic test with a calibrated sound level meter gives you real before-and-after data. A smartphone app gets you close enough for DIY decision-making, but it won’t hold up if you need documentation for a landlord dispute or a building permit.
How to Diagnose Your Noise Problem Before Spending a Dollar
Skipping this step is how people end up with expensive curtains that barely touch the actual problem. Here’s the process, adapted from the same ranking logic engineers use on factory floors:
- Keep a noise diary for a week. Note the time, source, and rough loudness of anything disruptive. Patterns show up fast, traffic peaks at rush hour, a neighbor’s HVAC cycles every 20 minutes, footsteps happen only after 10 p.m.
- Use a smartphone dB app for relative comparisons. These apps aren’t lab-accurate, but they’re reliable enough to confirm which room, or which wall, is genuinely louder than another.
- Run isolation tests. Close a window and see how much the level drops. Hang a heavy blanket over a door temporarily and check again. These crude mock-ups estimate your potential gain before you buy anything permanent.
- Rank your candidate fixes by expected return. A $30 door sweep that kills a noticeable draft-noise leak beats a $300 acoustic panel that shaves off a barely perceptible amount.
- Verify with a before-and-after check. Take a dB reading before you start and another after each major step, so you know whether the money you spent actually did anything.
Quick reference for your diagnostic kit:
- Notebook or notes app for the noise diary
- A dB meter app on your phone
- A heavy blanket or moving box for mock-up barrier tests
- Painter’s tape to mark your measurement spot so readings stay consistent
Where Window Treatments Fit Into a Layered Plan
Windows are usually the loudest gap in a home’s noise defenses, which is exactly why they deserve more than an afterthought. Cellular shades add a trapped air layer that contributes real absorption, and pairing them with a blackout lining adds mass on top of that, a combination worth stacking rather than choosing between. Motorized shades don’t add acoustic performance on their own, but they make it painless to keep shades closed during peak traffic hours or work calls, which matters more than people expect since a treatment left open all day does nothing for you.
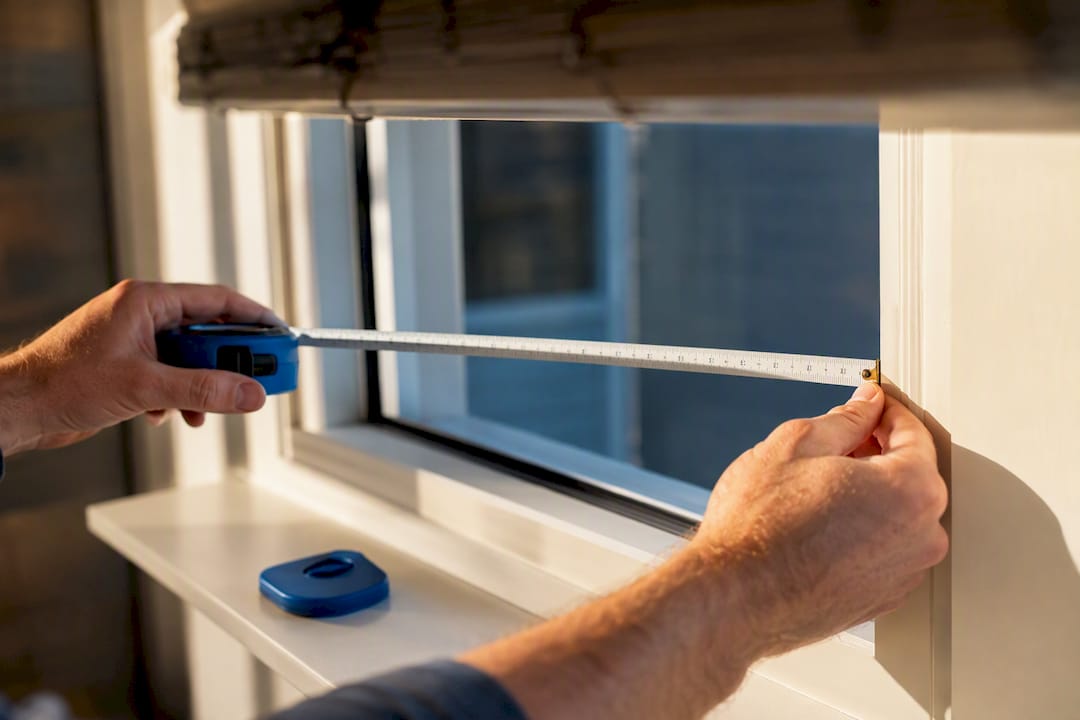
Mounting matters as much as material. An inside-mount shade that fits tight against the frame seals better than an outside-mount version with gaps down the sides, and layering a cellular shade under heavier drapery pushes the combined effect further than either piece alone. This is the kind of practical, room-by-room thinking a design tool or measurement guide can help you get right on the first try, since a poorly measured window undercuts even the best fabric choice.
— Sunny
Getting Started With Value Blinds for a Quieter Home
Custom cellular and blackout shades tackle both mass and absorption in a single product, so you don’t have to layer three separate purchases for one meaningful result.

Getting started is straightforward. Measure your window (or use the measurement tool if you want a guided walkthrough), pick a fabric and insulation level in the design studio, and place your order. If precision mounting matters to you, and for acoustic performance it genuinely does, book Pro Measure & Install so the fit is tight against the frame from day one instead of guessed at. Browse the full shade and blind collection to compare cellular, blackout, and layered options side by side, and see which combination fits your loudest room first.
Sources
FAQ
How to block 100% of noise?
You can’t, realistically. Even professional soundproof rooms retain some residual sound; the goal is stacking techniques (sealing, mass, damping, absorption) to get noise down to a level you no longer notice, not true silence.
What are the techniques of denoising?
Common approaches include noise profiling and subtraction, spectral gating, multiband suppression, manual spectral editing, and machine-learning based reconstruction like denoising autoencoders, each with different trade-offs between noise removal and signal quality.
What are three methods of controlling noise exposure?
The core three are source control (fixing or replacing the noisy equipment), path control through isolation or barriers, and administrative controls like limiting exposure time, with engineering controls prioritized over personal protective equipment.
What is a 7 dB noise reduction?
A 7 dB reduction sits at the upper end of what thick, floor-to-ceiling curtains can achieve, and since every 10 dB roughly halves perceived loudness, a 7 dB cut is a genuinely noticeable improvement, not a marginal one.
How much can layering window treatments reduce noise at home?
Layering a cellular shade with heavier drapery combines absorption with added mass, and when paired with sealing gaps around the frame, homeowners commonly see a meaningful drop as part of a broader 10 to 20 dB combined reduction across sealing, inserts, and curtains together.