
Master Cleaning Window Treatments for a Fresh Look
Cleaning window treatments seems simple until you realize there are dozens of materials and styles in most homes. Some demand spot cleaning, others can be tossed in the wash, and a few need specialized care. But here is the part that surprises most people. The wrong cleaning method can ruin delicate materials, causing stains or warping in just one session. What most folks do not realize is that your window coverings do not just gather dust. They can quietly collect moisture and grime that shortens their lifespan unless you use the right technique from the start.
Table of Contents
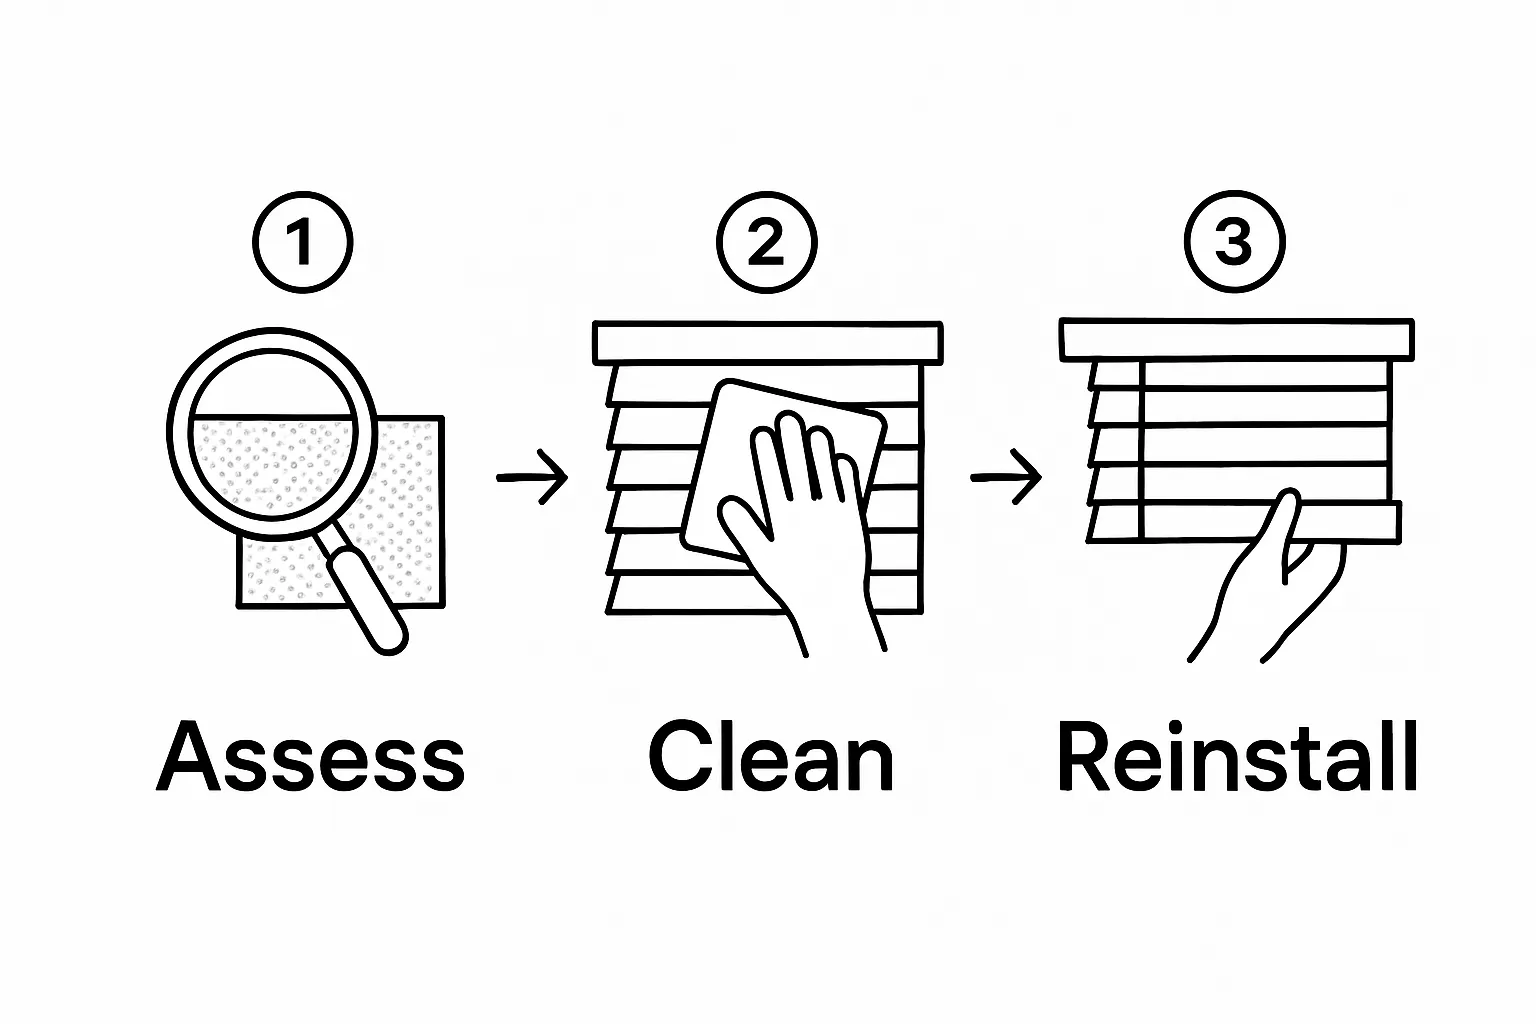
- Step 1: Assess The Type Of Window Treatments
- Step 2: Gather Necessary Cleaning Supplies
- Step 3: Prepare Your Space For Cleaning
- Step 4: Clean The Window Treatments Thoroughly
- Step 5: Allow To Dry And Inspect For Quality
- Step 6: Store Or Reinstall Treatments Properly
Quick Summary
| Key Point | Explanation |
|---|---|
| 1. Identify Window Treatment Types | Assess materials like fabric and wood to choose appropriate cleaning techniques. Proper identification ensures effective care for different materials. |
| 2. Assemble Proper Cleaning Supplies | Gather microfiber cloths, vacuum attachments, and gentle cleaning solutions specific to the materials of your window treatments for optimal cleaning results. |
| 3. Create an Organized Cleaning Space | Clear the area around treatments, cover floors, and ensure good ventilation to facilitate an efficient and damage-free cleaning process. |
| 4. Use Gentle Cleaning Methods | Begin cleaning with the gentlest methods, increasing intensity if required. This prevents damage while ensuring thorough cleaning of various materials. |
| 5. Inspect and Properly Store Treatments | After cleaning, ensure treatments are dry and free from damage before reinstalling or storing them properly to maintain their condition. |
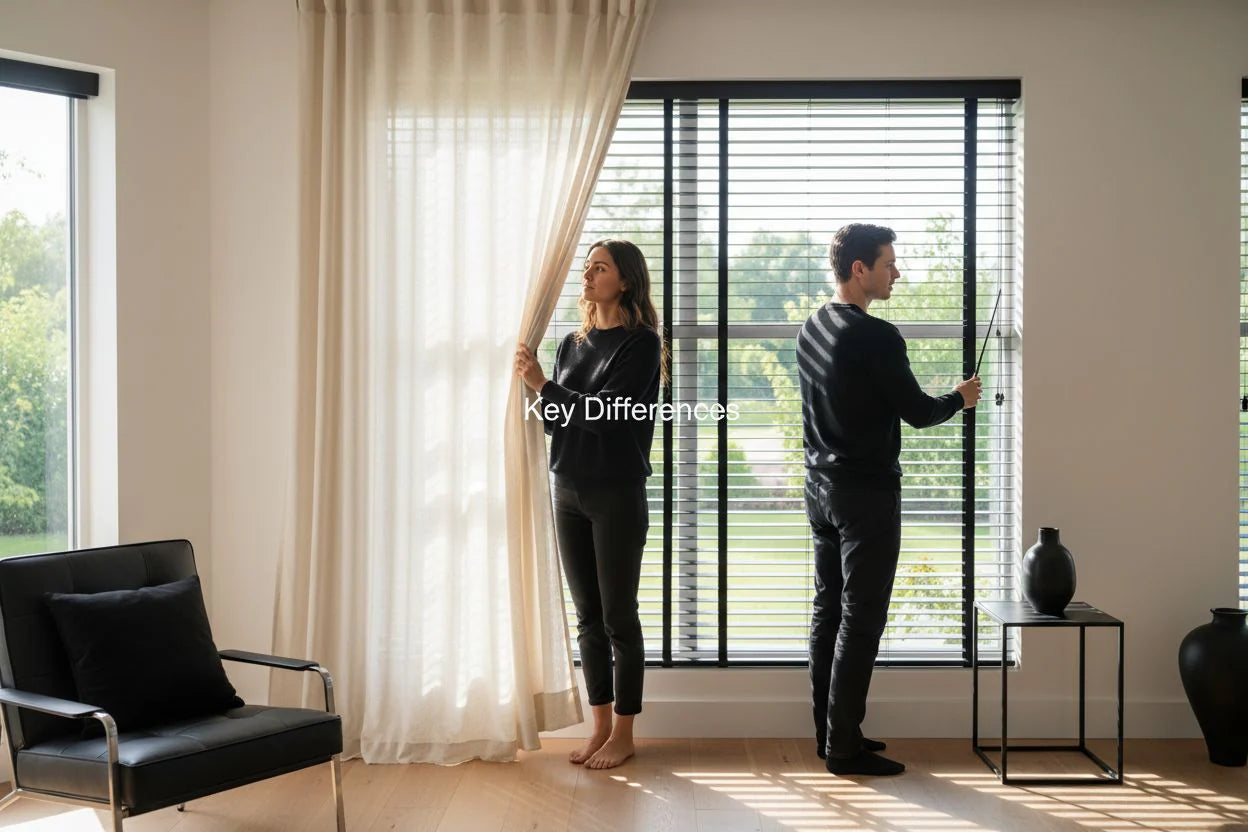
Step 1: Assess the Type of Window Treatments
Cleaning window treatments starts with a critical initial step: understanding the specific materials and characteristics of your window coverings. Each type of window treatment requires a unique approach to cleaning, making accurate identification crucial for maintaining their appearance and longevity.
Begin by carefully examining the fabric, material, and construction of your window treatments. Different materials like delicate silk roman shades, sturdy wooden blinds, or textured cellular shades demand specialized cleaning techniques. Take a close look at the texture, weave, and any manufacturer tags that might provide specific care instructions.
For fabric window treatments, check for labels indicating washing instructions. Some materials can be machine washed, while others require professional cleaning or gentle spot treatment. Fabric composition matters significantly in determining the appropriate cleaning method. Natural fibers like cotton and linen might tolerate different cleaning approaches compared to synthetic materials such as polyester or specialized blends.
Wooden and bamboo blinds need a different assessment strategy. Look for signs of dust accumulation, potential warping, or discoloration that might indicate specific maintenance requirements. Metal and aluminum blinds will have yet another set of cleaning considerations. Check out our guide on DIY window treatment care for more detailed insights into material-specific maintenance.
Verification is key in this assessment phase. Run your fingers gently across the surface to feel the texture and note any visible dirt or stains. Take note of the following key identification points:
- Fabric composition and weave
- Mounting style (inside or outside mount)
- Material durability
- Potential sensitive areas
By carefully examining your window treatments, you create a solid foundation for effective cleaning. This initial step prevents potential damage and ensures you select the most appropriate cleaning technique for each specific type of window covering.
Step 2: Gather Necessary Cleaning Supplies
With your window treatments carefully assessed, the next crucial step is assembling the right cleaning arsenal. Proper preparation prevents potential damage and ensures a thorough cleaning process. Your cleaning supplies will vary based on the materials you identified in the previous assessment stage.
Start by creating a dedicated cleaning kit specifically for window treatments. Microfiber cloths are essential for most surfaces, offering gentle yet effective dust removal without scratching delicate materials. Select soft, lint-free cloths in multiple sizes to accommodate different window treatment styles. Invest in high-quality microfiber that can trap dust particles without spreading them around.
Vacuum attachments play a critical role in your cleaning toolkit. Soft brush attachments with adjustable suction work wonderfully for removing loose dust and debris from fabric and slatted window treatments. Look for narrow nozzle attachments that can reach tight corners and intricate areas without applying excessive pressure.
For specialized cleaning, you will need a few additional items. Soft-bristled brushes with extendable handles help clean hard-to-reach areas without straining yourself. White vinegar, mild dish soap, and rubbing alcohol can create gentle cleaning solutions for specific material types. Explore our comprehensive guide on window treatment maintenance for more detailed insights into specialized cleaning techniques.
Your comprehensive cleaning supplies should include:
- Microfiber cloths (multiple sizes)
- Vacuum with soft brush attachments
- Extendable soft-bristled brush
- Mild cleaning solutions
- Spray bottle
- Clean white towels
- Protective gloves
Prepare a clean, organized workspace with your supplies laid out systematically. This approach ensures you can move efficiently through the cleaning process without interruption. Remember that having the right tools is half the battle in achieving spotless, fresh-looking window treatments.
Here is an overview of suggested cleaning supplies for different window treatment materials, along with their purpose and any special notes.
| Material Type | Suggested Supply | Purpose | Special Notes |
|---|---|---|---|
| Fabric Treatments | Microfiber cloths | Dust removal, gentle cleaning | Use multiple sizes for versatility |
| Fabric Treatments | Vacuum with brush | Remove loose dust and debris | Adjustable suction, soft brush |
| Wooden/Bamboo Blinds | Microfiber cloth | Clean slats without scratching | Slightly dampen for grime, wring well |
| Metal/Aluminum Blinds | Soft-bristled brush | Reach tight spaces, dust removal | Extendable handle for high areas |
| All Types | Mild cleaning solutions | Spot clean, remove stains | Test on hidden area first |
| All Types | Clean white towels | Blot stains, dry treated areas | Lint-free preferred |
| All Types | Protective gloves | Hand protection from cleaners | Recommended for chemical solutions |
Step 3: Prepare Your Space for Cleaning
Before diving into the actual cleaning process, creating a strategic workspace is essential for efficient and effective window treatment maintenance. Proper preparation minimizes potential mess and protects both your window treatments and surrounding areas from accidental damage.
Clear the immediate area around your window treatments completely. Remove furniture, decorative items, and other objects that might obstruct your cleaning process or risk getting soiled. This step provides you with ample working space and prevents accidental spills or dust transfer to other surfaces. Consider temporarily relocating small side tables, potted plants, or decorative elements to ensure unobstructed access.
Protect your floors and nearby surfaces with strategic coverings. According to home maintenance research, laying down old towels, drop cloths, or plastic sheets beneath your work area catches falling dust, debris, and potential cleaning solution drips. This precautionary measure saves you from additional cleanup and prevents potential staining or damage to carpets, hardwood, or tile flooring.
Ventilation is another critical consideration during your preparation. Open windows or activate fans to ensure proper air circulation, which helps dust disperse and dries cleaning solutions more quickly. If you are working with chemical cleaning agents, good ventilation becomes even more important for maintaining a safe working environment.
Your preparation checklist should include these key actions:
- Remove nearby furniture and decorative items
- Cover floors with protective materials
- Ensure good room ventilation
- Gather all cleaning supplies within easy reach
- Wear comfortable clothing that allows free movement
Take a moment to assess your workspace critically. Proper preparation transforms the cleaning process from a potentially stressful task into a smooth, methodical approach. By creating an organized, protected environment, you set yourself up for successful window treatment maintenance that preserves their beauty and extends their functional life.
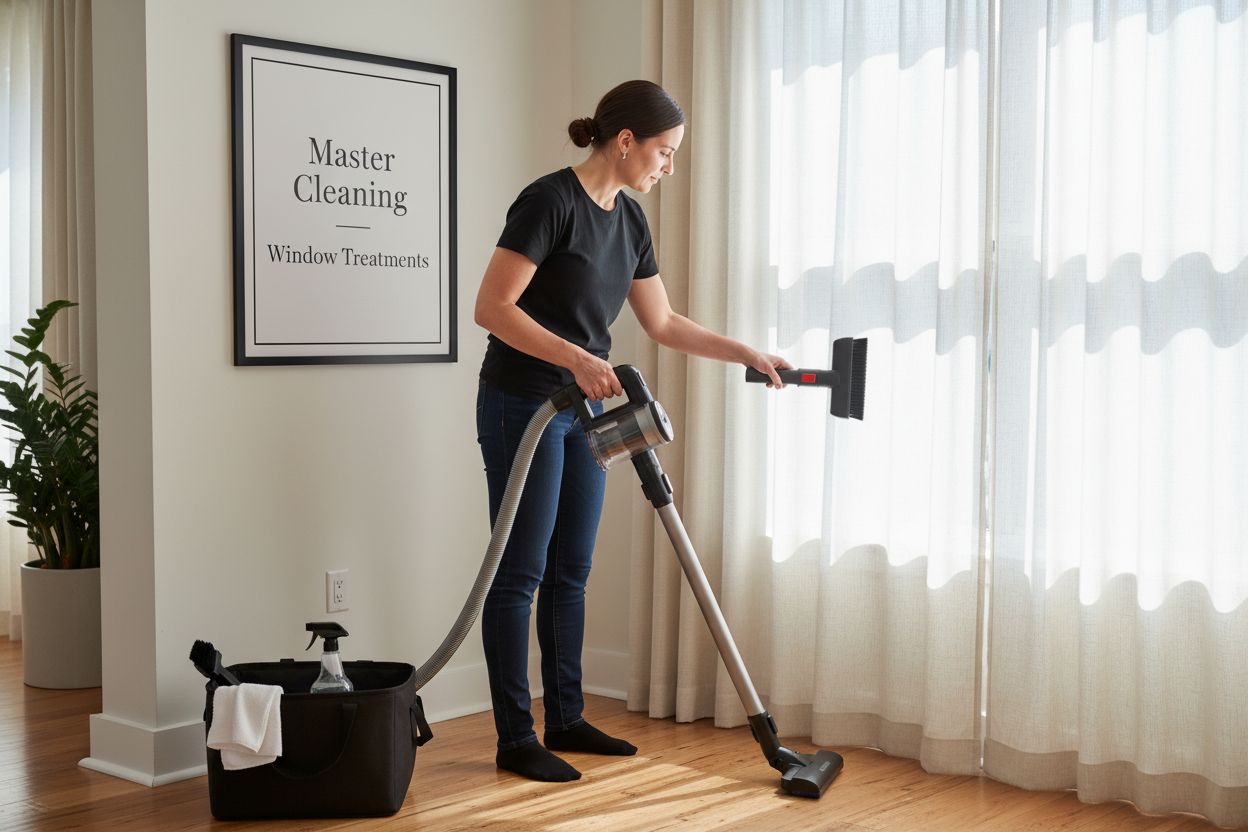
Step 4: Clean the Window Treatments Thoroughly
The cleaning process demands precision, patience, and a methodical approach tailored to the specific materials you identified in the initial assessment. Start with the gentlest cleaning method possible, working progressively towards more intensive techniques only if necessary.
For fabric window treatments, begin with your vacuum’s soft brush attachment. Use gentle, consistent strokes to remove loose dust and debris. Position the vacuum nozzle slightly above the fabric to prevent direct contact, which could potentially damage delicate fibers. When dealing with stubborn dust in pleated or textured treatments, angle the attachment to follow the natural fabric lines.
Wooden and aluminum blinds require a different strategy. Use a microfiber cloth or soft duster, moving systematically from top to bottom. Tilt the blinds to expose all surfaces, ensuring you clean both sides of each slat. For accumulated grime, slightly dampen your microfiber cloth with a mild cleaning solution. Always wring out excess liquid to prevent water damage. Check out our guide on maintaining different blind types for additional insights into specialized care.
Spot cleaning becomes crucial for addressing specific stains or marks. Mix a gentle solution of warm water and mild dish soap for most fabric treatments. Test any cleaning solution on a hidden area first to ensure it doesn’t cause discoloration. Blot stains carefully using a white cloth, avoiding aggressive rubbing that could spread or embed the stain deeper into the fabric.
Your comprehensive cleaning checklist should include:
- Systematic dust removal
- Gentle spot cleaning techniques
- Careful moisture management
- Consistent cleaning direction
- Thorough but gentle approach
Pay close attention to your window treatments during the cleaning process. Watch for any signs of fabric weakening, color fading, or structural changes. The goal is not just cleanliness, but preserving the integrity and appearance of your window coverings. Patience and a light touch will yield the best results, transforming your window treatments from dusty to pristine.
Step 5: Allow to Dry and Inspect for Quality
After the meticulous cleaning process, proper drying and quality inspection become crucial steps in maintaining your window treatments. Patience is key during this final stage, as rushing can potentially undo all your careful cleaning efforts.
Select an appropriate drying area with good air circulation. Hang fabric window treatments in a well-ventilated space, ensuring they are fully extended to prevent wrinkles or moisture trapped in folds. For wooden or slatted blinds, position them in an area with indirect sunlight to avoid potential warping or color fading. According to home maintenance research, thorough air-drying prevents mold growth and potential water damage.
While drying, take the opportunity to conduct a comprehensive visual inspection. Examine each section of your window treatments carefully, looking for any remaining spots, potential damage, or areas that might require additional attention. Run your hands gently across the surface, feeling for any remaining dirt or unusual textures that might have been missed during the initial cleaning process.
Pay special attention to the hardware and mounting areas. Check for any signs of wear, loose connections, or potential damage that might have been obscured by dust and grime. This is an ideal time to tighten any loose mechanisms or address minor repair needs before reinstalling your window treatments.
Your quality inspection checklist should include:
- Even drying without moisture pooling
- No remaining visible stains or dirt
- Consistent color and texture
- Intact fabric or material structure
- Smooth operation of any moving parts
Once completely dry, your window treatments should look refreshed and revitalized. Take a step back and appreciate the transformation. The careful cleaning process you’ve completed not only improves the appearance of your window coverings but also extends their functional life and maintains their original beauty.
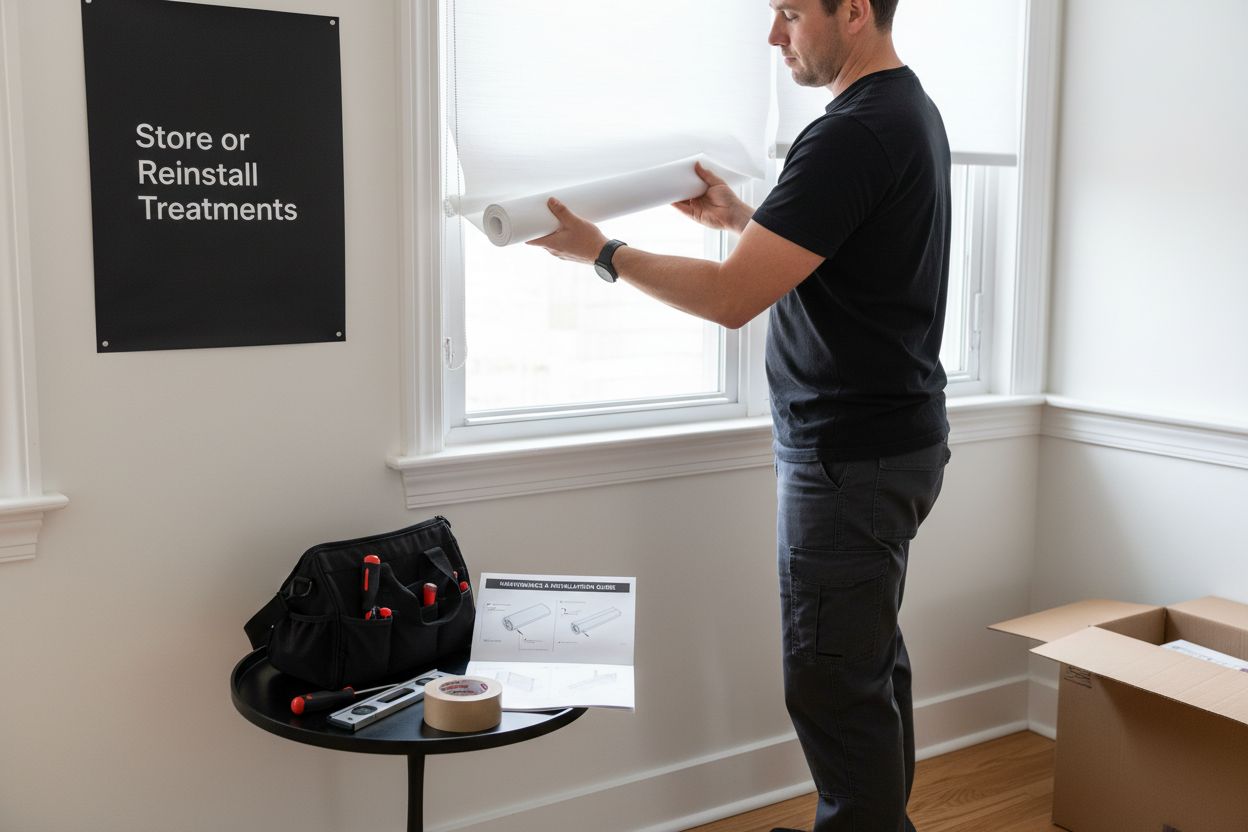
Step 6: Store or Reinstall Treatments Properly
The final phase of your window treatment maintenance involves careful reinstallation or strategic storage. Precision and attention to detail are paramount in this concluding step, ensuring the longevity and continued performance of your freshly cleaned window coverings.
If you are reinstalling, approach the process methodically. Begin by thoroughly examining the mounting brackets and hardware. Clean these areas to remove any accumulated dust or debris that might have been hidden during the initial cleaning process. Ensure all screws are tight and the mounting system remains secure. When rehanging, take care to align each treatment exactly as it was originally positioned, maintaining the precise height and angle for optimal functionality and aesthetic appeal.
For treatments that will be temporarily stored, choose a storage solution that protects them from dust, moisture, and potential damage. Fabric treatments require breathable storage containers or clean cotton sheets that prevent moisture buildup while blocking dust. Roll soft fabric treatments loosely to prevent permanent creasing, and store them in a cool, dry location away from direct sunlight. Wooden and metal blinds should be carefully folded or rolled according to their specific design, using protective coverings that prevent scratching or bending.
Our guide on window treatment maintenance offers additional insights into proper handling and storage techniques. Pay special attention to the specific requirements of different materials, as improper storage can lead to permanent damage or degradation.
Your final checklist for storage and reinstallation should include:
- Verify hardware integrity
- Ensure complete dryness before reinstalling
- Protect treatments from dust and moisture
- Maintain original positioning
- Use appropriate storage materials
Take a moment to step back and appreciate the transformation you’ve achieved.
Use this table as a checklist during your final inspection and storage or reinstallation to ensure lasting quality and protection of your window treatments.
| Inspection/Storage Step | Completion Criteria |
|---|---|
| Drying | Treatments are fully air-dried, no moisture left |
| Stain Check | No visible stains or smudges remaining |
| Material Condition | Fabric or structure remains intact |
| Color & Texture | Even appearance without fading or rough spots |
| Hardware Check | Brackets and fasteners secure, clean |
| Storage/Reinstallation | Original alignment or proper, protective storage |
| Dust/Moisture Protection | Stored in dust- and moisture-resistant space |
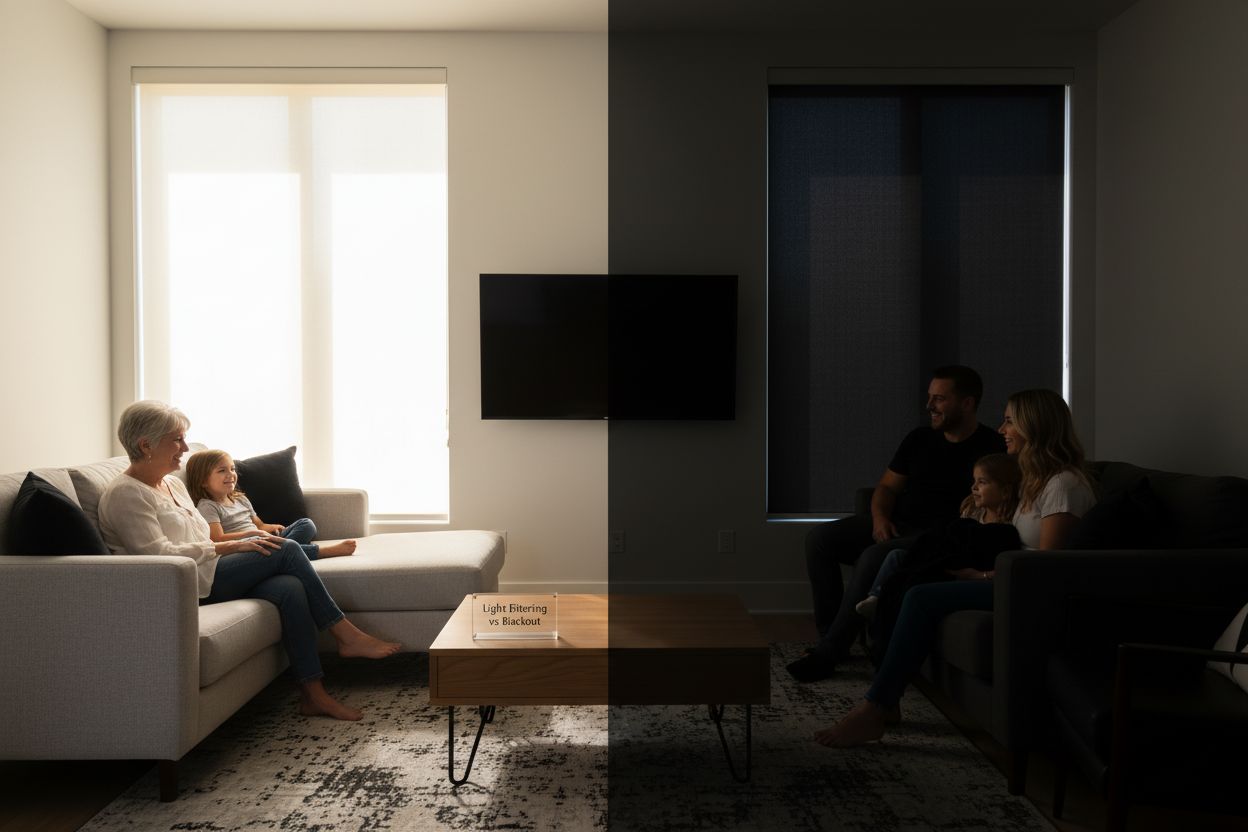
Elevate Your Window Refresh With Effortless Upgrades
If you have spent time mastering the art of cleaning your window treatments, you already know that the right care is essential for keeping your space fresh and inviting. However, even the most thorough cleaning can reveal blinds or shades that are outdated, damaged, or simply no longer match your current style or performance needs. If you have noticed warping, fading, or material wear as described in the article, why not use this opportunity to embrace a complete transformation?
Explore our Trending Features for window treatments to discover stylish, customizable solutions designed for superior durability and easy maintenance.

Give your windows a fresh new look with premium blinds and shades that are simple to clean, energy-efficient, and custom-fit for your space. Enjoy exclusive benefits like free swatches, expert advice, and easy ordering at Value Blinds. Browse our New Arrivals for the latest designs and see how effortless it can be to revitalize your home today. Take action now to achieve that flawless finish and lasting beauty you have worked so hard to maintain.
Frequently Asked Questions
How often should I clean my window treatments?
It is recommended to clean your window treatments every 3 to 6 months, depending on the level of dust and dirt they accumulate.
Can I machine wash fabric window treatments?
Some fabric window treatments can be machine washed, but it’s vital to check the care labels for specific washing instructions.
What are the best cleaning solutions for different types of window treatments?
Mild dish soap mixed with warm water is generally safe for most fabrics, while wooden and aluminum blinds can be cleaned with a slightly damp microfiber cloth or a special cleaner for specific materials.
How do I prevent damage when cleaning delicate materials?
Always start with the gentlest cleaning method, use soft brushes or cloths, and avoid excessive moisture, especially on delicate materials like silk.


