

DIY Window Treatment Ideas for a Stylish Home
DIY window treatments can totally transform any room, but there is one detail that surprises almost everyone. Most people eyeball their window size or use old measurements and then wonder why their project looks awkward. Yet experts say measuring to the nearest 1/8 inch is the single most crucial step if you want your windows to look custom and fit perfectly. If you thought materials or style mattered most, think again—precision at the very start is what actually makes or breaks the final result.
Table of Contents
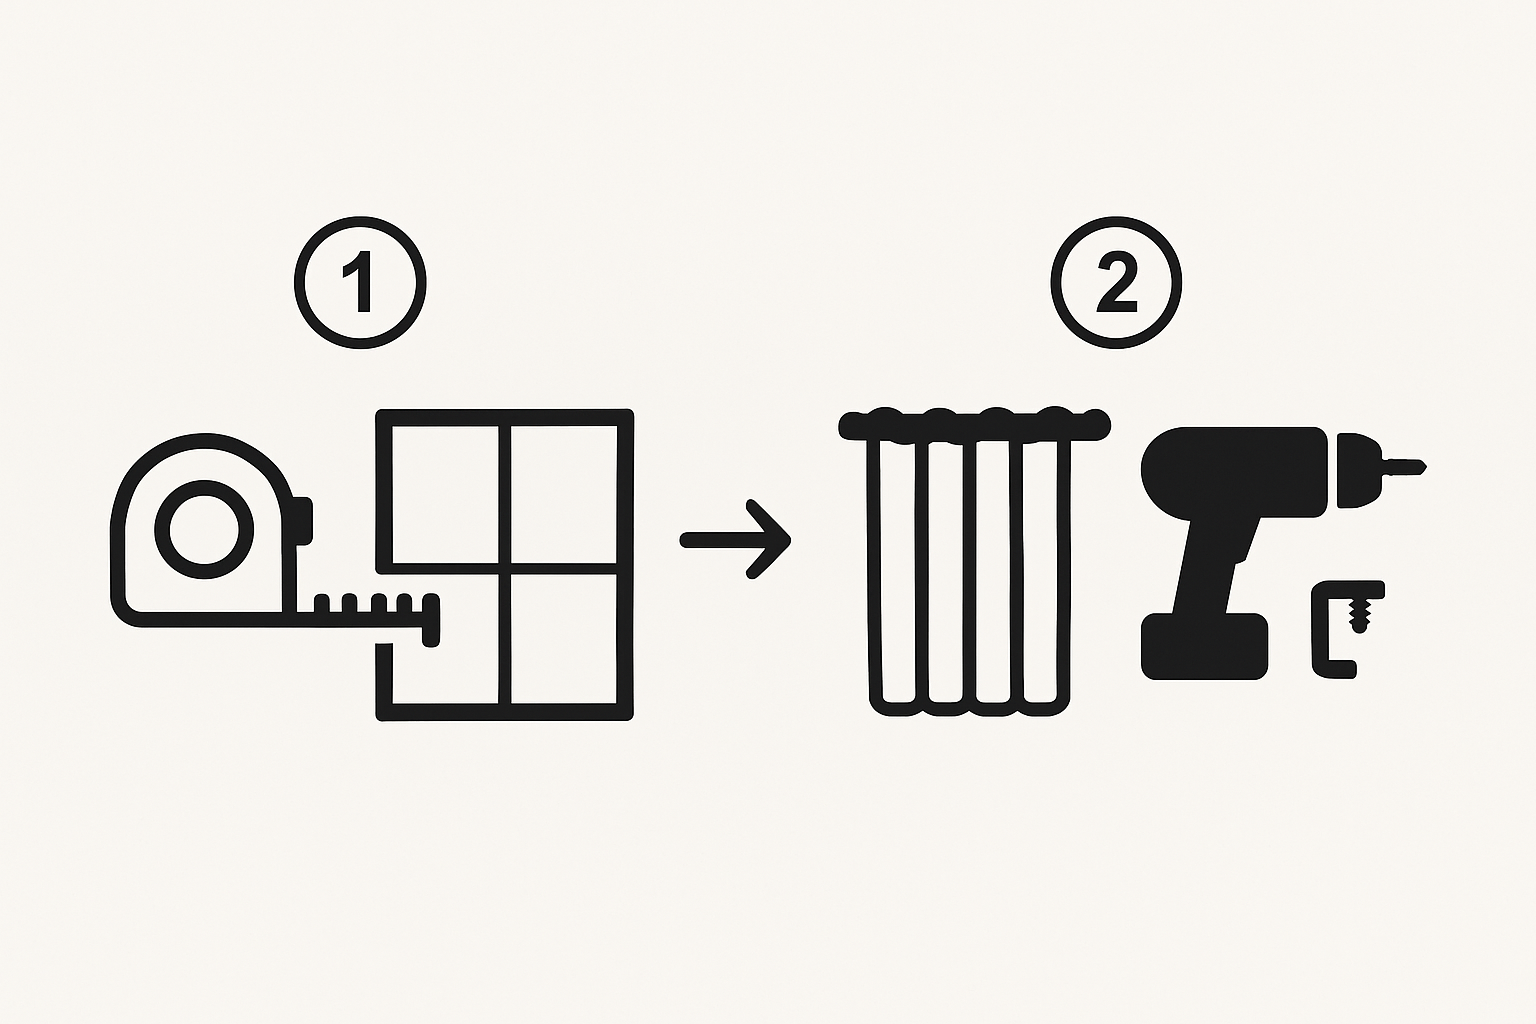
- Step 1: Measure Your Windows Accurately
- Step 2: Choose Your Materials Wisely
- Step 3: Design Your Window Treatment Style
- Step 4: Assemble Necessary Tools And Supplies
- Step 5: Install Your Window Treatment Safely
- Step 6: Test And Adjust For Perfect Fit
Quick Summary
| Key Point | Explanation |
|---|---|
| 1. Measure Windows Precise | Accurate measurements are crucial for fitting treatments and preventing costly mistakes. Always measure each window individually and record dimensions correctly. |
| 2. Select Appropriate Materials | Choose materials based on aesthetics, functionality, and durability, considering climate impact and lifestyle needs for optimal performance. |
| 3. Design for Room Needs | Tailor your window treatments to the room’s function and style, considering light control, privacy, and overall design coherence. |
| 4. Gather Essential Tools | Prepare necessary tools before starting, including measuring devices and installation equipment, to streamline the DIY process. |
| 5. Test Installation Thoroughly | After installation, check for smooth operation and aesthetic appeal to ensure everything functions correctly and looks professional. |
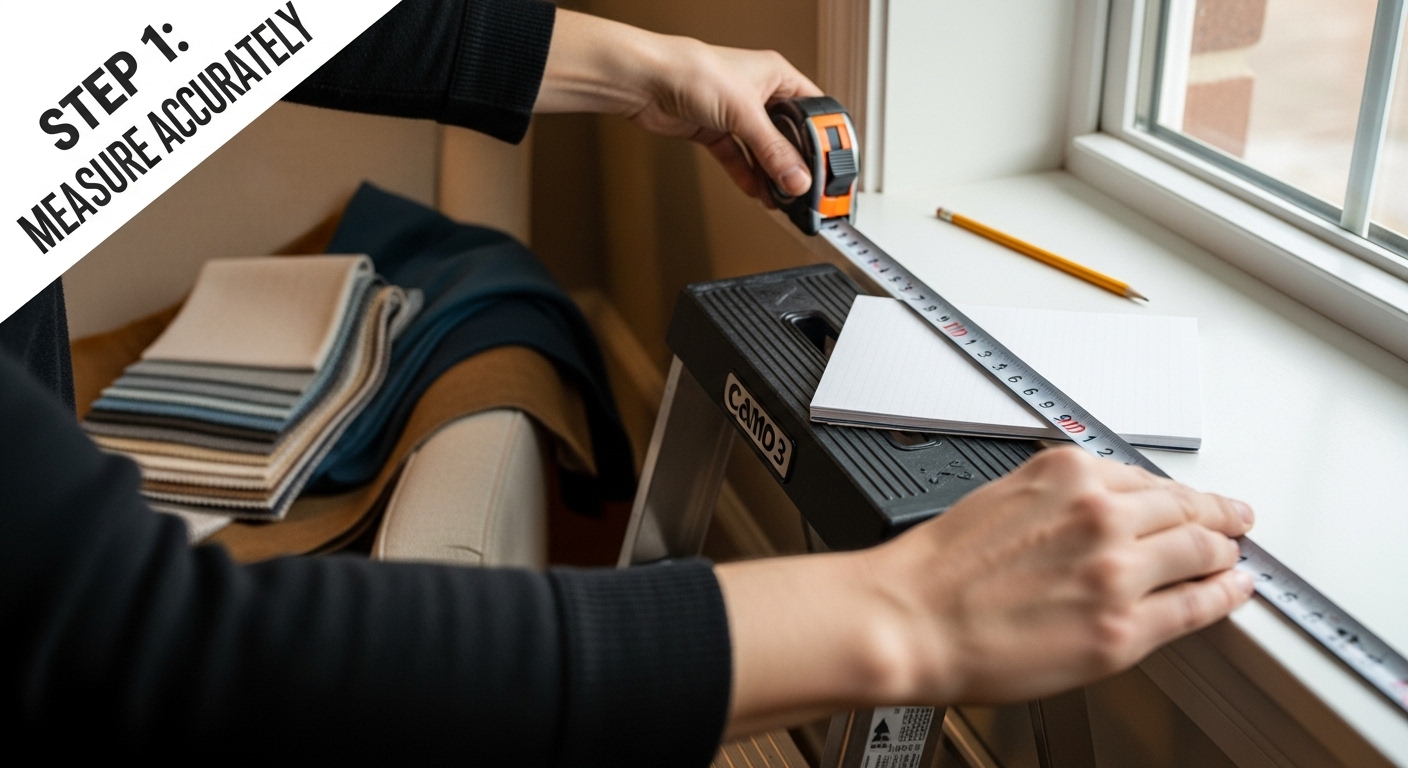
Step 1: Measure Your Windows Accurately
Accurate window measurements are the critical foundation for any successful DIY window treatment project. Without precise measurements, even the most stylish window coverings will look awkward, function poorly, and potentially waste your time and money. Getting this first step right determines the overall success of your design vision.
To begin your measurement process, you will need a few essential tools: a metal tape measure (which provides more accuracy than fabric measuring tapes), a stepladder for reaching higher windows, a pencil, and a notepad. Always measure each window individually, even if they appear identical, as architectural variations can exist even within the same room.
Learn more about precise window measurement techniques to ensure your DIY window treatments fit perfectly. When measuring, start by determining whether you want an inside mount (fitted within the window frame) or an outside mount (covering the entire window area). Inside mount measurements require precise width and height readings taken at three points: top, middle, and bottom of the window frame. For outside mount treatments, measure the exact width and height where you plan to install the treatment, allowing extra space for mounting brackets.
Pro tip: Always measure to the nearest 1/8 inch for the most accurate results. Record measurements in width x height format, and double-check your numbers before purchasing or cutting any materials. Common measurement mistakes include forgetting to account for obstructions like window handles, not measuring at multiple points, or assuming all windows in a room are exactly the same size.
Take your time during this crucial first step. Rushing through measurements can lead to ill-fitting window treatments that look unprofessional and may require costly replacements. Precision now saves you significant frustration and expense later in your DIY window treatment journey.
Step 2: Choose Your Materials Wisely
Selecting the right materials transforms your DIY window treatment from a basic home project into a stunning design statement. The materials you choose impact not just aesthetics, but also functionality, durability, and energy efficiency. Your window treatment’s success hinges on understanding the unique characteristics of different fabrics, textiles, and construction materials.
Explore our comprehensive guide on window treatment materials to help inform your selection process. When considering materials, think beyond visual appeal. Lightweight cotton works beautifully for casual spaces, offering soft filtered light and a relaxed atmosphere. In contrast, heavy velvet or thermal fabrics provide excellent insulation and work wonderfully in bedrooms or home offices where temperature control matters.
According to research from the U.S. Department of Energy, strategic material selection can significantly impact your home’s energy efficiency. Light-colored materials with reflective backings can reduce solar heat gain by up to 45%, potentially lowering cooling costs during summer months. Consider materials that serve multiple purposes: aesthetic beauty combined with practical functionality.
Texture plays a crucial role in material selection. Natural fibers like linen and bamboo create organic, textured looks that add depth to your interior design. Synthetic materials such as polyester offer increased durability and easier maintenance, making them ideal for high-traffic areas or homes with children and pets. When choosing materials, consider factors like sunlight exposure, room humidity, and your lifestyle needs.
Before making a final decision, collect fabric swatches and test them in your actual space. Natural light can dramatically change how a material looks and feels. Hold samples against your walls, observe how they interact with existing furniture, and consider how they might fade or wear over time. Remember, the perfect window treatment material balances your aesthetic vision with practical performance, creating a harmonious and functional design solution.
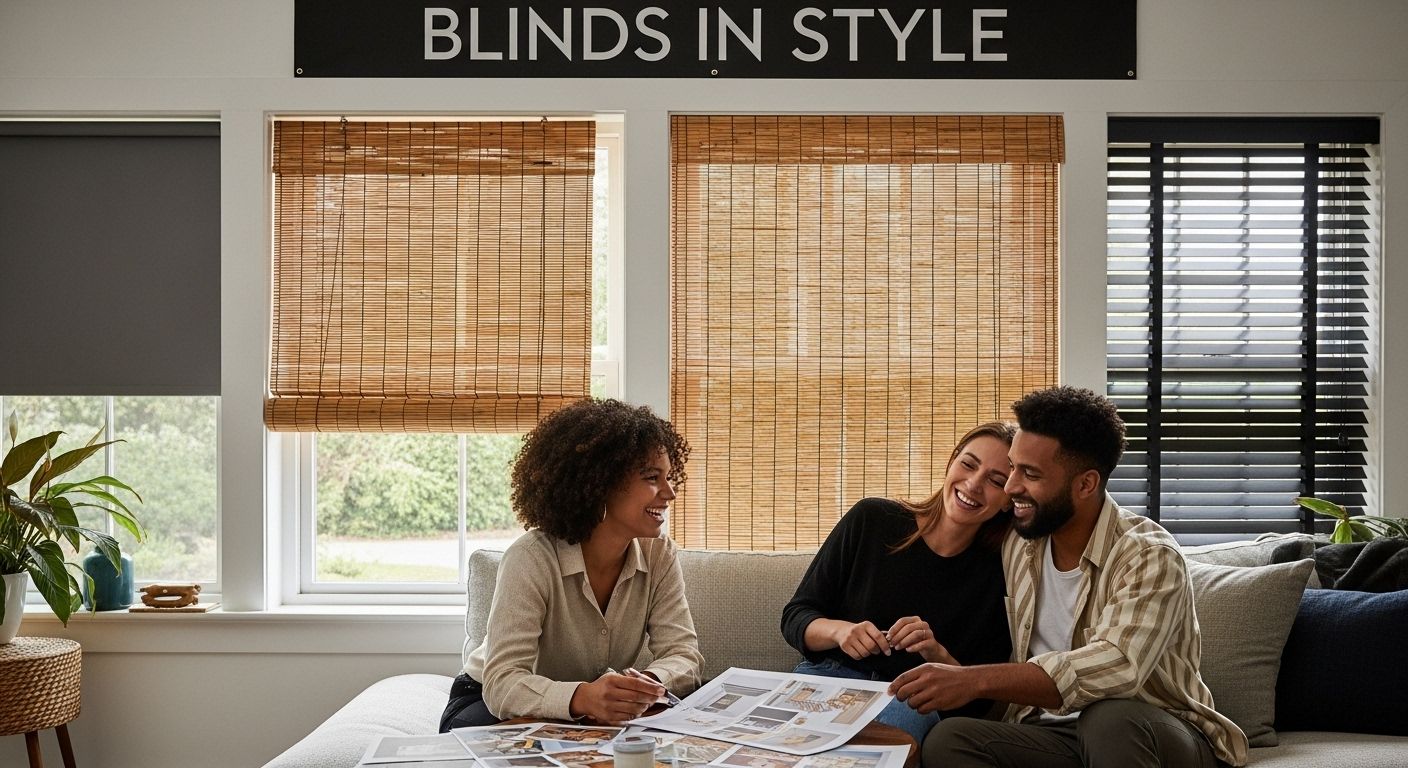
Step 3: Design Your Window Treatment Style
Designing your window treatment style is where creativity meets functionality, transforming ordinary spaces into personalized sanctuaries. This step requires thoughtful consideration of your home’s existing aesthetic, architectural features, and your unique design preferences. Window treatments are not just coverings but integral design elements that can dramatically alter a room’s mood and perception.
Discover more about customizing window treatments to align with your design vision. According to design principles from architectural historians, successful window treatments should harmonize with a room’s existing proportions and architectural character. For contemporary spaces, consider minimalist roller shades or sleek vertical blinds that create clean lines. In traditional settings, layered treatments like combination of sheer curtains with heavier drapes can add depth and sophistication.
Consider your room’s functional requirements alongside aesthetic goals. Bedrooms might prioritize light blocking and privacy, suggesting blackout curtains or cellular shades. Living areas could benefit from light-filtering treatments that create soft, diffused illumination. Kitchen and bathroom windows often need moisture-resistant materials like vinyl or synthetic blends that withstand humidity and are easy to clean.
Color and pattern selection can dramatically impact your space’s visual dynamics. Neutral tones provide versatility and timeless elegance, while bold patterns can serve as statement pieces. If your room features solid-colored furniture, patterned window treatments can introduce visual interest. Conversely, rooms with busy patterns might require more subdued window coverings to maintain balance.
Don’t be afraid to mix styles and experiment. Combining different textures, like pairing bamboo roman shades with linen curtains, can create rich, layered looks. Always step back and assess how your chosen window treatments interact with existing decor, ensuring they enhance rather than compete with your room’s overall design narrative.
Step 4: Assemble Necessary Tools and Supplies
Gathering the right tools and supplies is a critical milestone in your DIY window treatment journey. Proper preparation prevents poor performance, and having everything organized before you start will save you time, frustration, and potential mistakes. Think of this step as laying the foundation for a successful project that will transform your living space.
Learn more about essential installation tools to ensure a smooth DIY experience. According to the U.S. Department of Energy, proper installation is key to maximizing the energy efficiency of your window treatments.
Your core toolkit should include several essential items:
- Precision metal tape measure (avoiding fabric measuring tapes)
- Electric drill with multiple drill bit sizes
- Level (digital or traditional)
- Pencil and notepad
- Stepladder for reaching higher windows
- Stud finder
- Cordless screwdriver
- Safety glasses
- Work gloves
Supplemental materials will vary depending on your specific window treatment design. For fabric-based treatments, you might need additional supplies like fabric scissors, straight pins, iron, sewing machine, or fabric adhesive. If you’re working with wooden or metal blinds, have wood glue, mounting brackets, wall anchors, and additional screws on hand.
Consider the environment where you’ll be working. Protect your floors with a drop cloth, and ensure you have good lighting and ventilation. Keep a clean, organized workspace to minimize potential errors and make the installation process more enjoyable. Having a helper can also make complex installations easier, especially when dealing with larger window treatments or hard-to-reach areas.
To help you prepare for your DIY window treatment project, here is a concise checklist of essential tools and supplies required for a smooth and safe installation.
| Tool/Supply | Purpose | Notes |
|---|---|---|
| Metal tape measure | Accurate window measurement | Use for precise width/height |
| Electric drill | Drilling holes for mounting hardware | Have multiple drill bit sizes |
| Level | Ensures brackets are mounted straight | Digital or traditional |
| Pencil and notepad | Marking and recording measurements | Keep handy throughout project |
| Stepladder | Reach high or tall windows | Required for safety |
| Stud finder | Locate wall studs before installing | Ensures secure mounting |
| Cordless screwdriver | Fastening screws | Speeds up installation |
| Safety glasses and gloves | Protection during installation | Prevent injuries |
| Drop cloth | Protects floors/work area | Recommended for fabric projects |
Before beginning, do a final inventory check of your tools and materials. Confirm you have everything needed to complete the project, including any specialty items specific to your chosen window treatment style. This methodical approach ensures you can work efficiently and confidently, turning your design vision into a beautiful reality.
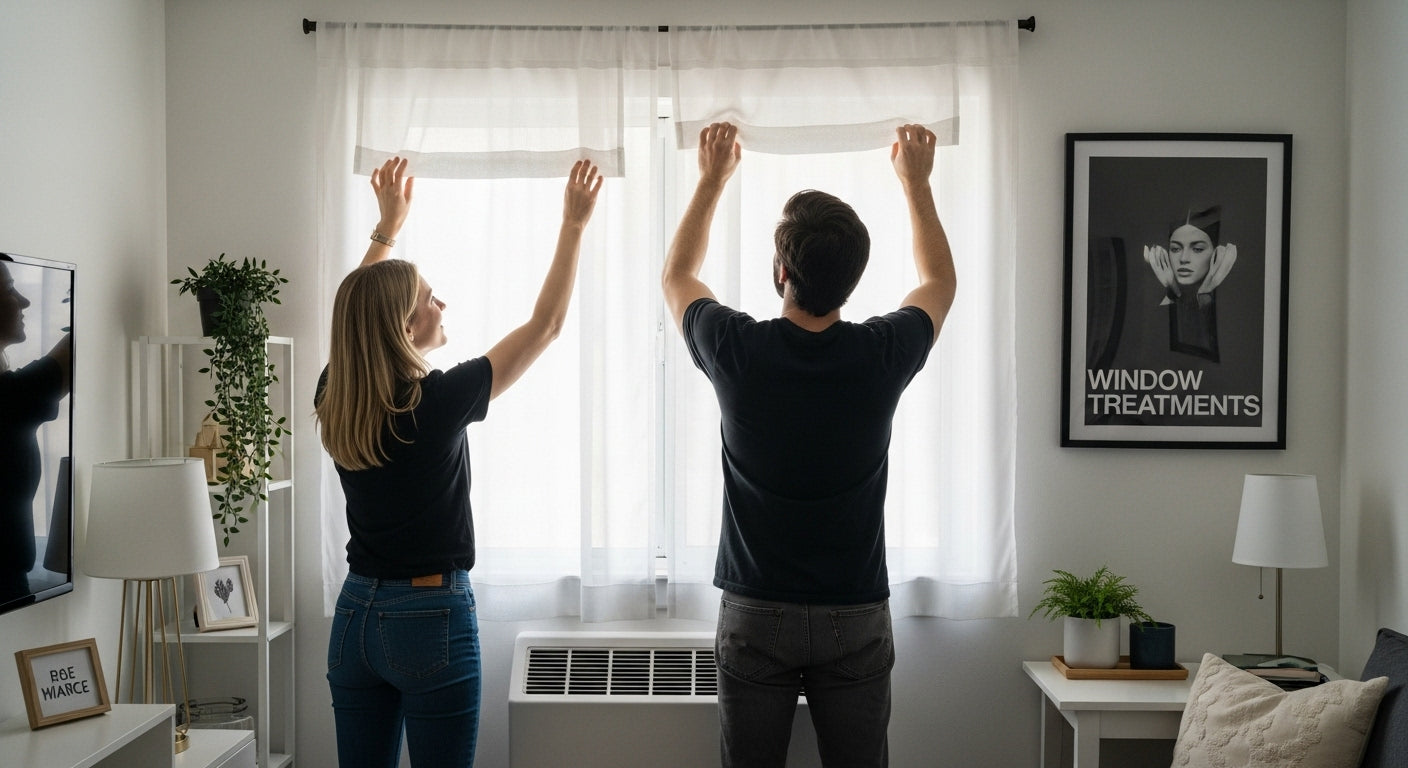
Step 5: Install Your Window Treatment Safely
Installation is the pivotal moment where your carefully planned window treatment transforms from concept to reality. Safety and precision are paramount during this crucial stage, requiring methodical attention to detail and a systematic approach. The difference between a professional-looking installation and an amateur attempt often lies in careful preparation and execution.
Explore our comprehensive guide on safe installation techniques to ensure optimal results. According to safety guidelines from public health experts, proper installation is critical to preventing potential accidents and ensuring long-term functionality.
Begin by carefully marking your mounting points using your level to guarantee straight, even placement. Double-check your measurements before drilling, as even a slight misalignment can compromise the entire installation. When drilling, start with a smaller pilot hole to prevent wall damage and ensure more precise mounting. For drywall installations, use appropriate wall anchors that match the weight of your window treatment to provide maximum support.
Consider these critical safety checkpoints:
- Verify all mounting hardware is securely fastened
- Test weight-bearing capacity before full installation
- Ensure no electrical wires are behind your drilling points
- Check that brackets are level and evenly spaced
- Confirm all screws are fully tightened
Electrical and corded treatments require extra caution. Keep cords away from children’s reach, and consider cordless options for enhanced safety. If you’re uncertain about any aspect of the installation, especially with complex or heavy treatments, consider consulting a professional. Many DIY enthusiasts discover that professional guidance can prevent costly mistakes and ensure a flawless finish.
After installation, perform a comprehensive test.
 Gently operate your new window treatment through multiple cycles, checking for smooth movement, proper alignment, and structural integrity. Pay attention to how the treatment looks when fully opened and closed, making minor adjustments as needed to achieve that perfect, polished appearance.
Step 6: Test and Adjust for Perfect Fit
The final stage of your DIY window treatment project is arguably the most critical: testing and fine-tuning your installation to achieve that flawless, professional look. Perfection lies in the details, and this step separates amateur attempts from truly polished window treatments. Your goal is to ensure smooth functionality, aesthetic alignment, and long-term performance.
Discover expert techniques for final adjustments to refine your window treatment installation. According to installation standards from building performance experts, comprehensive testing is essential to verify proper fit and functionality.
Systematic testing involves multiple comprehensive checks. Begin by operating your window treatment through complete open and closed cycles, observing its movement. Watch for any catching, uneven gliding, or resistance that might indicate misalignment. Pay close attention to how the treatment looks when fully extended and retracted. Slight variations in mounting or material tension can create noticeable asymmetry that disrupts the overall aesthetic.
Key performance evaluation points include:
- Smooth, consistent movement without snagging
- Even alignment when fully opened and closed
- Proper light blocking or filtering
- Secure mounting with no visible wobbling
- Correct operational mechanism functionality
Temperature and humidity can impact window treatment performance, so test your installation under different environmental conditions. What works perfectly on a dry afternoon might behave differently during humid evenings or when sunlight creates thermal expansion. Make incremental adjustments, tightening mounting brackets slightly or realigning brackets to compensate for any observed irregularities.
For fabric-based treatments, steaming or gentle ironing can help eliminate minor wrinkles and ensure a crisp, professional appearance. With mechanical treatments like blinds or shades, lubricate moving parts if necessary and check that all mechanisms operate smoothly. The final test is visual: step back and assess your window treatment from multiple angles, ensuring it enhances your space’s overall design and meets your functional requirements.
Transform Your DIY Ideas Into Reality With the Perfect Fit
Struggling with window measurements or unsure about the right materials for your dream window treatments? You are not alone. Many DIYers feel overwhelmed by the pressure to get every detail right—from measuring accurately to picking a style that matches both function and personal taste. The energy, time, and money invested in your project are too valuable to risk on guesswork or generic solutions. This is where Value Blinds steps in to guide your vision and remove uncertainty. Discover trending features and custom options that bring your designs to life with confidence by visiting our Trending Features collection, featuring blackout, cordless, and motorized options to match your style and needs.

Ready to achieve a flawless, magazine-worthy home? Get started now with free swatches and step-by-step design support. Shop the latest styles and solutions or explore the full Value Blinds catalog for a tailored fit that brings your DIY project to life. Satisfaction and style are just a click away.
Frequently Asked Questions
How do I accurately measure my windows for DIY treatments?
Accurate window measurements are essential for a successful DIY project. Use a metal tape measure to measure the width and height at three points (top, middle, and bottom) for inside mounts. For outside mounts, measure the area where the treatment will be installed, allowing extra space for brackets. Record measurements in width x height format, and measure to the nearest 1/8 inch for accuracy.
What materials are best for DIY window treatments?
The best materials depend on the room’s function and desired aesthetic. Lightweight cotton is great for casual spaces, while heavy velvet or thermal fabrics provide insulation in bedrooms or home offices. Consider durability and maintenance; synthetic materials like polyester are ideal for high-traffic areas, while natural fibers like linen offer a more organic look.
How can I ensure my window treatments are functional and stylish?
To achieve a functional and stylish design, consider your room’s purpose and existing decor. Choose treatments that align with your design vision while fulfilling practical needs, such as light control and privacy. Mixing textures and patterns can enhance visual interest, while keeping colors balanced helps maintain harmony with your space.
What safety precautions should I take during installation?
Take safety precautions by marking mounting points accurately and double-checking measurements before drilling. Use appropriate wall anchors for support, and ensure all hardware is securely fastened. If working with cords, consider using cordless options to prevent accidents, especially if children are present. Always wear safety glasses and gloves to protect yourself during the installation process.


