

Easy Install Window Treatments for Effortless Style
Finding window treatments that truly fit your style and space can be challenging, especially in apartments or urban homes where every detail matters. Homeowners want solutions that look beautiful and install easily without endless headaches. This guide walks you through each step, from precise measurements to seamless installation, giving you confidence to create a look that’s tailored, functional, and ready to impress.
Table of Contents
- Step 1: Measure Your Windows Precisely
- Step 2: Select The Perfect Window Treatments Online
- Step 3: Prepare Your Tools And Mounting Hardware
- Step 4: Install Window Treatments Securely
- Step 5: Test And Adjust For Optimal Fit
Quick Summary
| Key Point | Explanation |
|---|---|
| 1. Measure Windows Precisely | Use a steel tape measure and take multiple width and height readings for accuracy. |
| 2. Choose Treatments Wisely | Match window treatments to room needs considering privacy, energy efficiency, and style. |
| 3. Prepare Tools Thoroughly | Gather all necessary tools and check mounting hardware specifications before installation. |
| 4. Install with Precision | Ensure brackets are level and aligned, verifying measurements at each step of installation. |
| 5. Test for Optimal Performance | Fully operate treatments and make adjustments to ensure smooth and proper functioning. |
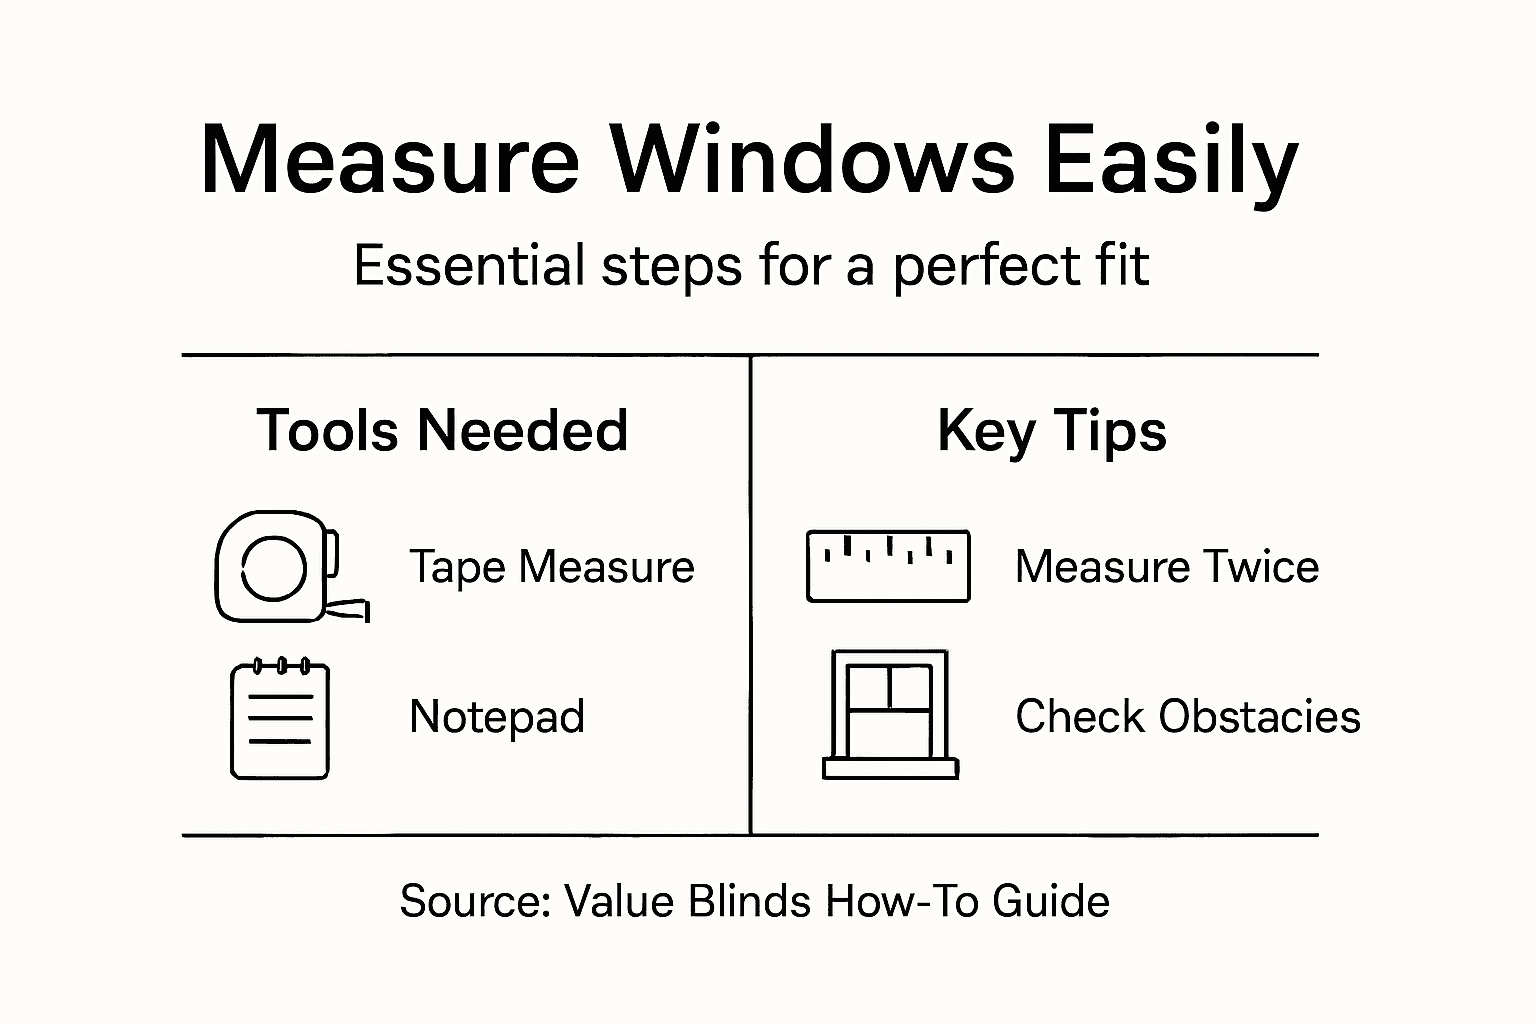
Step 1: Measure Your Windows Precisely
Accurate window measurements are the foundation of seamless window treatment installation. When you’re preparing to upgrade your space with new blinds or shades, precise measurements can make the difference between a perfect fit and a frustrating experience.
To capture exact window dimensions, you’ll need a few key tools and techniques. Start by selecting a steel tape measure for reliability, as soft measuring tapes can stretch and distort measurements. Accurate window measurement strategies recommend taking multiple readings to ensure precision:
- Measure the width at three points: top, middle, and bottom
- Record height measurements on the left, center, and right sides
- Always round measurements to the nearest 1/8 inch
- Use the smallest width measurement for inside-mount treatments
- Select the largest height measurement for most accurate sizing
Pay special attention to potential obstacles like window handles, radiators, or deep window frames that might impact your treatment installation. These details can affect whether you choose an inside or outside mount.
Here’s a quick reference comparing inside mount and outside mount window treatments:
| Mount Type | Appearance Impact | Installation Difficulty | Best For |
|---|---|---|---|
| Inside Mount | Sleek, built-in look | Requires precise fit | Deep window frames, minimalist aesthetics |
| Outside Mount | Adds visual width/height | More forgiving fit | Shallow frames, covering imperfections |
Tip: A difference of even 1/4 inch can prevent proper window treatment installation.
Pro tip: Always measure twice and order with confidence to avoid costly mistakes in your window treatment selection.
Step 2: Select the Perfect Window Treatments Online
Transforming your space starts with choosing the right window treatments that balance style, functionality, and personal aesthetic. Comprehensive window treatment selection requires understanding the unique characteristics of different options available in today’s market.
Your online selection journey should focus on key considerations that match your specific needs:
- Evaluate room purpose and lighting requirements
- Consider privacy levels needed for each space
- Assess energy efficiency features
- Match treatment style with existing room decor
- Review material durability and maintenance needs
Modern online platforms offer robust tools to help you visualize and customize your window treatments. Color and fabric selection plays a crucial role in achieving the perfect look. Some websites provide virtual design studios where you can preview different options in real-time, allowing you to experiment with various colors, textures, and styles before making a final decision.
Pro tip: Use online visualization tools to see how different window treatments will look in your actual space.
Pay attention to specific room requirements. Bedrooms might need blackout options, while living areas could benefit from light-filtering treatments that provide both privacy and natural illumination.
Use this summary to quickly match window treatments to room needs:
| Room Type | Privacy Requirement | Recommended Feature |
|---|---|---|
| Bedroom | High | Blackout or room-darkening |
| Living Room | Medium | Light-filtering |
| Kitchen | Low to medium | Easy-clean fabrics |
Pro tip: Always order free fabric swatches to ensure color and texture match your interior before making a final purchase.
Step 3: Prepare Your Tools and Mounting Hardware
Successful window treatment installation requires careful preparation and the right set of tools. Gathering your equipment beforehand will streamline the entire process and prevent frustrating interruptions during installation.
Essential tools for your window treatment project include:
- Power drill with various drill bit sizes
- Pencil for marking mounting points
- Tape measure (steel recommended)
- Level for ensuring straight mounting
- Screwdriver set (Phillips and flathead)
- Mounting brackets that came with your window treatments
- Stud finder (for secure anchoring)
- Safety glasses
- Ladder or sturdy step stool
Mounting hardware preparation is critical for a secure installation. Check that all provided brackets, screws, and anchors match your specific window treatment type and mounting surface. Some surfaces like drywall, wood, or concrete require different anchoring techniques.
Precision matters: Improperly installed hardware can damage both your window treatments and walls.
If you’re uncertain about your wall type or mounting requirements, many manufacturers provide detailed installation guides specific to their products. Take time to review these instructions carefully before beginning your project.

Pro tip: Test your drill and bits on a scrap piece of material similar to your wall to ensure proper technique and prevent unexpected damage.
Step 4: Install Window Treatments Securely
Now that you’ve prepared your tools and measured carefully, it’s time to transform your space with perfectly installed window treatments. Professional installation techniques require precision and careful attention to detail.
Follow these critical installation steps:
- Clear the installation area completely
- Double-check your measurements
- Mark bracket positions using a level
- Drill pilot holes appropriate to your wall material
- Select anchors matching your wall type
- Attach mounting brackets securely
- Verify bracket alignment before final mounting
Mounting bracket placement is crucial for both aesthetic appeal and functional performance. Ensure your brackets are level and spaced correctly according to your specific window treatment’s requirements. Different materials like drywall, wood, or concrete demand unique anchoring strategies.
Precision is key: Misaligned brackets can cause uneven operation and potential damage.
If you encounter any resistance while drilling or notice unexpected wall characteristics, pause and reassess your approach. Some walls might require specialized anchors or additional support to ensure a stable installation.
Pro tip: Always keep your drill perpendicular to the wall surface to prevent crooked holes and ensure maximum mounting strength.
Step 5: Test and Adjust for Optimal Fit
The final stage of window treatment installation involves careful testing and fine-tuning to ensure smooth operation and perfect appearance. Functional assessment is critical to guarantee your investment performs exactly as intended.
Perform these comprehensive evaluation steps:
- Fully extend the window treatment
- Check for smooth, even movement
- Test all operational mechanisms
- Verify complete opening and closing
- Inspect alignment from multiple angles
- Listen for unusual sounds during operation
- Confirm secure mounting at all attachment points
Operational testing requires patience and attention to detail. Gently operate your window treatment multiple times, watching for any resistance, uneven movement, or potential alignment issues. Minor adjustments during this phase can prevent future functional problems and extend the lifespan of your window treatment.
Precision matters: Small adjustments now can prevent significant frustrations later.
If you notice any irregularities like slight catching, uneven dropping, or difficulty in smooth operation, don’t hesitate to readjust bracket positions or consult the manufacturer’s troubleshooting guidelines. Sometimes a millimeter of repositioning can make a substantial difference in performance.
Pro tip: Keep the installation manual nearby during testing and be prepared to make minor bracket or mounting adjustments to achieve perfect functionality.
Effortless Style Begins with the Perfect Window Treatments
Measuring and installing window treatments can feel overwhelming, especially when precise fit and smooth operation are essential. This article highlights the challenges of accurate measurements, choosing the right styles, and proper installation for a flawless look and function. If you want to skip the guesswork and avoid the frustration of ill-fitting blinds or shades, our solutions are designed for easy installation combined with premium quality and customization.
At Value Blinds, we offer a wide variety of custom window treatments including blackout, cordless, and motorized options that deliver both style and durability. Explore our New Arrivals to find the latest trends with user-friendly features built for simple mounting. Our expert measurement guides and free fabric swatches take the uncertainty out of ordering, so you can confidently transform your home with window coverings tailored to your space.

Ready to elevate your windows with treatments that combine effortless installation and stylish design Visit Value Blinds now to discover your perfect fit and enjoy a hassle-free upgrade today!
Frequently Asked Questions
How do I measure windows accurately for easy installation of window treatments?
To measure windows accurately, use a steel tape measure and take width measurements at the top, middle, and bottom, as well as height measurements on the left, center, and right sides. Record the smallest width and largest height for the best fit, ensuring precision to prevent costly mistakes.
What are the differences between inside mount and outside mount window treatments?
Inside mount window treatments offer a sleek and built-in look, while outside mounts can make windows appear larger. Choose an inside mount if you have deep window frames and prefer a minimalist aesthetic, while outside mounts are better for covering imperfections on your walls.
What tools do I need to install window treatments effectively?
Essential tools for installing window treatments include a power drill, tape measure, level, screwdriver set, and mounting brackets. Gather all necessary tools beforehand to streamline the installation process and avoid interruptions.
How can I ensure my window treatments are installed securely?
To ensure secure installation, clear the area, double-check your measurements, and mark bracket positions using a level. Drill pilot holes according to your wall material and attach mounting brackets firmly, verifying alignment before finalizing the installation.
What should I do if my window treatments don’t operate smoothly after installation?
If your window treatments are not operating smoothly, test their functionality multiple times to identify any resistance or alignment issues. Adjust the bracket positions slightly or review the installation manual for troubleshooting tips, as even a small adjustment can enhance performance.
How can I select the right style of window treatments for my home?
To select the right style, consider the purpose of the room, required privacy levels, and overall decor. Look for materials and features that match your specific needs, such as blackout options for bedrooms or light-filtering treatments for living areas.


