How Blind Valances Are Installed: A Step-by-Step Guide
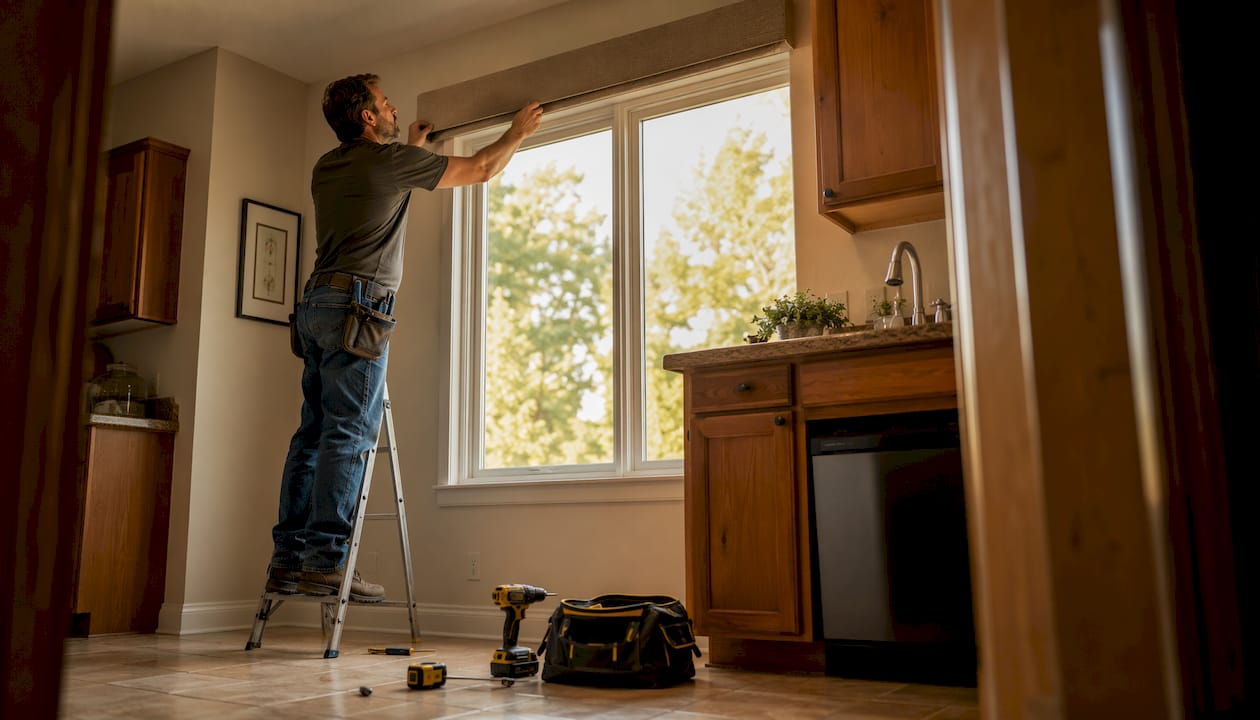
Blind valances attach to your headrail using specialized valance clips that hook onto the rail and snap into a pre-cut groove on the valance’s back. That’s the core of it. Get the clips positioned right, and the valance locks in cleanly with an audible click. Here’s what you need to know before you start:
- Valance clips hook onto the headrail first, then the valance snaps onto them
- Always remove the blind from its mounting brackets before attaching clips
- Align clips away from mounting brackets to avoid conflicts
- For valances wider than 48 inches, get a second person to help distribute pressure evenly
- Never force the valance onto clips; a gentle snap is all it takes
A valance blind, by the way, is simply a blind that includes a decorative front panel covering the headrail. It hides the hardware and gives your window a polished, finished look.
What tools and parts do you need for valance installation?
Good news: you don’t need much. Gather these before you start, and the whole process goes smoothly.
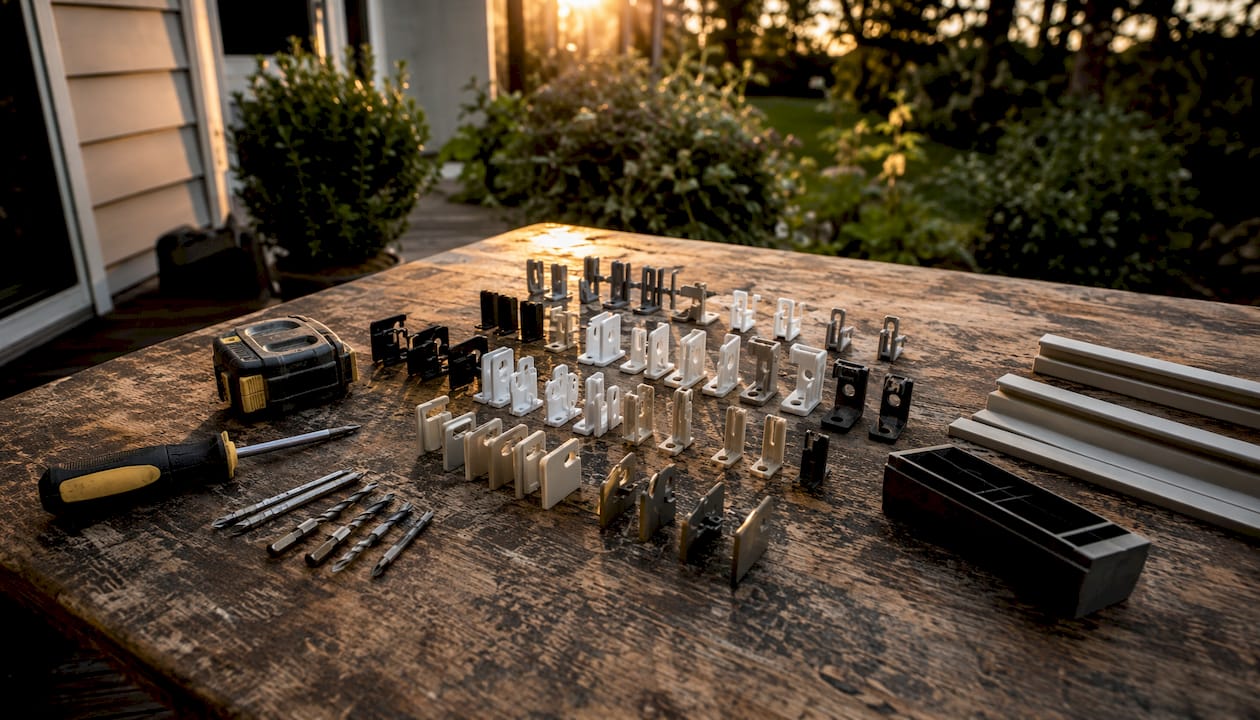
- Valance clips suited to your blind type (C-shaped, hidden, or slotted groove)
- Phillips screwdriver to secure clips to the headrail
- Measuring tape for accurate clip placement
- Pencil to mark clip positions on the headrail
- Level (optional, but helpful for getting the valance perfectly straight)
- The valance itself, with a groove or strip on the back designed to match your clips
Not all valance clips are interchangeable. Measure your existing groove and compare it to the clip’s specs before buying replacements. A clip that’s even slightly too wide or narrow won’t snap securely.
How are blind valances installed, step by step?
Follow this sequence and you’ll avoid the most common mistakes.
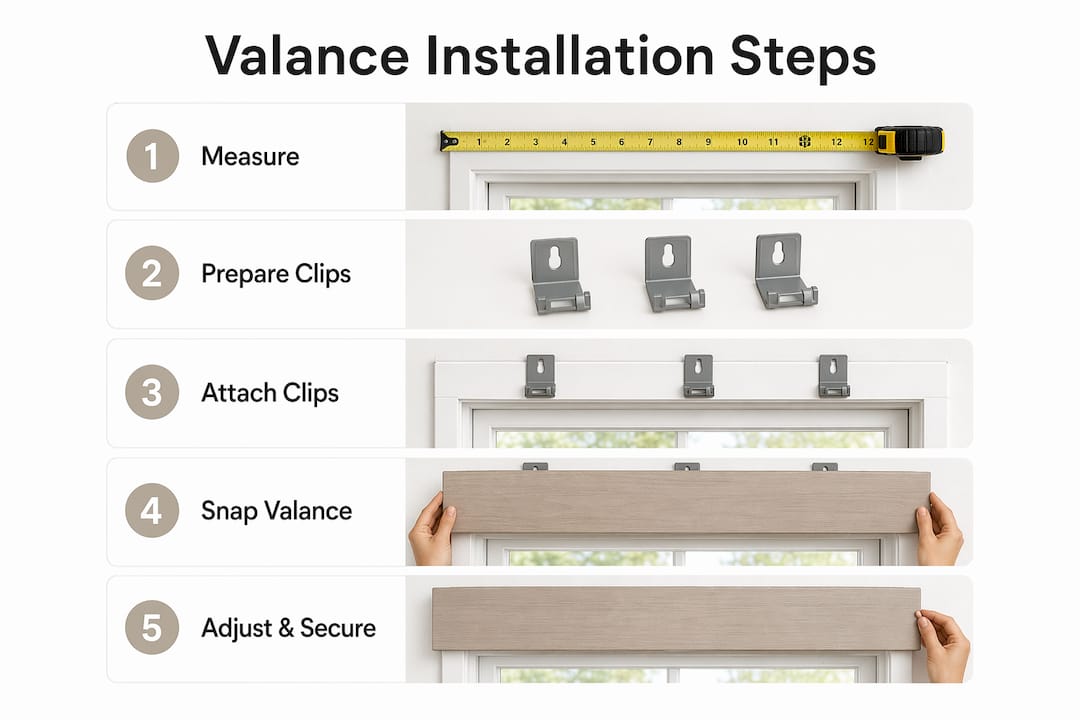
- Remove the blind from its brackets. If it’s already mounted, take it down. Installing clips while the blind hangs in place risks the headrail slipping and causing damage.
- Mark the mounting bracket locations on the headrail with a pencil. Hold the blind up to the brackets in its approximate final position to get accurate marks.
- Mark your clip positions using the pre-installed mounting clips on the valance as a guide. If any clip position conflicts with a mounting bracket, shift the clip left or right until it clears the bracket.
- Slide each valance clip down over the front and back of the headrail at your marked spots, then secure each one with the two screws provided.
- Verify each clip is secure by grasping it at the top and pulling upward. If it detaches, remove the screws and repeat the attachment.
- Remount the blind in its window brackets according to your blind’s instructions.
- Align the valance with the clips and slide it upward in front of the headrail. Press until you hear an audible click at each clip. Use the ratcheting feature on the clips to level and fine-tune the valance position.
For valances wider than 48 inches, have a second person hold the opposite end while you snap it in. This keeps pressure even and protects the clips from snapping.
How do you safely remove a blind valance without damage?
Removal is just as important to get right. Forcing anything here is how clips break.
- If your blind is inside mounted, remove it from the window brackets first
- Reach underneath the valance and hold the clip firmly while rotating the bottom of the valance outward
- Rotate gently, never yank; the clip is plastic and will snap under sudden force
- Once the valance is free, remove each clip by placing a finger underneath the back of the clip inside the headrail and lifting upward
- Set the valance flat on a clean surface to avoid bending its edges
Tips for installing valances without breaking blinds or clips
A few habits make a real difference here. These come straight from installation guides used by professionals.
- Always work with the blind removed from the window. Pressure from snapping clips can cause the headrail to fall if it’s still mounted.
- Check clip-to-groove compatibility before you buy. Measure the groove width on your existing valance and match it to the clip’s listed specs.
- Don’t overtighten the screws. Snug is enough. Over-tightening cracks the plastic clip housing.
- Use the ratcheting feature to make small alignment adjustments after the valance is on. This avoids having to pull the valance off and reattach it.
- Handle the valance edges gently, especially on wider pieces where the material flexes more.
Pro Tip: Lay the headrail on a flat table when attaching clips. It’s much easier to apply even screw pressure than when you’re holding the blind in the air.
How do you measure and prepare the valance before installation?
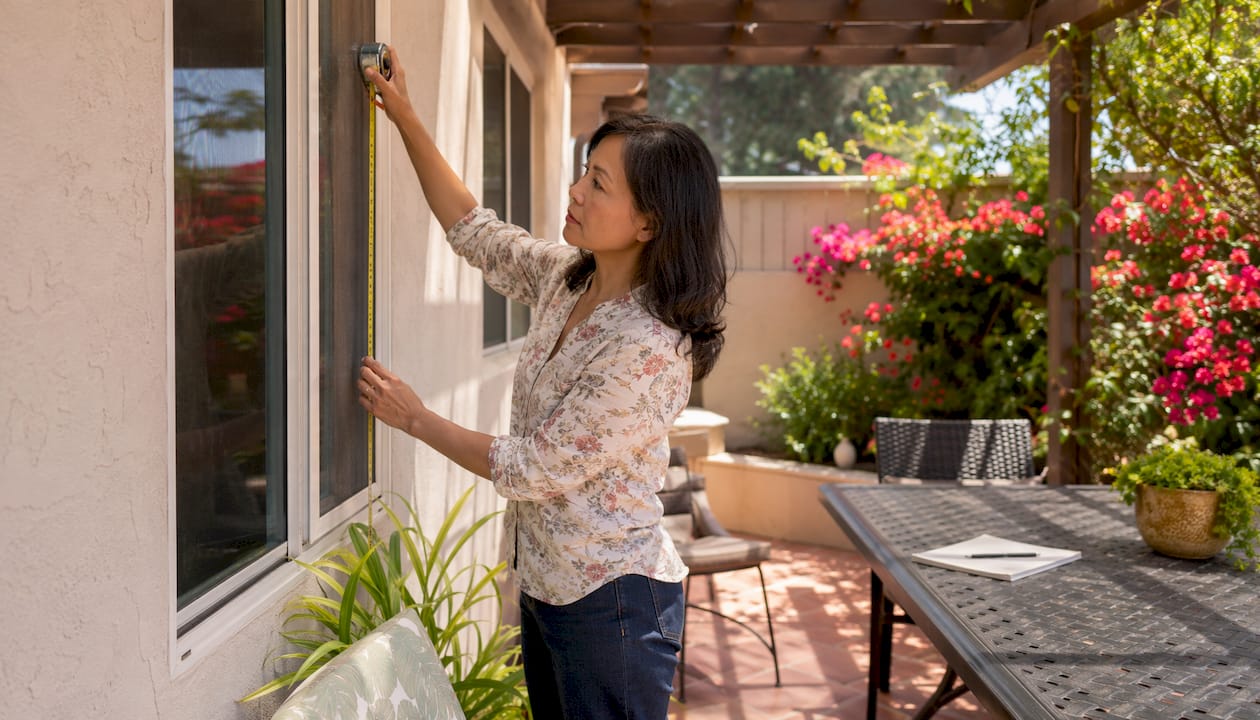
Measure the valance’s total width against your window opening before anything else. For an inside mount, the valance should match the headrail width closely. For an outside mount, it typically extends beyond the frame on each side to cover the brackets and any light gaps.
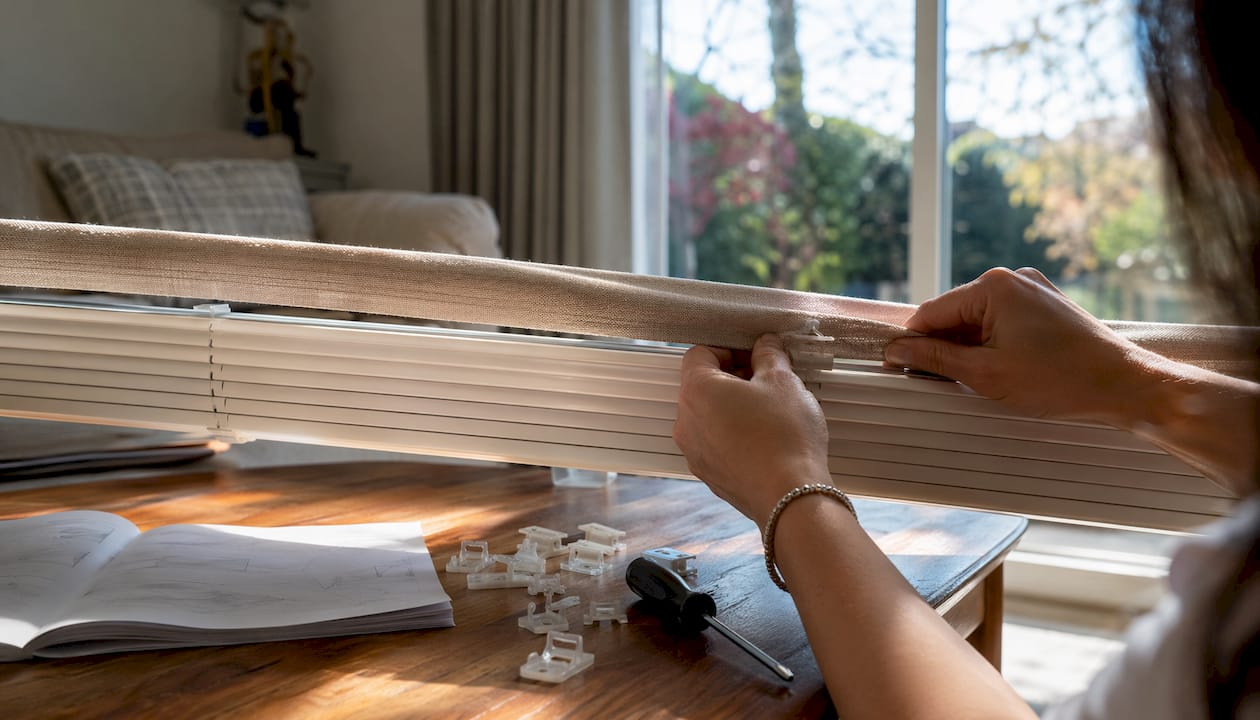
Check the back of the valance for its pre-installed mounting clips. These tell you exactly where your headrail clips need to go. Count them, note their spacing, and transfer those measurements to the headrail with your pencil before touching a screwdriver.
What’s the difference between inside mount and outside mount valance installation?
The mounting method changes where your clips land and how the valance sits. With an inside mount, the blind and valance sit within the window frame, so the headrail is shorter and clips must stay well clear of the frame edges. You’ll also need to remove the blind from the brackets to install clips, since there’s no room to work around the frame.
An outside mount positions the blind and valance on the wall above the window frame. The headrail extends past the frame on both sides, giving you more room to place clips without bracket conflicts. Alignment is more forgiving, but you’ll want a level to keep the valance straight across a wider span.
Common troubleshooting issues during valance installation
The valance won’t snap on. Check that every clip is fully seated and screwed down. A loose clip sits at the wrong angle and blocks the valance groove from engaging.
The valance sits crooked. Use the ratcheting adjustment feature on the clips to tilt one side up or down until it levels out. If your clips don’t have a ratcheting feature, loosen the screws slightly, reposition the clip, and retighten.
A clip keeps detaching from the headrail. The headrail lock underneath may not have engaged properly. Remove the screws, reseat the lock by pressing it firmly into the headrail’s upper channel, and reattach the clip.
The valance bows in the middle on a wide blind. This usually means the center clip is missing or misaligned. Add a clip at the midpoint and snap the valance back on. Explore the full blinds collection at Valueblindsdirect if you need replacement hardware or a new valance-compatible blind.
Ready to find blinds that come with everything you need for a clean install? Valueblindsdirect’s Window Treatment Design Studio lets you customize your blinds and valances to fit your exact window dimensions before you order.

Key Takeaways
Installing blind valances correctly means attaching valance clips to the headrail first, then snapping the valance into place with the blind removed from its brackets.
| Point | Details |
|---|---|
| Remove blind before clipping | Always take the blind off its mounting brackets before attaching or removing valance clips. |
| Check clip compatibility | Measure the valance groove and match it to clip specs before purchasing replacements. |
| Two people for wide valances | Valances wider than 48 inches need two people to distribute pressure and prevent clip damage. |
| Use the ratcheting feature | Fine-tune valance alignment after snapping it on using the clip’s built-in ratcheting adjustment. |
| Gentle removal prevents breakage | Rotate the valance out slowly while holding the clip; never pull or force it free. |