
Easy Install Window Shades: Step-by-Step Guide for All Homes
Most American homes lose up to 30 percent of indoor heat through poorly fitted windows. Getting the right shades depends on more than just picking a favorite style. Accurate measuring and proper installation make all the difference for comfort, privacy, and energy savings. This guide breaks down each step so you can enjoy custom window shades that fit perfectly and enhance any room.
Table of Contents
- Step 1: Measure Windows for Accurate Shade Fit
- Step 2: Select and Customize Your Shade Styles
- Step 3: Prepare Tools and Unpack Window Shades
- Step 4: Mount Brackets Securely to the Window Frame
- Step 5: Install Shades and Test Smooth Operation
- Step 6: Verify Stability and Adjust For Perfect Alignment
Quick Summary
| Key Insight | Explanation |
|---|---|
| 1. Measure Windows Precisely | Accurate measurements ensure your shades fit perfectly, avoiding gaps or misalignments during installation. |
| 2. Choose Appropriate Shade Styles | Select shades based on room requirements like light control and design aesthetics, ensuring optimal functionality. |
| 3. Prepare Tools for Installation | Use essential tools such as a power drill and level for a seamless installation process; ensure all components are intact. |
| 4. Securely Mount Brackets | Properly marked and aligned brackets are crucial to prevent uneven hanging or instability of window shades. |
| 5. Verify Stability and Alignment | Final checks for stability and precise alignment ensure your window shades operate smoothly and look professionally installed. |
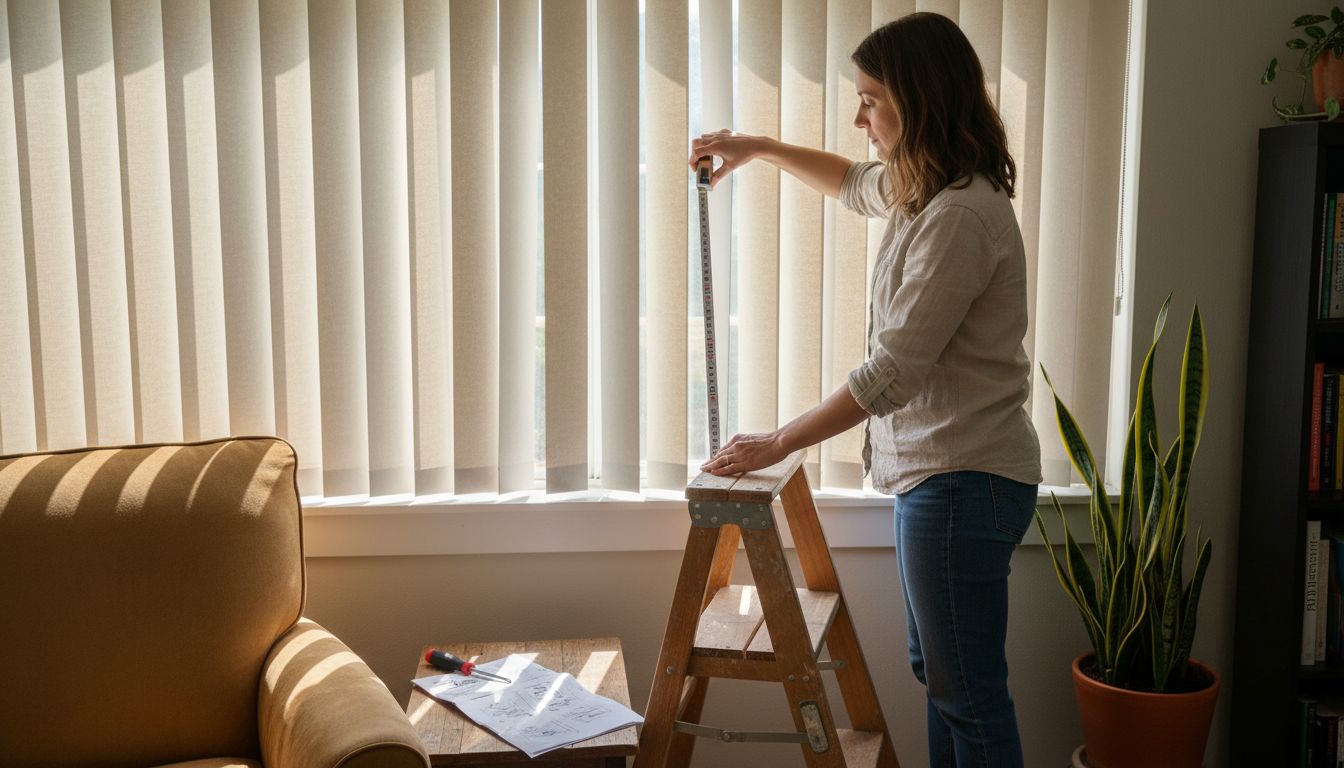
Step 1: Measure Windows for Accurate Shade Fit
Measuring your windows precisely is crucial for installing window shades that look professional and function perfectly. Whether you are planning an inside mount or outside mount, accurate measurements ensure your new window treatments will fit seamlessly.
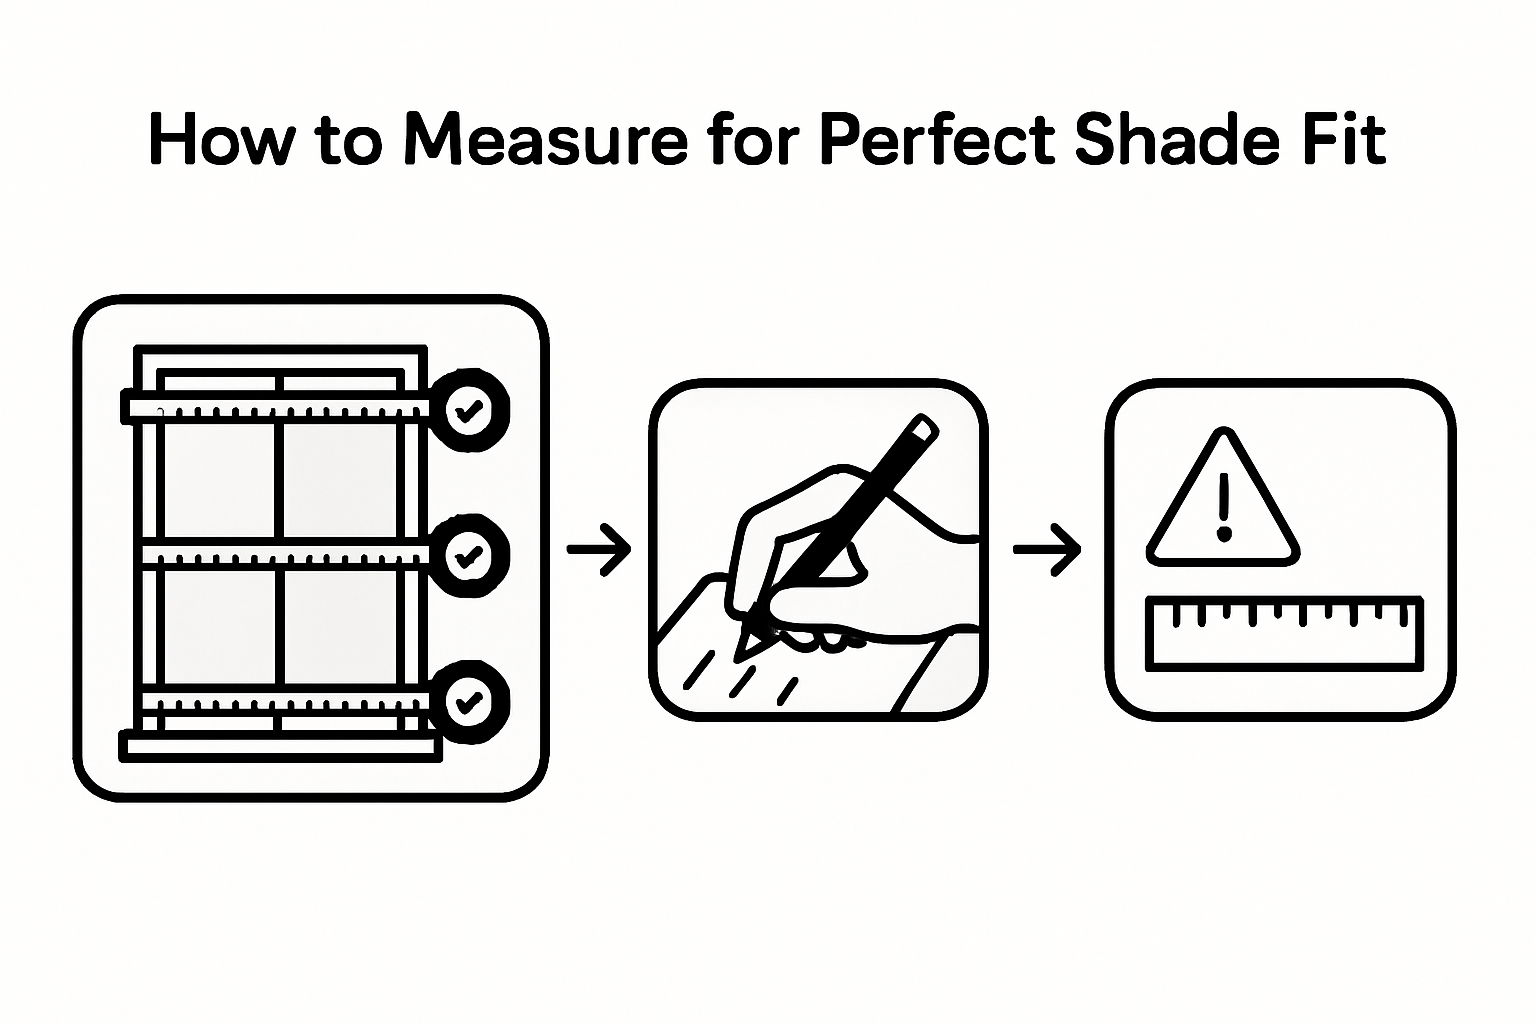
To begin, gather a metal tape measure, pencil, and notepad. For inside mount installations, measure the width at the top, middle, and bottom of the window frame in three different spots. Take the narrowest measurement as your final width to guarantee a proper fit. When measuring height, record measurements on the left, center, and right sides of the window frame. Always measure to the nearest 1/8 inch for precision.
Pro tip: Avoid common measurement mistakes by measuring twice and double checking your numbers. Slight variations in window frames can significantly impact shade installation, so precision is key. If your measurements seem inconsistent, consider consulting a professional or using Value Blinds Direct measurement guides to ensure accuracy.
Step 2: Select and Customize Your Shade Styles
Choosing the right window shade styles can transform your living spaces while providing functional benefits like light control and privacy. Custom window treatment options range from elegant roller shades to sophisticated cellular designs that complement different interior aesthetics and practical needs.
Start by evaluating your specific requirements. Consider factors like room lighting, energy efficiency, and overall design theme. Rooms facing direct sunlight might benefit from blackout or light filtering shades, while spaces requiring maximum natural light could use sheer or translucent options. Pay attention to color coordination and texture that harmonizes with your existing furniture and wall colors.
Pro tip: When selecting shade styles, remember that color and material can dramatically impact a room’s ambiance. Neutral tones create versatile backdrops, while bold colors make striking design statements. Always request fabric swatches to see how different materials and colors look in your actual living space before making a final decision.
Step 3: Prepare Tools and Unpack Window Shades
Successful window shade installation requires thoughtful preparation and the right toolkit. Installing window shades demands careful organization and precise equipment selection to ensure a smooth process from start to finish.
Gather essential tools before beginning including a power drill, level, pencil, tape measure, mounting brackets, screwdriver, and step ladder. Carefully unpack your shades on a clean surface, checking that all components are present and undamaged. Remove packaging materials gently and lay out mounting hardware systematically. Inspect each shade for any potential manufacturing defects or shipping damage before proceeding with installation.
Pro tip: Keep all packaging and documentation until you have successfully installed and tested your window shades. This ensures you can easily reference instructions or contact customer support if any unexpected issues arise during the installation process.
Step 4: Mount Brackets Securely to the Window Frame
Mounting window shade brackets requires precision and careful attention to ensure a stable and long lasting installation. Installing blinds for a perfect window fit demands careful measurement and strategic placement of mounting hardware.
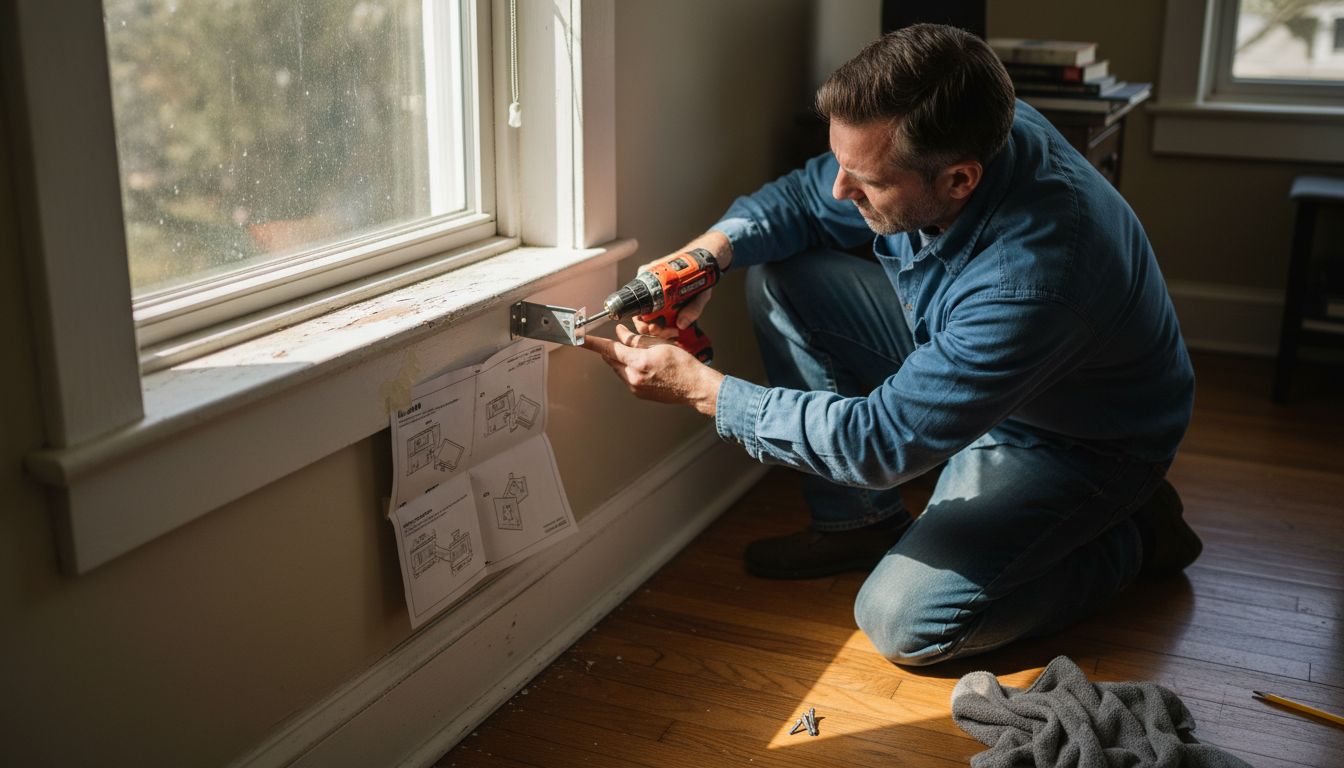
Begin by marking precise bracket locations using your level to ensure perfectly straight alignment. For inside mount installations, measure and mark bracket positions approximately 2 to 3 inches from each side of the window frame. Use a pencil to create light markings that can be easily erased later. Drill pilot holes carefully to prevent wood splitting and ensure your screws will anchor securely. When drilling into drywall, use appropriate wall anchors to provide additional support and prevent brackets from becoming loose over time.
Pro tip: Always double check your measurements before drilling. A single misaligned bracket can cause uneven shade hanging or prevent proper installation. Take your time and verify each measurement twice to guarantee a professional looking result.
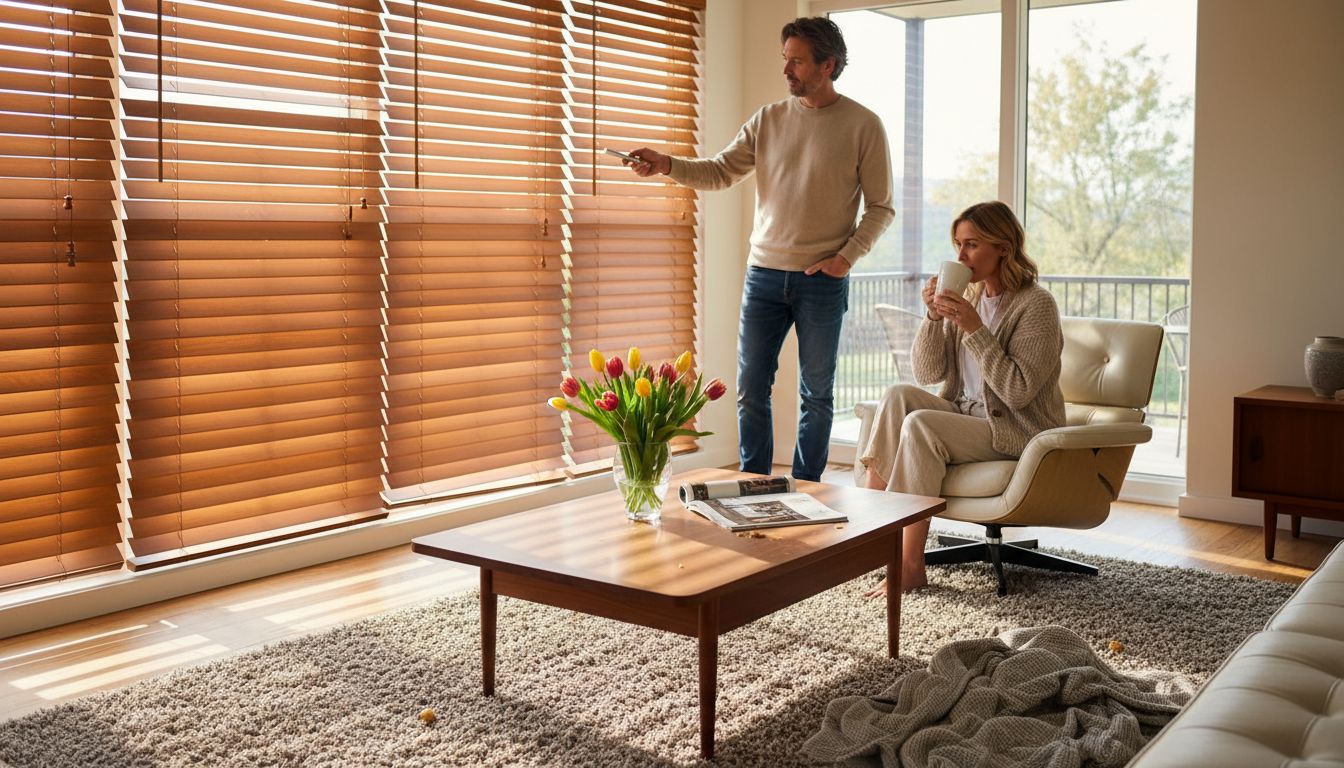
Step 5: Install Shades and Test Smooth Operation
The final stage of window shade installation requires careful placement and systematic testing to ensure optimal performance. Motorized shade installation techniques can vary, but the fundamental principles of smooth operation remain consistent across different shade types.
Carefully align your shade with the mounted brackets and gently snap or slide the shade into place. For corded shades, ensure the cord mechanism moves freely without catching or binding. With cordless or motorized options, test the raising and lowering function multiple times to verify smooth vertical movement. Check that the shade extends and retracts evenly on both sides, with no catching or uneven gaps along the window frame.
Pro tip: If you encounter any resistance or uneven movement during initial testing, do not force the shade. Slightly adjust the bracket positioning or consult the manufacturer instructions. Minor realignments can often resolve installation issues and prevent potential damage to your new window treatment.
Step 6: Verify Stability and Adjust For Perfect Alignment
Final adjustments are critical to ensuring your window shades perform flawlessly and look professionally installed. Custom window treatments require meticulous attention to detail during the final verification stage.
Carefully inspect each mounted shade from multiple angles to confirm perfect vertical alignment. Use a level to check that the shade hangs straight and moves smoothly without catching or binding. Gently press against the brackets to test their stability and ensure they can support the shade weight without shifting. If you notice any slight misalignment, loosen the mounting screws and make subtle adjustments before retightening.
Pro tip: Temperature and humidity can affect window frame materials, so perform your final adjustments after the room has stabilized to its normal environment. Small movements of less than 1/8 inch can significantly improve shade performance and prevent long term wear on mounting hardware.
Simplify Your Window Shade Project with Expert Tools and Custom Options
Struggling with exact measurements or unsure which shade style suits your home? This step-by-step guide highlights common challenges when installing window shades such as precise measuring, proper bracket mounting, and ensuring smooth operation. At Value Blinds, we understand these pain points and offer a wide range of custom window treatments that pair style with hassle-free installation.

Explore our New Arrivals for the latest in blackout and cordless shades designed for easy fit and operation. Use our detailed measuring guides and design studio tools to get perfect custom shades tailored for your windows. Visit Value Blinds Direct now to start customizing your ideal window coverings and transform your home with confidence.
Frequently Asked Questions
How do I measure my windows for inside mount shades?
To measure your windows for inside mount shades, take measurements of the width at the top, middle, and bottom of the window frame. Record the narrowest measurement to ensure a proper fit.
What tools do I need for installing window shades?
To install window shades, gather a power drill, level, pencil, tape measure, mounting brackets, screwdriver, and a step ladder. Having these tools ready will make your installation process smoother and more efficient.
How can I ensure my window shades are perfectly aligned after installation?
After installing your window shades, use a level to check that they hang straight and align properly. Adjust the mounting brackets slightly if needed, as even small movements can help enhance their stability and performance.
What should I do if my window shades do not operate smoothly?
If your window shades do not operate smoothly, first check if they are aligned correctly. Adjust the bracket positioning if necessary, as minor tweaks can resolve any binding issues or resistance during operation.
How do I customize my window shade style?
To customize your window shade style, consider factors like room lighting and design theme. Evaluate options such as blackout, light filtering, or sheer shades, and request fabric swatches to see how they look in your space before making a decision.
Recommended
- How to Install Window Shades: A Step-by-Step Guide
- Expert Motorized Shade Installation for a Seamless Upgrade
- How to Measure for Shades: A Simple Step-by-Step Guide
- How to Install Blinds for a Perfect Window Fit
- 7 Smart Living Room Design Inspiration Ideas for All Spaces - Projector Display


