Article: Homeowners: 1.5 Inch Trim Rule and When to Shim or Wall Mount
Homeowners: 1.5 Inch Trim Rule and When to Shim or Wall Mount
Choosing an outside mount changes your whole measurement footprint: instead of fitting inside the window opening, your hardware sits on the face of the trim or wall, so you need extra width and enough flat surface to anchor screws. Measure outside edge to outside edge, not the opening itself, and plan for added coverage per side, typically a few inches. If your trim is narrower than 1.5 inches or has a rounded profile, shims, spacer blocks, or a wall mount usually solve the fit problem.
TL;DR:
- Outside mount blinds require measuring from trim edge to trim edge, with typical added coverage of 2 to 3 inches per side for better blackout.
- Trim narrower than 1.5 inches or with rounded profiles often necessitates shims, spacer blocks, or switching to wall mount hardware to ensure secure installation.
- Depth and profile of trim can cause binding or instability, so pilots, support brackets, and spacer adjustments are essential for a flush, functional fit.
- Full outside mount coverage effectively hides outdated or uneven trim, making it ideal for achieving complete light blockage and a clean window appearance.
- Using professional measurements, testing the shade operation beforehand, and carefully documenting trim details help prevent common installation problems.
Table of Contents
- 1. Outside mount versus inside mount: what actually changes
- 2. How outside mount changes trim clearance: measurement rules and clearance math
- 3. Measuring and planning for trim profiles: step-by-step checks and measurements
- 4. Bracket projection, valance returns, and hardware choices that affect trim clearance
- 5. Common installation problems with outside mounts on trim and how to fix them
- 6. Practical installer tips and Value Blinds resources for measuring and mounting on trim
- 7. When outside mount is worth the extra prep work
- 8. How Value Blinds can help with samples, guides, and pro installation
- Sources
- FAQ
1. Outside mount versus inside mount: what actually changes
An outside mount means the headrail, brackets, and fabric sit on the face of your trim (or the wall above it), covering the opening from outside the frame. An inside mount tucks everything inside the window jamb, so the frame itself hides the hardware. That single difference is why trim suddenly matters so much: with an inside mount, your jamb depth is the limiting factor, but with an outside mount, the trim’s width, flatness, and material become the surface you are literally screwing into. 🙂
People pick outside mount for a few good reasons: better light blockage, fuller coverage on windows with uneven or shallow jambs, or simply because they want to hide trim that has seen better days. But that coverage goal is exactly what makes clearance planning essential. The headrail has to clear any raised trim profile, and the valance or return has to sit far enough forward that it does not rub or bind when you raise and lower the shade.
2. How outside mount changes trim clearance: measurement rules and clearance math
Here is the part that trips up most first-time DIYers: measuring the wrong reference point. For an outside mount, you measure from the outside edge of the left trim piece to the outside edge of the right trim piece, then measure height from the top outside edge down to wherever you want the shade to land. Skip the window opening entirely for this step.

Once you have that outside-to-outside number, add coverage. Manufacturer and retail measurement charts commonly call for at least 2 inches of overlap per side, and often 3 inches per side for better blackout, which puts your typical added width in the 3 to 6 inch total range depending on the product and how much light gap you can live with.
A few things that shift those numbers:
- Rooms where you want near-total blackout need the wider overlap, closer to 3 inches per side.
- Casual light-filtering rooms can often get away with the 2-inch minimum.
- Deeper valance returns or thicker fabric stack-back push your final projection out further than the headrail alone suggests.
One product’s spec sheet noted that outside mount blinds should overlap the opening by at least 2 inches on each side and at the bottom to keep light from sneaking around the edges, with many manufacturers recommending 3 to 6 inches total added width for stronger blackout performance. If your trim is under about 1.5 inches wide or has an aggressive, rounded profile, plan on shims, spacer blocks, or moving your mount to the wall instead of the trim itself, since thin or curved trim rarely gives screws enough bite to hold long term.
3. Measuring and planning for trim profiles: step-by-step checks and measurements
Before you order anything, grab a steel tape, a level, a straight edge, a few thin shims, a marker, and your phone camera to snap a photo of the trim profile. That photo matters more than you’d think: it is your reference later when you are trying to remember whether that molding curved out or sat flat.
Work through these steps in order:
- Measure the width at the top, middle, and bottom of the trim, then use the largest of the three, since older homes rarely have perfectly square openings.
- Measure the trim’s depth and note where the fabric or headrail would actually make contact.
- Check level and plumb with a level or straight edge across the full span, not just one corner.
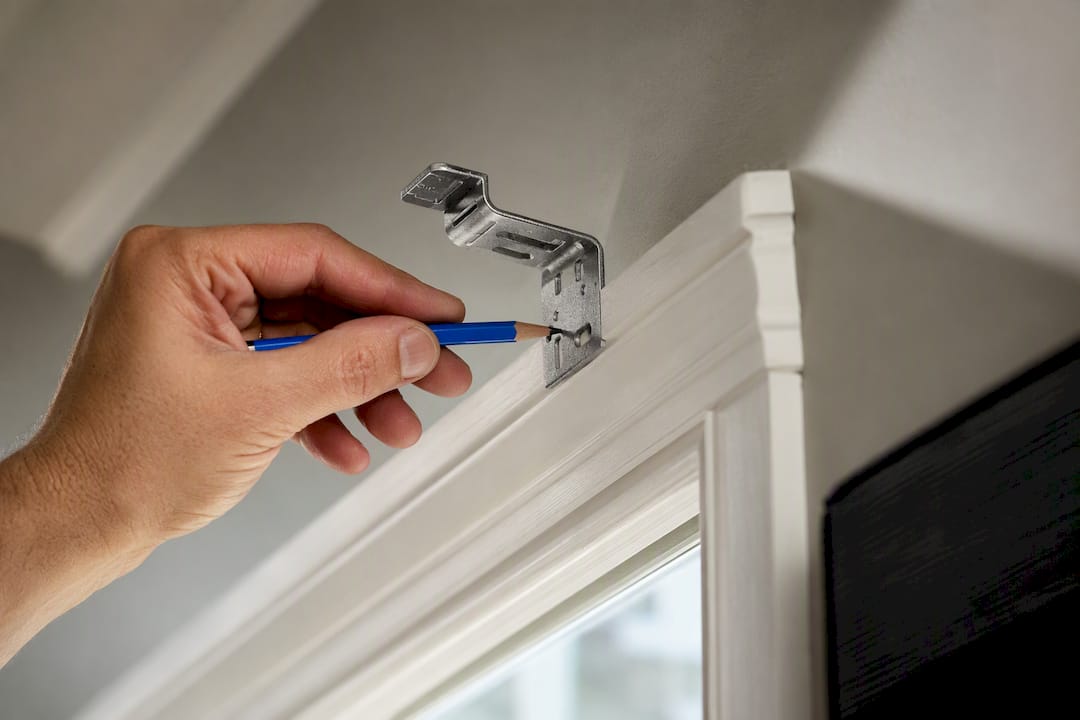
- Confirm the trim is wide enough for pilot holes and screws, planning to anchor into a stud or add a backer board if it is not.
- Write down your final width, height, projection, and return length before you place an order.
Pro Tip: Photograph your trim profile next to a tape measure so you have a scale reference when you are choosing spacer blocks later.
Documenting those four numbers, width, height, projection, and return, prevents the single most common outside mount headache: ordering a valance that is too shallow to clear the trim it is supposed to hide.
4. Bracket projection, valance returns, and hardware choices that affect trim clearance
Projection is how far the bracket sticks out from the wall or trim surface, and valance return is the depth of the fabric-covered end piece that hides the headrail from the side. Compare both numbers against your measured trim depth before you buy: if the trim sticks out further than the bracket’s projection, the shade will not sit flush and may bind on operation.
A few hardware fixes for common clearance problems:
- Offset or extendable brackets add projection without a full remount, useful when trim is deeper than expected.
- Spacer blocks push the whole assembly forward, clearing raised or ornate trim profiles.
- L-frames and angled brackets help on trim with unusual angles or on window frames that are not perfectly square.
One detail that catches people off guard: factory valance return lengths often change automatically once you add spacer blocks. Manufacturer product PDFs document exactly how projection and valance return height interact, so read the spec sheet before ordering, not after the shade arrives too short to cover the headrail.
5. Common installation problems with outside mounts on trim and how to fix them
Even with careful measuring, a few things go sideways during installation, and almost all of them have simple fixes.
Rubbing or binding against molding: test the shade’s full operation before driving the final screws. If the fabric catches on the trim, add shims behind the bracket or increase projection with a spacer block rather than forcing it.

Split or weak trim: thin trim edges crack easily under screw pressure. Use pilot holes, choose longer screws that reach into solid backing or a stud, and avoid tightening directly into the thinnest part of the molding.
Wobbly or sagging headrails: long spans need center support brackets, and every fastener should engage solid wood or a stud rather than just the trim’s surface veneer.
Pro Tip: Mock up the headrail position with a strip of poster board taped to the trim first, so you catch clearance problems before you drill a single hole.
Installers working with ornate shutter frames often measure outside-to-outside of the casing, check level at several points, and slide shims behind screw points to create a flat plane, since curved or carved trim otherwise causes the frame to bind as it settles.
6. Practical installer tips and Value Blinds resources for measuring and mounting on trim
Value Blinds keeps step-by-step measurement guides with printable checklists made specifically for outside mount situations like these, including how trim depth factors into your final order.
A few habits worth stealing from installers: mock up the headrail with poster board before drilling anything, always test the shade’s operation before you finish the screws, and slide a shim under the bracket wherever the trim profile is rounded rather than flat. If you would rather have someone else handle the tricky measuring, Pro Measure & Install gives you a professional set of eyes on your trim before anything gets ordered.
7. When outside mount is worth the extra prep work
Outside mount earns its keep when you need fuller light coverage, real blackout, or want to visually hide trim that is dated, mismatched, or just not doing your window any favors. For shallow or fragile trim, the extra prep work, shims, spacer blocks, a center support bracket here and there, is usually manageable for a confident DIYer with a free afternoon.
Ask yourself one question before you commit: is your trim at least 1.5 inches wide and reasonably flat? If yes, proceed with confidence. If not, lean toward a wall mount or bring in professional help.
— Sunny
8. How Value Blinds can help with samples, guides, and pro installation
Getting your trim clearance right starts before you ever pick up a drill, and Value Blinds builds that groundwork right into the shopping process.

Here’s what that looks like in practice:
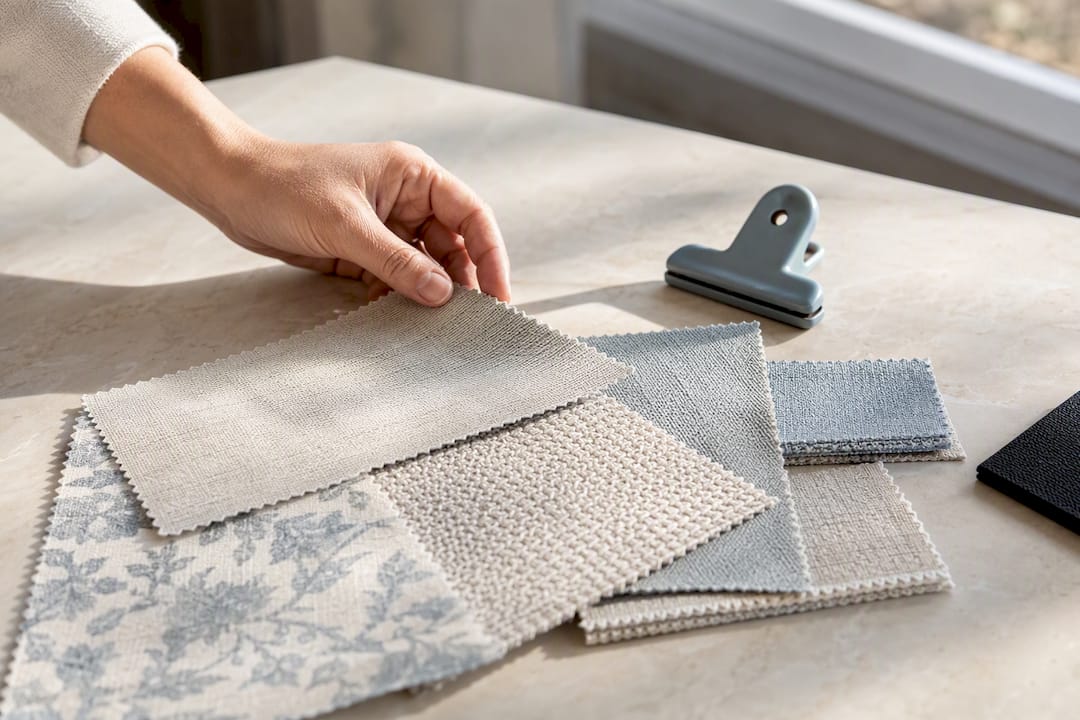
- Free swatches let you check color and texture against your trim in person before you commit.
- Measurement guides walk you through outside-to-outside measuring so your order matches your actual trim, not a guess.
- Professional measuring and installation services can help remove the guesswork for tricky or ornate trim profiles.
Once you have your numbers confirmed, browse the full blinds collection to find a style that fits your trim and your light-control goals.
Sources
Check manufacturer mounting charts for projection and return specs, review CPSC window covering safety guidance for cordless recommendations, and consult Value Blinds’ measurement resources before you order.
- Standard measuring procedures and outside mount recommendations (Lowes technical guide)
- Engineerskill
- Outside mount blind on trim (SERENA AND TRIATHLON wood blinds PDF) - Lutron assets
FAQ
Should outside mount blinds cover the trim?
Yes, most outside mounts are sized to extend past the trim edges by roughly 1.5 to 3 inches per side, covering the trim entirely for better light control and a cleaner look. This overlap also hides uneven or dated molding rather than framing it.
Is it better to mount Roman shades inside or outside?
It depends on your jamb depth and light-control goals: outside mount gives Roman shades more stack-back room and better blackout, while inside mount shows off attractive trim. Deep valances and larger stack-back on Roman shades often make outside mount the more forgiving choice.
Are vertical blinds outdated in 2026?
Vertical blinds remain a practical choice for sliding doors and very wide windows where other styles struggle with stack-back, though many homeowners now pair them with newer fabric and motorization options for a more updated look. Whether they feel dated depends more on the specific fabric and hardware finish than on the blind style itself.
How much extra width do I need for outside mount blinds?
Plan for roughly 3 to 6 inches of total added width, or about 1.5 to 3 inches per side beyond the window opening, depending on how much light gap you can tolerate. Rooms where you want stronger blackout should lean toward the higher end of that range.