

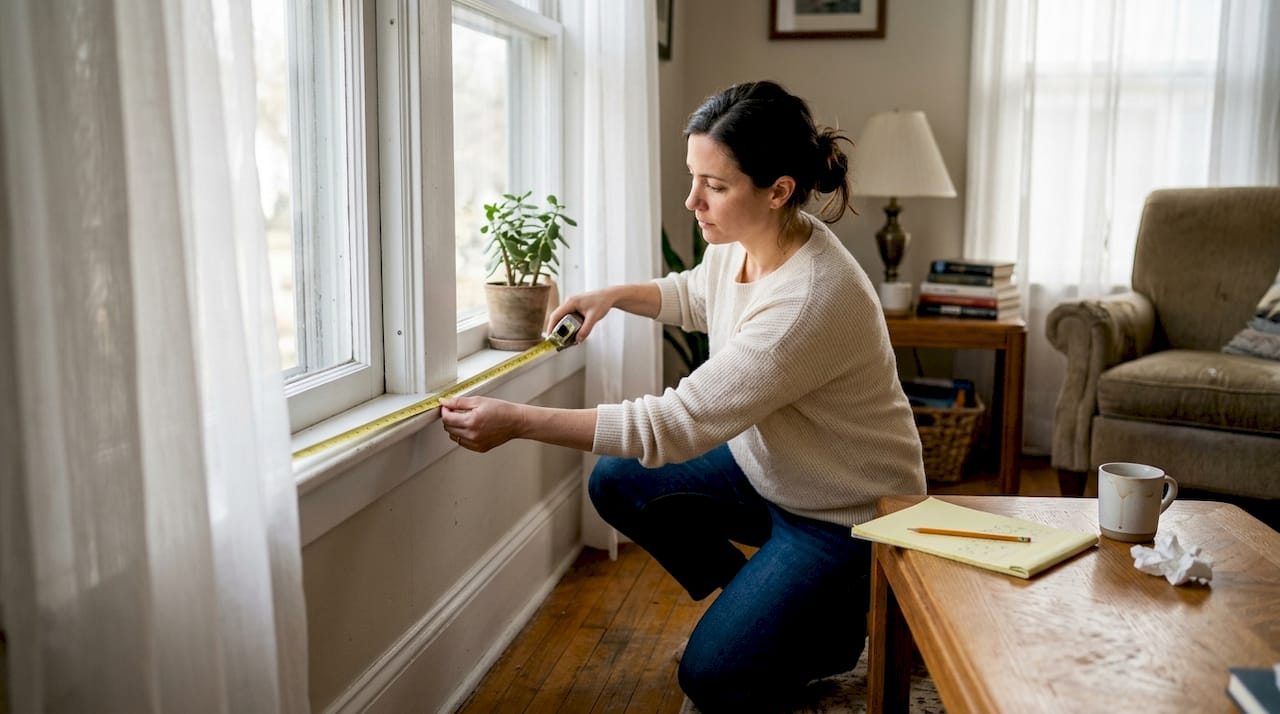
Window treatment sizing tips: measure for a perfect fit
Choosing the wrong size window treatment is one of the most frustrating and costly decorating mistakes you can make. A shade that’s too narrow lets in unwanted light around the edges. Curtains that hang too short make ceilings feel low and rooms feel unfinished. The good news is that accurate measurement is a learnable skill, and once you understand the process, you’ll get a professional result every single time. This guide walks you through preparation, step-by-step measuring techniques, curtain sizing, and how to avoid the most common pitfalls so your custom blinds and shades look exactly the way you imagined.
Table of Contents
- Gathering the right tools and preparing to measure
- Step-by-step guide to measuring for custom blinds and shades
- Curtains and drapes: Fullness, length, and hanging tips
- Avoiding common mistakes and troubleshooting measurement issues
- Our take: Why a few extra minutes transform your space
- Ready to upgrade? Explore custom window treatments
- Frequently asked questions
Key Takeaways
| Point | Details |
|---|---|
| Prep is essential | Accurate measurements start with organizing your tools and clearing the window area beforehand. |
| Follow measurement best practices | Use specific techniques for inside- and outside-mount installations and always measure in three places. |
| Curtain fullness matters | For a custom look, multiply rod width by 2 for standard curtains and adjust for other fabrics. |
| Double-check to avoid errors | Verify all measurements to prevent wasted time and money on poorly fitting treatments. |
Gathering the right tools and preparing to measure
Once you know the importance of sizing, the first step is to set yourself up for success with the right preparation. As proper preparation confirms, having all tools on hand is the foundation for getting accurate window measurements. Skipping this step leads to multiple trips back to the window and measurements you can’t trust.
Here’s everything you need before you start:
- Steel measuring tape (not a fabric tape, which can stretch)
- Pencil and notepad for recording every number immediately
- Level to check if your window frame is truly square
- Ladder if your windows are tall
- A helper to hold the tape steady on wide windows
Before you measure a single inch, remove any existing treatments and clear the window area completely. Curtain rods, old brackets, and leftover hardware can throw off your numbers if they’re still in place.
Next, decide on your mounting type, because it changes everything about how you measure.
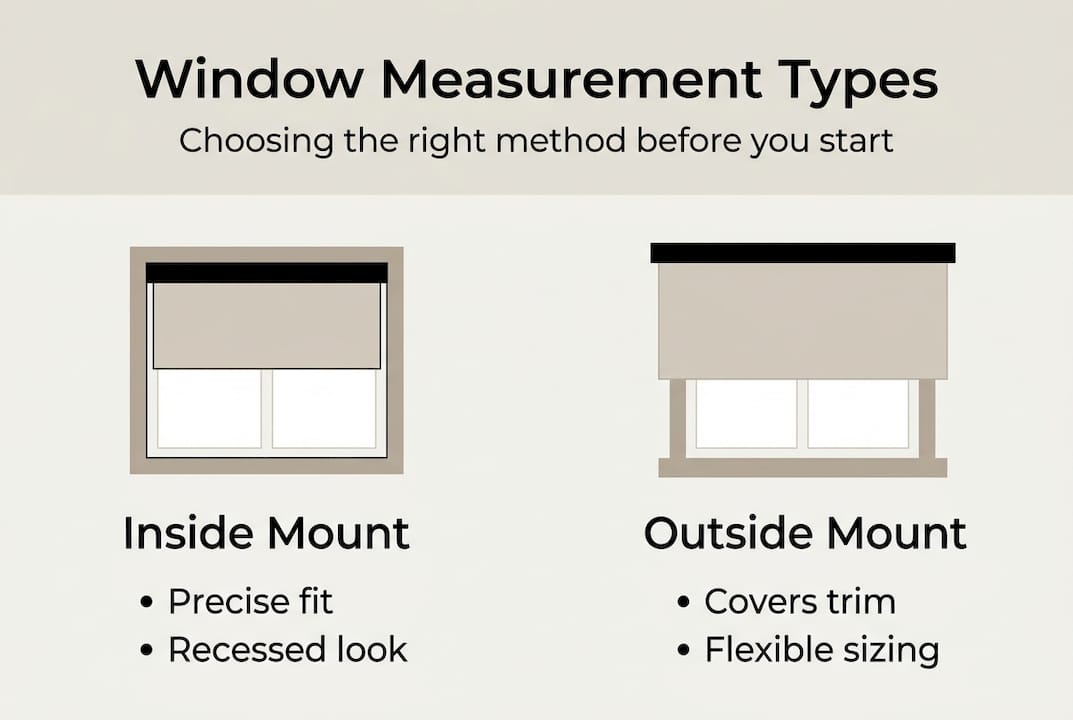
| Mounting type | Where it installs | Best for |
|---|---|---|
| Inside mount | Inside the window frame | Clean, built-in look |
| Outside mount | Above and beyond the frame | Covering larger areas, adding height |
Inside-mount treatments sit inside the frame recess and require precise width measurements. Outside-mount treatments are installed on the wall above the frame, giving you more flexibility but requiring you to account for coverage on all sides. Our window measurement guide breaks down both options in detail.
Before you finalize anything, scan the window for obstructions. Window cranks, deep sills, handles, and decorative molding can all interfere with how a blind or shade sits. Note every obstruction on your notepad.
Pro Tip: Always measure in three places for both width and height. For width, measure at the top, middle, and bottom of the opening. For height, measure at the left, center, and right. Windows are rarely perfectly square, and using only one measurement is a recipe for a poor fit.
Step-by-step guide to measuring for custom blinds and shades
With tools at the ready, you’re prepared to follow the actual measurement process for the best possible fit. Measuring methods differ significantly for inside and outside mounts, and mixing them up is one of the most common ordering errors.
For inside-mount blinds and shades:
- Measure the width at the top, middle, and bottom of the window opening. Record all three numbers.
- Use the smallest width measurement. This ensures the blind fits without binding.
- Measure the height on the left side, center, and right side of the opening.
- Use the largest height measurement so the shade covers the full opening.
- Record everything to the nearest 1/8 inch. This level of precision matters for custom blinds and shades that are cut to order.
For outside-mount blinds and shades:
- Decide how much coverage you want beyond the frame on each side. Adding 1.5 to 3 inches on each side blocks light and creates a fuller look.
- Measure your desired total width from edge to edge of where the treatment will hang.
- Decide how high above the frame you want the treatment to start. Mounting 2 to 4 inches above the frame makes windows appear taller.
- Measure from that top point down to where you want the shade to end, typically just below the sill or to the floor.
- When you order custom shades online, enter your exact measured dimensions.
Pro Tip: Most manufacturers apply a factory deduction to inside-mount orders, meaning they trim a small amount (usually 1/4 to 3/8 inch) from your submitted width so the blind fits inside the frame without rubbing. Always confirm whether the company applies this deduction automatically or whether you need to account for it yourself before submitting your order.
Always round down to the nearest 1/8 inch for width when ordering inside mounts. Rounding up even slightly can mean the blind won’t close properly inside the frame.
Curtains and drapes: Fullness, length, and hanging tips
Blinds and shades are just one aspect of window dressing. Getting curtain and drape measurements right is equally important for a truly custom look. The single biggest variable most people overlook is fullness, which refers to how much fabric you use relative to the width of your rod.
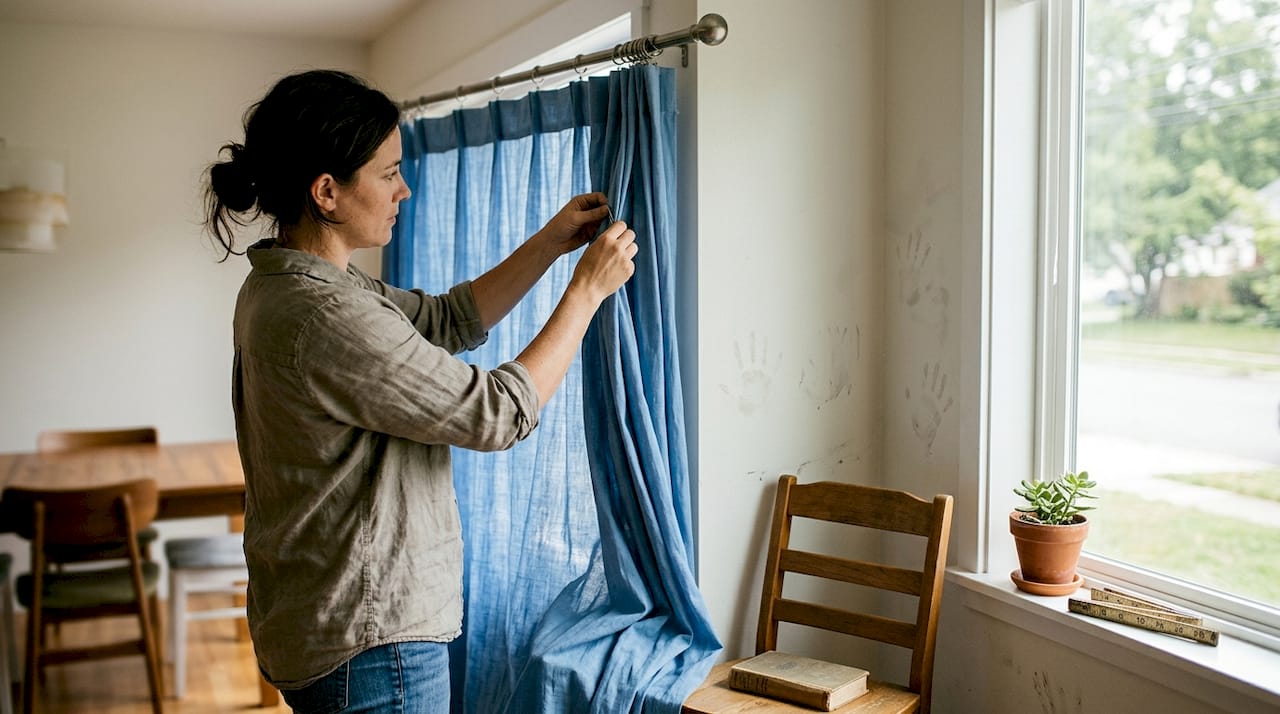
Fullness benchmarks vary by fabric weight: sheers need 2.5 to 3 times the rod width, standard curtains need 2 times, and heavy fabrics need 1.5 to 2 times. More fabric means more visual richness and better light control.
| Fabric type | Fullness ratio | Total fabric width needed for 60" rod |
|---|---|---|
| Sheers | 2.5 to 3x | 150" to 180" |
| Standard curtains | 2x | 120" |
| Heavy drapes | 1.5 to 2x | 90" to 120" |
Length choices also shape how a room feels:
- Sill length (around 63"): Casual and practical, great for kitchens and bathrooms
- Floor length (84" to 96"): The most popular option, creates a polished, finished look
- Puddle length (add 6 to 12" past the floor): Dramatic and luxurious, best for formal rooms
Where you hang the rod matters just as much as the curtain length itself. Placing the rod 4 to 6 inches above the window frame and extending it 4 to 6 inches beyond the frame on each side makes windows look wider and ceilings feel taller. This is one of the most effective visual tricks in interior design, and it costs nothing extra.
A few quick tips for maximizing your curtain impact:
- Hang rods as close to the ceiling as possible in rooms with low ceilings
- Use treatments for large windows to maintain proportion in open-plan spaces
- Choose floor-length panels even for smaller windows to add height
- Always measure from the rod (not the top of the panel) to your desired endpoint
Stat callout: Using 2x your rod width for standard curtains is the industry benchmark for a full, tailored appearance without excessive bulk.
Avoiding common mistakes and troubleshooting measurement issues
Even with care, it’s easy to make mistakes when measuring. Here are the most frequent errors and how to fix them before they cost you money.
Top measurement mistakes:
- Measuring only once and trusting a single number
- Ignoring the mounting type before measuring
- Rounding up instead of down for inside mounts
- Forgetting to check for obstructions like cranks or deep sills
- Measuring the glass only, not the full frame opening
Measuring in only one spot, failing to account for obstructions, and neglecting fullness ratios are leading causes of ill-fitting treatments. Write every measurement down the moment you take it. Memory is unreliable, especially when you’re juggling multiple windows.
“Measure twice, cut once” applies to custom shades more than almost anything else in home decor. A few extra minutes of verification before you order can save you weeks of waiting and hundreds of dollars.
If you’ve already received a treatment that doesn’t fit perfectly, here are your options:
- Too narrow for outside mount: Move the brackets outward or add a wider rod to extend coverage.
- Slightly too wide for inside mount: Check if the manufacturer offers a trim service, or consult a local blind shop.
- Curtains too short: Raise the rod or add a fabric extension panel at the bottom.
- Curtains too long: Hem the panels or create a puddle effect intentionally.
For modern blinds and shades, small errors in width are harder to correct after the fact, which is why prevention matters far more than any fix. Reviewing best custom treatments before ordering helps you understand what tolerances each product type allows.
Our take: Why a few extra minutes transform your space
After addressing common pitfalls, it’s worth reflecting on why getting window sizing right makes such an outsized impact on a room. We’ve seen it happen countless times: a homeowner rushes through measuring, orders quickly, and ends up with treatments that technically cover the window but look nothing like the polished result they envisioned.
Custom sizing is the quiet secret behind every room that looks professionally designed. When treatments fit precisely, they frame the view, control light exactly as intended, and give the entire space a finished quality that no amount of furniture or paint can replicate. Exploring a custom window blinds overview before you order helps you understand just how many options are available once your measurements are locked in.
Rushing costs more in the long run. The time you invest in careful preparation and precise recording pays you back every single morning when you open your shades and everything looks exactly right. Precision is not perfectionism. It’s just good practice.
Ready to upgrade? Explore custom window treatments
If you’re inspired to make your space shine, see how custom options can help you realize your vision.
You’ve done the hard work of measuring. Now it’s time to find treatments that match your style, your light needs, and your home’s personality. Value Blinds carries a wide range of high-quality blinds cut to your exact specifications, from sleek roller shades to rich wooden blinds and motorized options that make everyday living easier.

Not sure where to start with colors, materials, or styles? The Value Blinds design studio lets you visualize your choices before you commit, so you can order with total confidence. Free swatches, expert support, and a seamless ordering process mean your perfect window treatment is closer than you think.
Frequently asked questions
What is the difference between inside- and outside-mount window treatments?
Inside-mount fits within the window frame for a seamless, built-in appearance. Outside-mount installs above and beyond the frame, covering more area and visually adding height to the window.
How do I get the correct fullness for curtains?
Multiply your rod width by 2 for standard curtains, 2.5 to 3 for sheers, and 1.5 to 2 for heavy fabrics. These fullness benchmarks ensure your panels look full and intentional rather than flat.
Should I round up or down when measuring for window blinds and shades?
Always round down to the nearest 1/8 inch for width on inside mounts. Rounding down ensures the blind fits properly inside the frame without binding or rubbing.
What if I measure wrong and my shades don’t fit?
Try adjusting the mounting location or hardware first. For significant sizing errors, new shades may be needed, which is why double-checking before ordering is always worth the extra time.






