
Blinds com How to Measure for Perfect Custom Fit Windows
Most American homeowners underestimate how crucial accurate measurements are when ordering custom blinds. Even a small miscalculation can lead to expensive errors or mismatched window treatments. With over 60 percent of custom blind returns tied to measurement mistakes, taking the right approach from the start matters. This guide breaks down every step so you can measure your windows like a pro, avoid costly delays, and achieve a flawless result in your American home.
Table of Contents
- Step 1: Gather Accurate Measuring Tools
- Step 2: Identify and Record Window Specifications
- Step 3: Measure Window Width and Height
- Step 4: Double-Check and Verify All Measurements
- Step 5: Document Details for Blinds Com Ordering
Quick Summary
| Essential Insight | Clarification |
|---|---|
| 1. Use Accurate Measuring Tools | Select tools like a metal tape measure and digital laser measure for precise measurements. |
| 2. Document Window Specifications | Measure width and height at multiple points to ensure correct fitting of treatments. |
| 3. Double-Check Measurements | Review recorded dimensions to catch errors and confirm accuracy before ordering. |
| 4. Prepare Detailed Ordering Information | Create comprehensive documentation, including measurements and special notes, for seamless ordering. |
| 5. Create Backup Documentation | Take photos and keep digital copies of your measurement chart to prevent loss and confusion. |
Step 1: Gather Accurate Measuring Tools
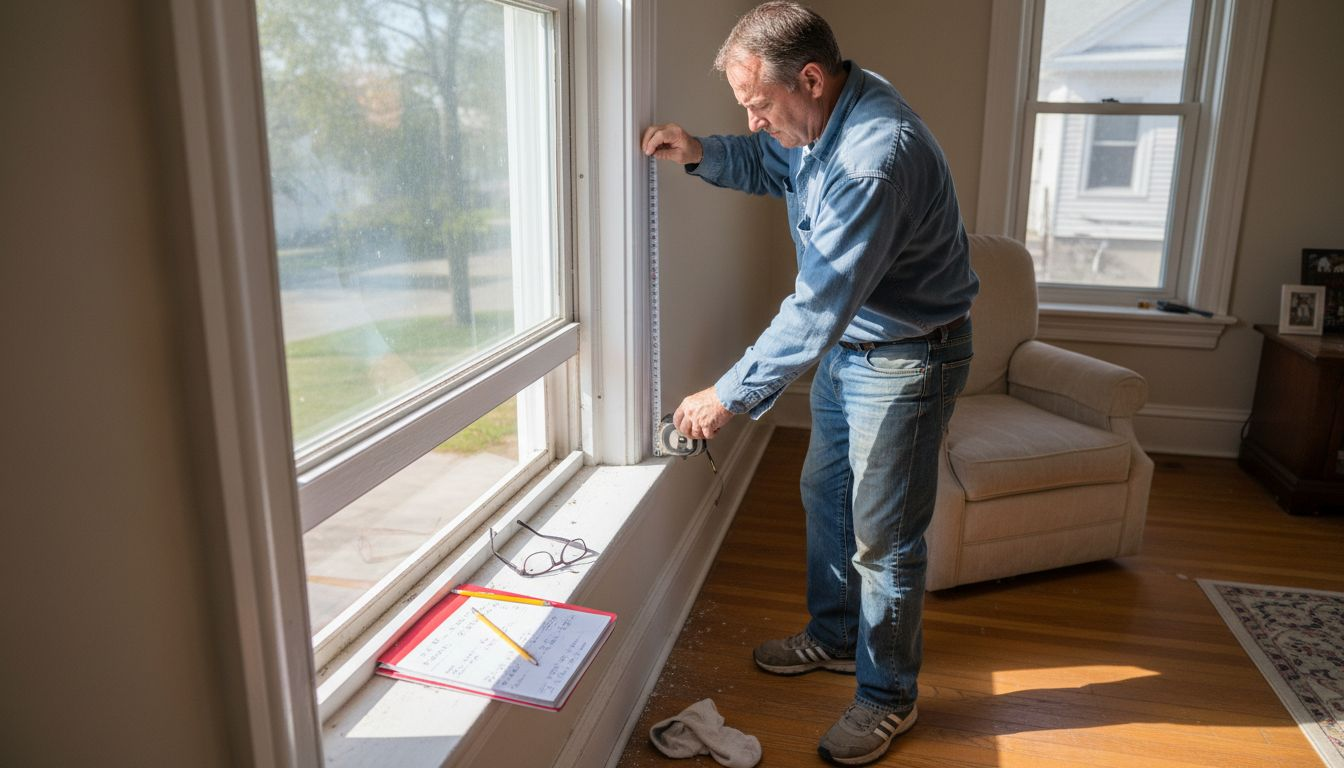
Precision begins with having the right measurement equipment. You’ll want to collect specialized tools that guarantee accuracy for your custom window treatments. Professional installers recommend using a rigid metal tape measure to ensure reliable measurements without the risk of stretching or distortion.
Start by selecting a metal tape measure that extends at least 25 feet and has clear, readable markings. Digital laser measures can provide exceptional precision, especially for larger windows or challenging architectural spaces. Consider including a sturdy stepladder to help you reach higher window areas safely, and keep a notepad and pencil nearby to record your measurements immediately. Having a second person assist you can also help confirm measurements and provide extra stability while measuring.
Each window presents unique characteristics, so take your time and double-check every measurement. Accuracy here prevents costly mistakes in custom window treatments.
Pro tip: Always measure at multiple points across the window width and height to account for any subtle variations in window frame dimensions.
Here’s a quick comparison of common measuring tools for custom window treatments:
| Tool Type | Key Advantage | Best Usage Scenario |
|---|---|---|
| Metal Tape Measure | No stretching, high precision | Standard-size windows |
| Digital Laser Measure | Exceptional accuracy, easy reading | Large or high windows |
| Stepladder | Reach high areas safely | Tall or hard-to-reach windows |
| Notepad & Pencil | Immediate documentation | Tracking multiple windows |
Step 2: Identify and Record Window Specifications
Now that you have your measuring tools ready, it is time to capture precise details about your windows. Successfully documenting window specifications requires careful attention and systematic documentation. Our comprehensive measuring guide recommends a strategic approach to capturing window details.
Begin by examining each window individually. Measure the width at three distinct points the top, middle, and bottom of the window frame. Record the narrowest measurement, as this ensures your custom blinds will fit perfectly. Next, measure the height from three different points the left side, center, and right side of the window. Again, use the shortest measurement to guarantee proper installation. Note whether the window has any unique architectural features like archways, unusual angles, or obstructions that might impact your window treatment selection.
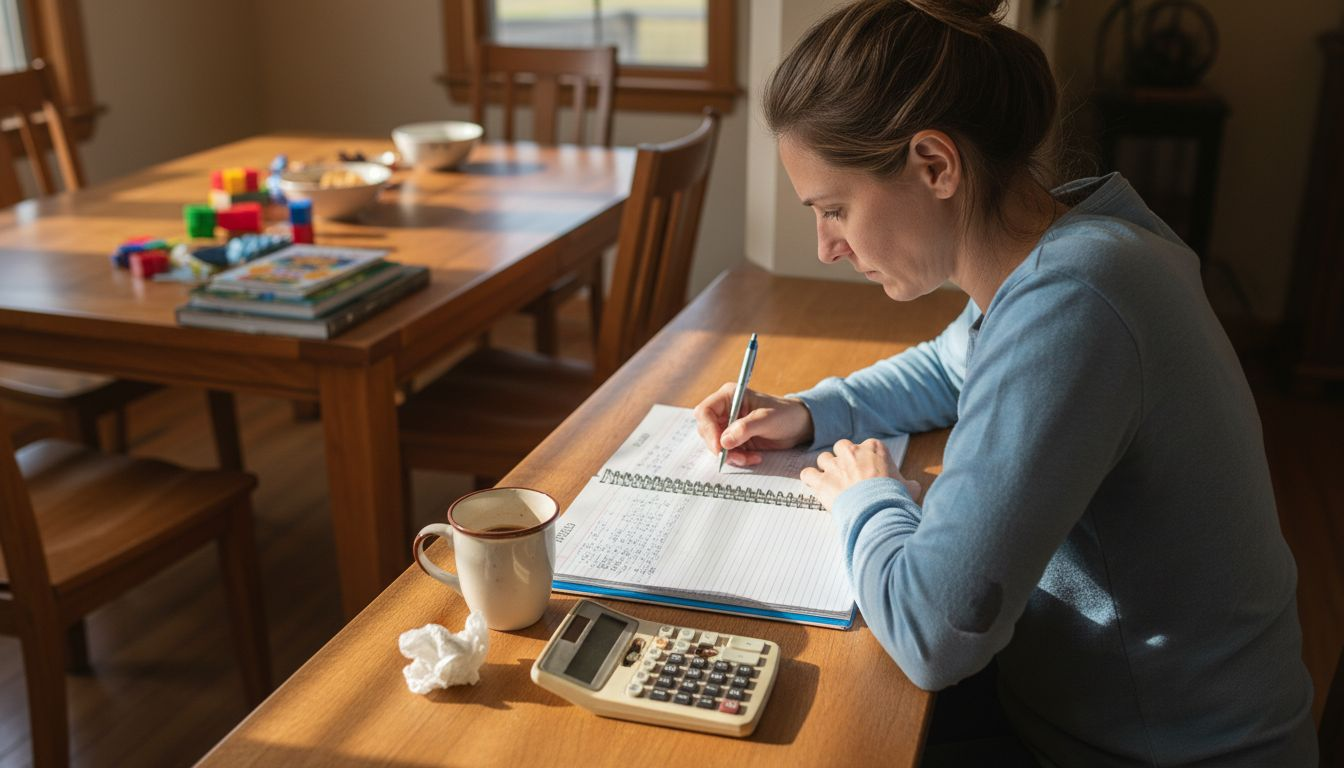
Precision is key when recording measurements. Use a notepad to create a dedicated window measurement chart where you can document width and height for each window, including room names or specific locations. This systematic approach prevents confusion and helps ensure accurate custom blind ordering.
Pro tip: Always measure twice and write down measurements immediately to minimize the chance of errors or forgotten details.
Step 3: Measure Window Width and Height
Measuring window dimensions accurately is crucial for achieving a perfect custom fit for your window treatments. Understanding standard window size guidelines can help you navigate this critical process with confidence.
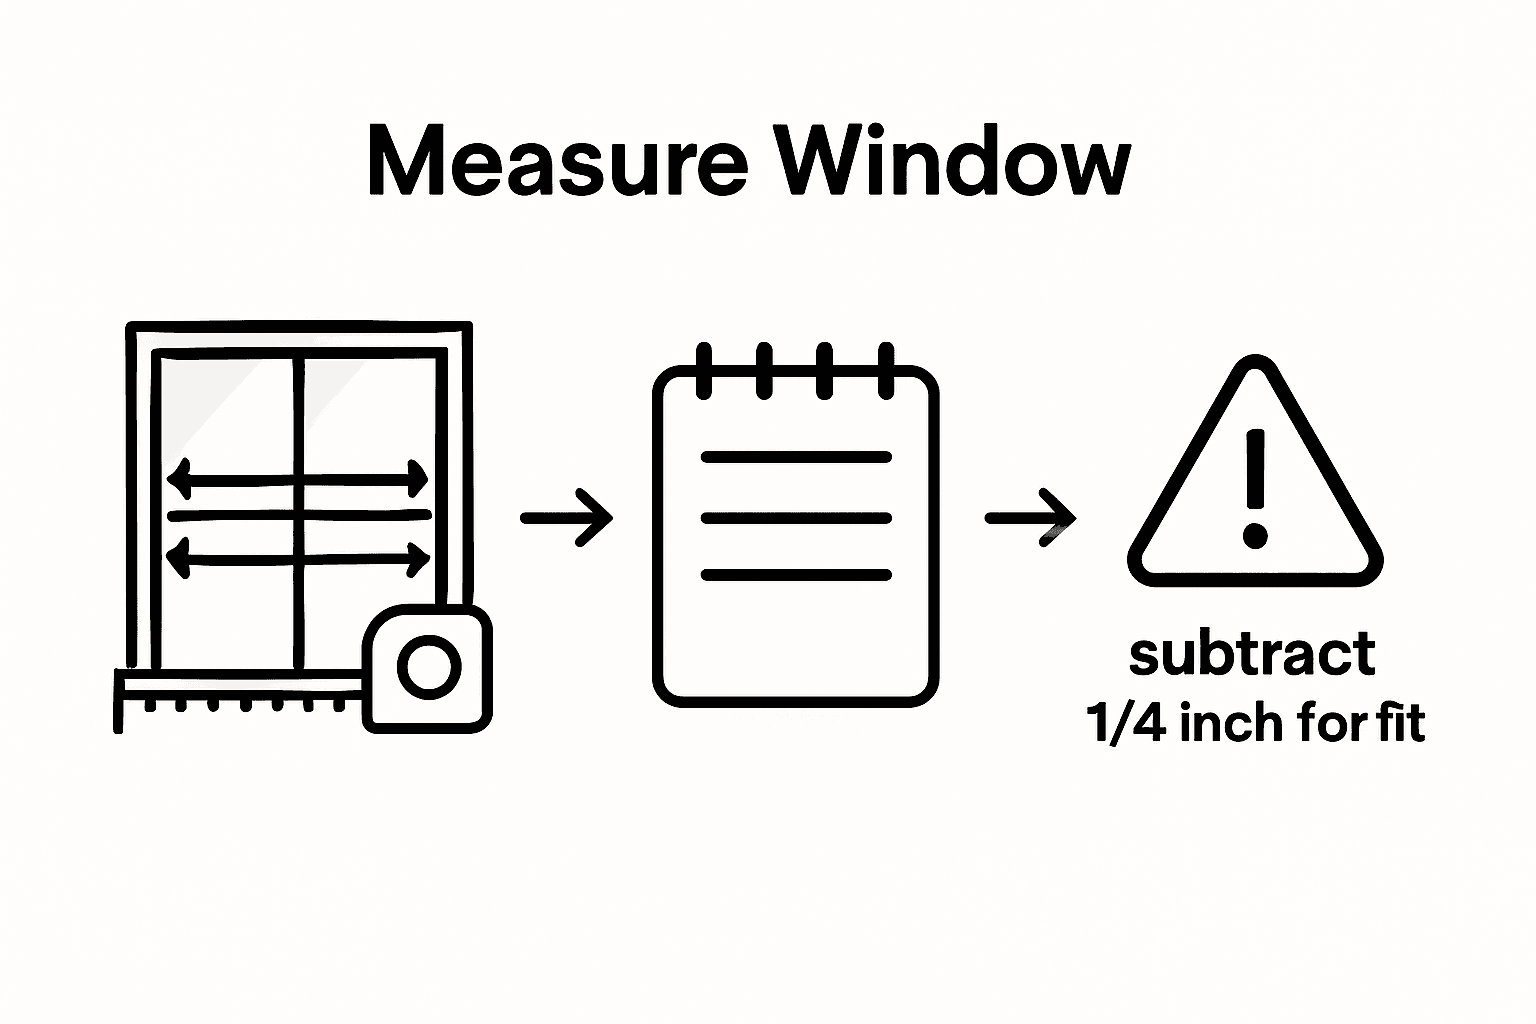
To measure window width, position your metal tape measure inside the window frame from the left inner edge to the right inner edge. Take three separate measurements at the top, middle, and bottom of the window. Always record the narrowest measurement to ensure your blinds will fit properly. When measuring height, start at the top inner edge of the window frame and extend the tape measure down to the bottom inner edge. Similar to width measurements, record height readings from the left, center, and right sides of the window. Select the shortest measurement to guarantee a seamless installation.
Pay close attention to any architectural nuances. Some windows might have slight irregularities or uneven frames that could impact measurement accuracy. If your window frame is not perfectly rectangular, consider consulting a professional or using additional measurement techniques to ensure precision.
Pro tip: Always subtract 1/4 inch from your narrowest measurements to allow for smooth blind installation and prevent potential binding or friction.
Step 4: Double-Check and Verify All Measurements
Verifying measurements is a critical step in preventing expensive installation errors, ensuring your custom window treatments will fit perfectly. Your initial measurements are just the beginning of the precision process, and a thorough review can save you time, money, and frustration.
Recommit to your measurements by carefully reviewing each recorded dimension. Pull out your measurement chart and meticulously cross-reference your notes. Check that all width measurements match at the top, middle, and bottom of each window, confirming there are no significant discrepancies. Repeat the same process for height measurements, verifying readings from left, center, and right sides. Look for any potential anomalies like slight frame warping, uneven surfaces, or architectural quirks that might impact your blind fitting.
Consider creating a visual backup by taking clear, well-lit photographs of your windows alongside your measurement documentation. These images can serve as additional reference points and provide valuable context if you need to consult with a professional or review your measurements later.
Pro tip: Ask a second person to independently measure and verify your dimensions, providing an extra layer of accuracy and reducing the likelihood of measurement errors.
Step 5: Document Details for Blinds Com Ordering
Now that your measurements are precise and verified, it is time to prepare your documentation for a smooth ordering process. Understanding how to choose the right blinds will help you translate your careful measurements into the perfect window treatment.
Organize your measurement chart with crystal clear details. Include the room name, window location, exact width and height measurements, and any special notes about window characteristics like unusual angles, obstructions, or architectural features. Take high resolution photographs of each window from multiple angles to provide visual context. These images can be invaluable if customer service needs additional information or if you want to confirm your measurements later.
Prepare a comprehensive summary that includes window type, mounting preferences inside or outside the frame, desired blind style, and color selections. Double check that all your documented information matches the measurements you have carefully recorded. Having a complete and accurate profile will streamline your ordering process and minimize potential errors or delays.
Pro tip: Create a digital backup of your measurement documentation by scanning or photographing your measurement chart and storing it in a cloud storage service for easy future reference.
Use this summary chart to prepare error-free window measurement documentation:
| Documentation Element | What to Include | Why It Matters |
|---|---|---|
| Room & Location | Specify for each window | Prevents confusion |
| Exact Width & Height | Shortest of three measurements | Ensures proper blind fit |
| Special Notes | Obstructions or unique designs | Informs product selection |
| Photos | Multiple angles of each window | Aids troubleshooting/order |
Measure with Confidence and Choose Perfect Custom Blinds Today
Measuring your windows accurately is the first step toward transforming your space with beautifully fitted blinds. If you have followed the detailed steps on how to measure for perfect custom fit windows, you already understand how critical precise width and height measurements are to avoid costly mistakes. Now it’s time to turn those careful measurements into stylish and functional window treatments that truly enhance your home.
At Value Blinds, we make it simple to customize and order a wide range of premium blinds and shades tailored exactly to your needs. Whether you need sleek motorized options, energy-efficient cellular shades, or versatile blackout treatments, our collection has something to elevate your rooms. Double-check your measurements and explore our New Arrivals for the latest window solution trends or browse our Fire Retardant designs for enhanced safety and durability.

Don’t wait to bring your vision to life with custom blinds that fit perfectly and look stunning. Visit Value Blinds now to start your hassle-free ordering process and enjoy expert support every step of the way.
Frequently Asked Questions
How do I start measuring my windows for custom blinds?
To begin measuring your windows for custom blinds, gather accurate measuring tools like a metal tape measure and a notepad. Then, measure the width and height of each window at three different points and record the narrowest measurements.
What should I do if my window frame is uneven or irregular?
If your window frame is uneven, consider taking multiple measurements to capture the variations accurately. If you notice significant discrepancies, consult a professional for assistance to ensure precision in your measurements.
How can I ensure that my measurements for custom blinds are accurate?
To ensure accurate measurements, double-check each dimension and record them immediately in a dedicated chart. Always measure twice at varying points within the window frame and verify your notes for any inconsistencies.
What details should I document when measuring for blinds?
Document the room name, exact width and height measurements, and any unique window features that could affect the installation. Additionally, take high-resolution photographs of your windows for visual reference during the ordering process.
Should I subtract any measurements when ordering custom blinds?
Yes, always subtract 1/4 inch from your narrowest measurements to allow for easy installation. This small adjustment helps prevent binding or friction when the blinds are closed or opened.
Is it necessary to have someone assist me while measuring?
Having a second person can be very helpful while measuring, as they can stabilize the ladder and confirm measurements with you. This collaboration reduces the chance of errors and enhances measurement accuracy.


