

Article: How to Measure for Roman Shades Outside Mount
How to Measure for Roman Shades Outside Mount
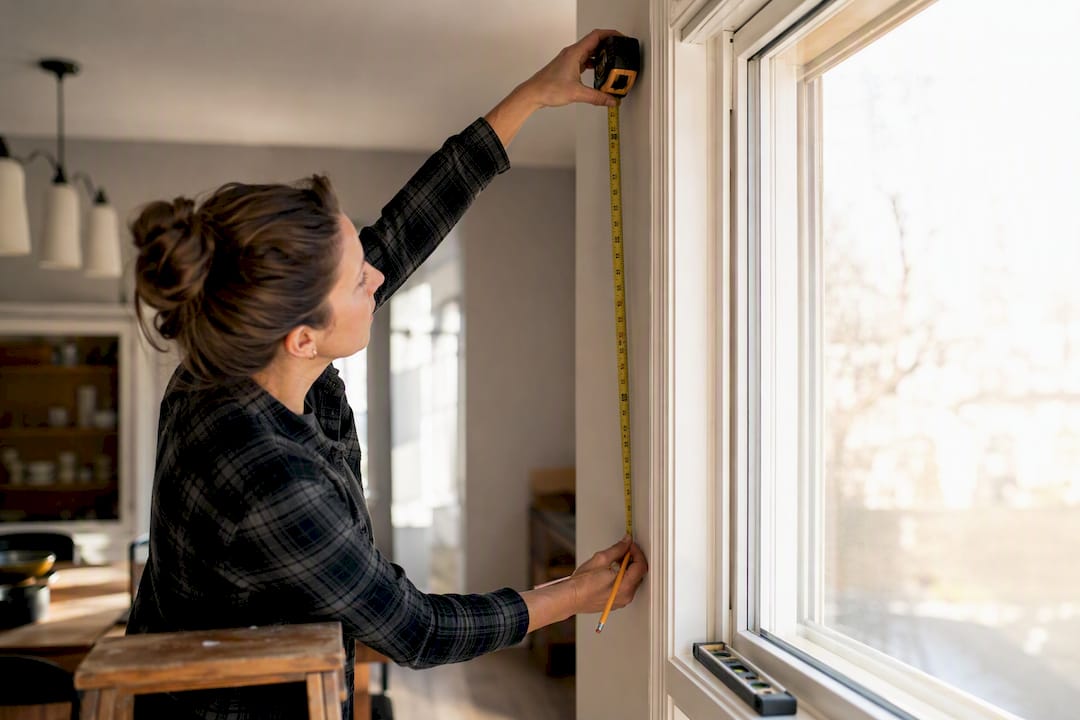
Your ordering width is your desired coverage width plus 2 to 3 inches total (about 1 to 1.5 inches per side) so light doesn’t leak around the edges. Your ordering length runs from your chosen mounting point down to your desired finished bottom, plus room for the headrail and stack. Measure left, middle, and right before you commit to a number, and always check that your window is actually square.
TL;DR:
- Overlap for outside mount roman shades should typically be 1 to 1.5 inches per side to minimize light gaps, with up to 2 to 4 inches if blackout is essential.
- Measure width at three points and use your chosen coverage area, then add overlap allowances and account for valances to determine final shade width.
- When measuring drop, mark from your mounting point to the desired bottom, ensuring 4 inches of clearance for hardware, and check for window squareness with diagonal measurements.
- Confirm all measurements before ordering by rechecking with a high-precision tape, verifying diagonals, and noting obstructions to prevent fit and operation issues.
- Outside mount is ideal for shallow frames or out-of-square windows, and professional measurement services are available for maximum accuracy and peace of mind.
Table of Contents
- How to measure for roman shades outside mount: tools you need first
- Measure width for outside mount roman shades
- Where should you mount the headrail, and how much drop do you need?
- Measuring multiple panels or grouped windows
- How to check your outside mount roman shades measurements before ordering
- Who wrote this guide and where to get more measuring help
- What actually matters when you measure for outside mount shades
- Ready to order? Here’s how Value Blinds turns your measurements into a shade
- Sources
How to measure for roman shades outside mount: tools you need first
Grab a metal tape measure (fabric ones stretch and throw your numbers off), a pencil, a small level, a step stool if your window sits high, and a notebook to log every measurement as you go. A second set of hands helps when you’re holding a tape measure against an 80 inch drop and trying to write legibly at the same time, but it’s not required. 🙂
Before you measure anything, clear the window area. Move furniture, note any cranks, handles, or heavy molding that might interfere with an outside-mount headrail, and decide upfront whether you want a snug overlap or a fuller, light-blocking one. This also is a good moment to check window depth. Outside mount is the right call when the frame is too shallow for an inside mount, when trim is decorative and worth showing off, or when the window itself is out of square, which we will cover shortly.
Measure width for outside mount roman shades
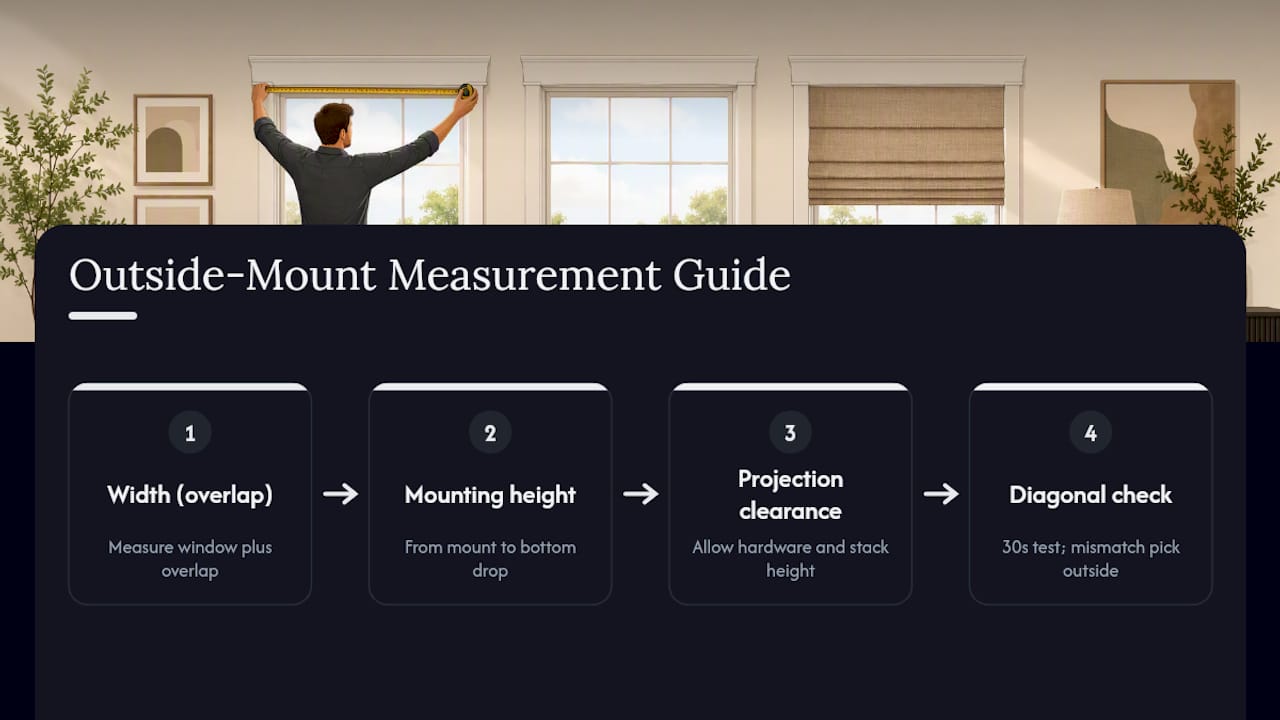
- Decide your coverage area. Trim-to-trim is standard, but you can extend the shade beyond the trim onto the wall for better light control or a bolder look.
- Measure total width at three points, left, middle, and right, and record all three. For outside mounts, use whichever coverage edges you settled on in step one, not necessarily the widest point of the frame.
- Add your overlap. A minimal 1/2 to 1 inch per side gives a tailored, close-to-frame appearance. Most homeowners land on 1 to 1.5 inches per side (2 to 3 inches total), which The Shade Store’s measurement guidance recommends specifically to reduce light seepage at the sides. If blackout is the priority, some guides push to 2 to 4 inches total.
- Account for the valance. An outside-mounted valance or return typically adds about 1 inch to each side of the finished width, so your shade may look slightly wider once it’s hung than the number you wrote down.
Pro Tip: Homeowner forums like Houzz consistently show that overlap comes down to preference as much as function. If you want a crisp, tailored look, stay near 1/2 inch per side. If afternoon glare is your enemy, go closer to 1.5 inches.
Where should you mount the headrail, and how much drop do you need?
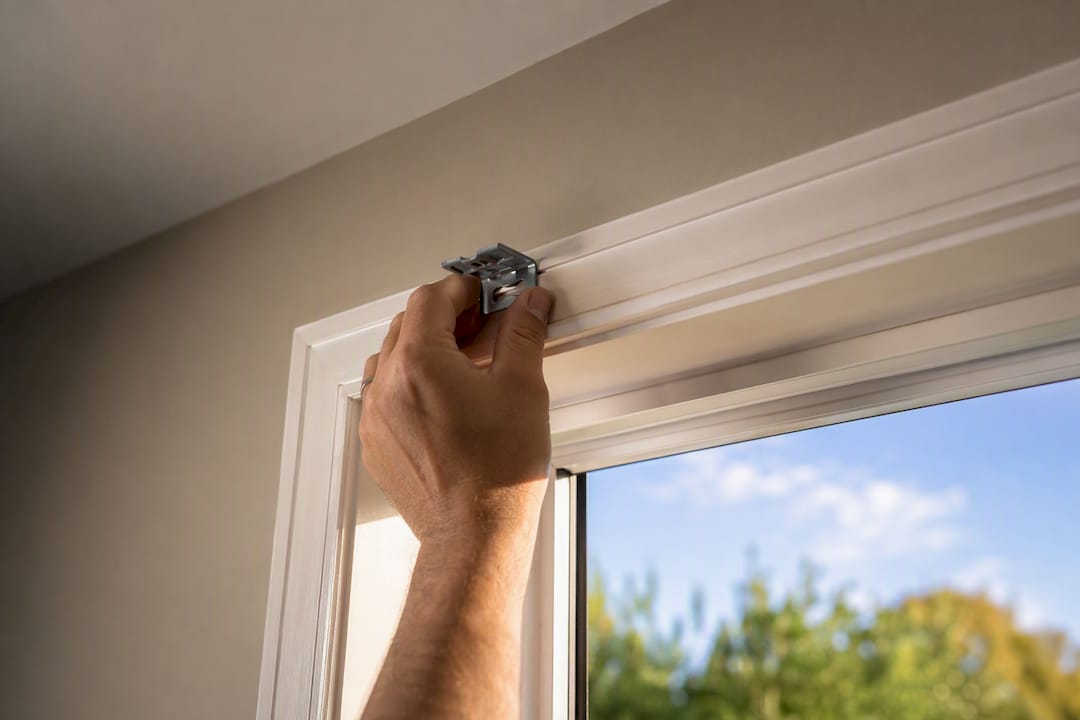
Pick your mounting point first, because everything else follows from it. You can mount the headrail on the wall above the trim, directly on the trim, or on top of the trim itself. Once you’ve chosen, measure straight down from that point to your desired finished bottom, whether that’s the sill, the apron, or the floor. Take that drop measurement at the left, middle, and right of the window and record every number, even if they match.
A few clearance rules make the difference between a shade that operates smoothly and one that snags every time you raise it:
- Leave a minimum of about 4 inches above the window for clutch or continuous-loop hardware, a figure Lynn Chalk’s measuring instructions treats as the baseline for outside mounts.
- Many installers mount well above the top trim instead, for a taller, more dramatic look and to guarantee full stack clearance.
- Outside mounts generally have no minimum depth requirement, unlike inside mounts, according to JustBlinds’ measuring guide, which is exactly why outside mount solves the shallow-frame problem homeowners run into with older construction.
The thicker the fabric and the more folds it has when raised, the bigger the stack sitting at the top of your window. Stack height isn’t universal. It varies by fabric weight and fold style, so check the product-specific stack chart before you finalize your mounting height, or note in your order that you’d like the manufacturer’s stack specs confirmed first.
Measuring multiple panels or grouped windows
Bay windows, wide picture windows split into two shades, or a row of matching windows down a hallway all need the same discipline: measure each opening separately, but record identical top reference points so every drop lines up visually once installed.
- Decide on butted edges for a seamless, continuous look, or add 1/2 to 1 inch of overlap between shades to cut down on light gaps between panels.
- For one wide opening covered by multiple shades, measure the full coverage width and divide it evenly, keeping margins consistent on each side.
- Check bracket placement and headrail compatibility across all rails. Mismatched hardware between panels is a common reason multi-shade installs look uneven even when the fabric matches perfectly.
How to check your outside mount roman shades measurements before ordering
Re-measure before you submit anything. Recheck your left, middle, and right widths, and your top, middle, and bottom drops, recording each to the nearest 1/8 or 1/16 inch if your tape allows it.
- Check the diagonals. Measure corner to corner in both directions. If the two diagonal measurements differ, your window is out of square, which is common in older homes, and it’s a strong argument for outside mount over inside mount, or for having a professional confirm your numbers.
- Watch for these common mistakes: skipping the overlap allowance entirely, measuring from the edge of the trim instead of your intended coverage edge, rounding to the nearest whole inch when a fraction actually matters, and forgetting obstructions like a window crank that will interfere with the headrail.
- When your numbers don’t add up cleanly, request professional measurement through Value Blinds or submit photos of your window for a second opinion before you order.
Pro Tip: A three-point drop check, left, middle, right, catches slanted headers and settled foundations that a single center measurement will completely miss.
Who wrote this guide and where to get more measuring help
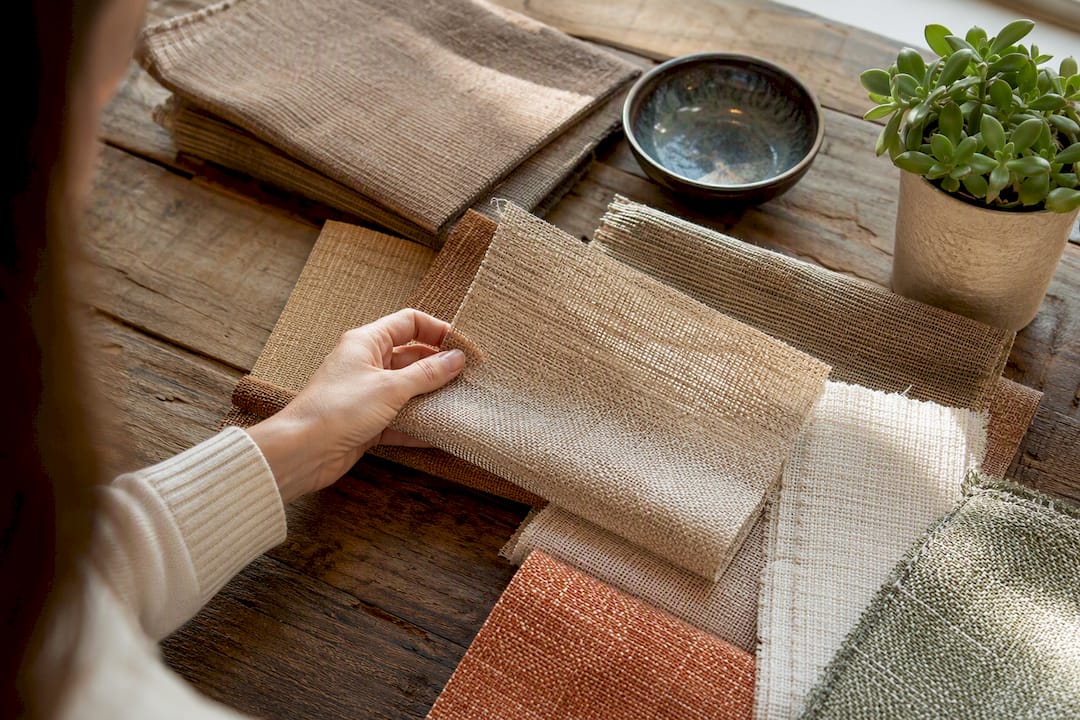
Sunny put this measurement process together as a practical, order-ready walkthrough for homeowners tackling their own Roman shade measurements for the first time. Beyond this guide, Value Blinds backs every order with a design studio for configuring fabrics and colors, free swatches so you can check texture and light control before committing, and optional professional measuring and installation if you’d rather hand off the tape measure entirely.
What actually matters when you measure for outside mount shades
Most measuring guides treat width and height as a simple two-step process, and short video tutorials are the worst offenders. They’ll show you where to put the tape measure and stop there, skipping stacking allowance and hardware clearance entirely. That gap is exactly where DIY installs go wrong: the shade fits the window fine, but it eats into the top trim, or the raised fabric blocks the upper third of your view because nobody accounted for stack height.
The overlap and clearance numbers in this guide are ranges, not laws, and that’s intentional. A homeowner chasing a tailored look should sit at the low end, 1/2 inch per side and 4 inches of clearance. A homeowner fighting west-facing afternoon sun should sit at the high end. What conventional advice underrates is the diagonal check. It takes thirty seconds, and it’s the single fastest way to catch a window that will make an inside mount look crooked no matter how carefully you measure. If your diagonals don’t match, stop optimizing your overlap number and start planning for outside mount instead.
— Sunny
Ready to order? Here’s how Value Blinds turns your measurements into a shade
Once you’ve got your ordering width and ordering length written down, you’re closer to a finished window than it feels. Value Blinds is built to take those exact numbers and turn them into a shade that fits the first time, no separate measuring appointment required unless you want one.

Head to the Design Studio to plug in your width and length, browse fabrics, and request free swatches before you commit to a color. If you’d rather skip fabric decisions for now, browse Value Blinds’ full shade and blind collection to see what’s available in cordless, motorized, and blackout options. Not confident in your numbers? Request Value Blinds’ professional measuring service, and every order still ships with warranty support behind it. Start your order today and get a shade sized to the measurements you just took.
Sources
The overlap and clearance figures above come from The Shade Store’s measurement PDF, JustBlinds’ measuring guide, and Lynn Chalk’s outside-mount instructions, alongside Value Blinds’ own measurement and ordering resources.




%20so%20light%20doesn%E2%80%99t%20leak%20around%20the%20edges.%20Your%20ordering%20length%20runs%20from%20you...)