

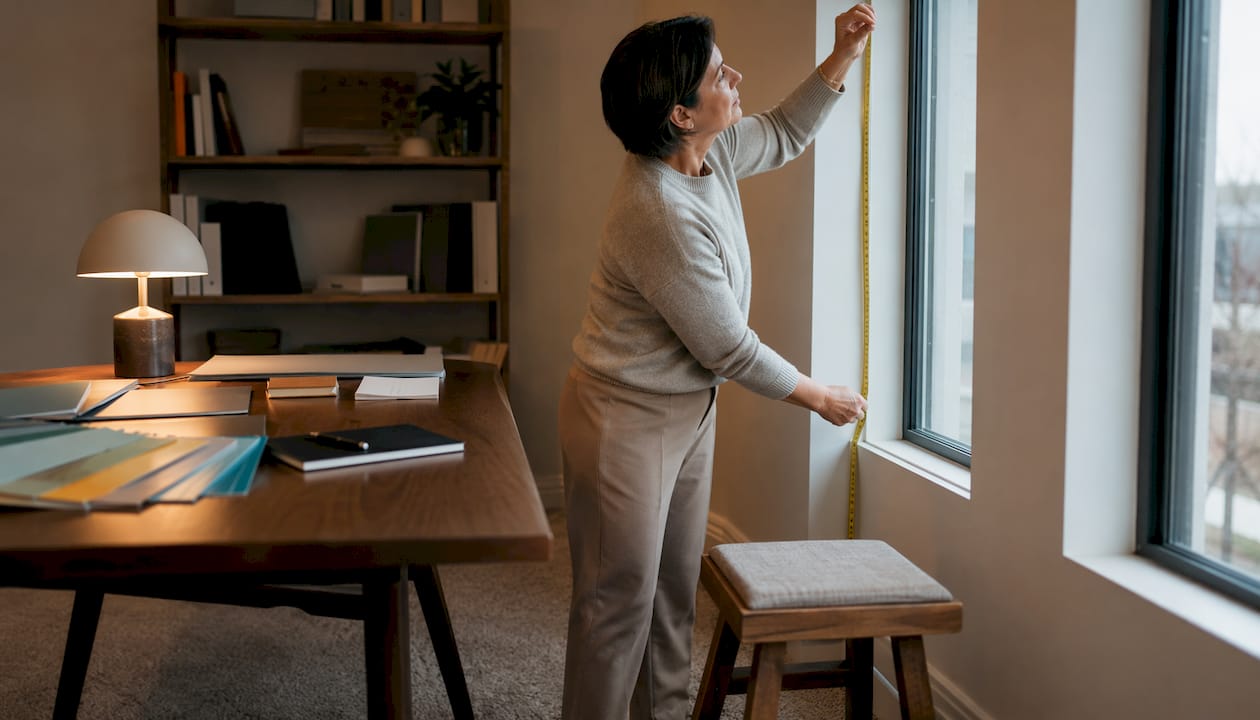
How to Measure for Roman Blinds: Easy DIY Guide
Getting roman blinds to fit perfectly comes down to one decision and one rule. First, choose your mount type: inside mount (blind sits inside the window recess) or outside mount (blind covers the frame and wall around it). Then measure width and drop in three places each, and always record the smallest width and shortest drop to the nearest 1/8". That single rule prevents binding, dragging, and the dreaded reorder.
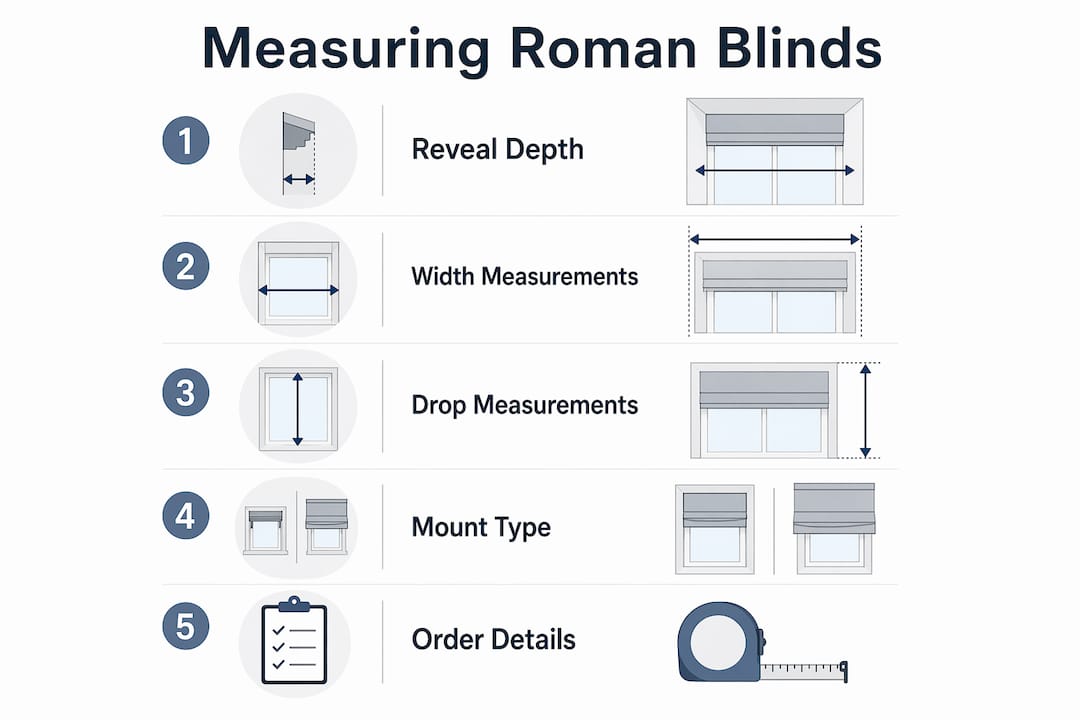
Before you place any order, write down these five things:
- Mount type: inside or outside
- Width × Drop: always in that order, to the nearest 1/8" (e.g., 32 3/8" W × 54 1/2" H)
- Reveal depth (inside mounts only): the measurement from the front of the frame to the wall
- Control side: left or right
- Window label: a short code like “BR-1” (bedroom, window 1) or “LR-Left”
Table of Contents
- What tools do you need before you start?
- Inside mount or outside mount: which one fits your window?
- How to measure for an inside (recess) mount
- How to measure for an outside (face) mount
- Measuring tricky windows: bay, grouped, and irregular openings
- Common measuring mistakes and pro tips from installers
- What to enter on the order form
- Key Takeaways
- Why careful measuring is worth every extra minute
- Valueblindsdirect makes measuring and ordering easier
- Useful sources for further reading
What tools do you need before you start?
Grab these before you touch a single window:
- Metal tape measure (fabric tapes stretch and lie to you)
- Pencil and paper or your phone’s notes app
- Spirit level to check if the frame is square
- Step ladder for tall windows
- A helper for wide openings — holding one end of the tape steady matters more than people think
Quick prep: remove any curtains or drapes, open the window fully, and scan for obstructions like protruding handles, deep sills, or decorative tile. If the frame is noticeably out of square (your spirit level will tell you), an outside mount is often the safer call.
Pro Tip: Write every measurement as WIDTH × DROP the moment you take it. Manufacturer guides consistently recommend this format to avoid mix-ups at the ordering stage.
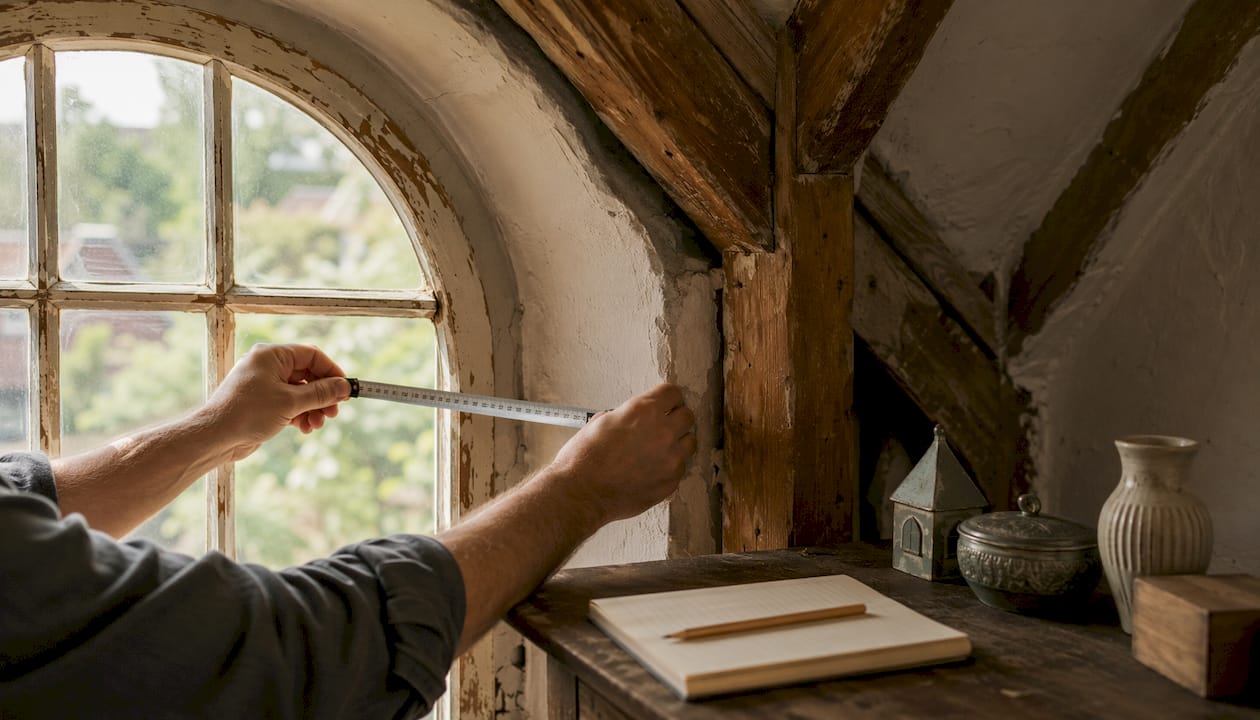
Inside mount or outside mount: which one fits your window?
This choice shapes every measurement you take, so settle it first.
Inside mount (also called a recess fit) tucks the blind inside the window opening. The look is clean and architectural, it doesn’t eat into wall space, and it pairs beautifully with painted trim. The catch: your recess needs enough depth to clear the headrail and brackets, and the opening has to be reasonably square. Minimum reveal depth is commonly around 50 mm (about 2"), though it varies by headrail system, so always confirm with your supplier.
Outside mount (face fit) mounts the blind on the wall or trim above the opening. It’s the go-to when:
- The recess is too shallow for the headrail
- You want better light control or blackout coverage
- The frame is damaged or you’d rather hide it
- You want the window to look taller or wider than it is
Outside mounts give you more flexibility but require you to decide on overlap and mounting height before you measure. More on that below.
How to measure for an inside (recess) mount
Follow these steps in order. Skipping step one is the most common DIY mistake.
Step 1: Check reveal depth
Measure from the front face of the frame straight back to the wall. Write this number down. Compare it to the minimum depth your headrail requires (ask your supplier if unsure). If you’re short on depth, switch to an outside mount now rather than after ordering.
Step 2: Measure width in three places
Measure across the inside of the recess at the top, middle, and bottom. Windows are often slightly out of square, so the three numbers will differ. Record the smallest width as your official W measurement. This prevents the blind from binding in the frame.
Step 3: Measure drop in three places
Measure from the top of the recess down to the sill on the left, center, and right. Record the shortest drop as your official H measurement. A blind cut to the longest drop will drag on the sill on the shorter side.
Ordering note for inside mounts
Supply your exact recess measurements. Most manufacturers will make a small deduction for clearance themselves, but confirm this with your supplier before ordering. Label each window clearly.
| Window | Mount | Width (W) | Drop (H) | Reveal Depth |
|---|---|---|---|---|
| Kitchen-Left | Inside | 32 3/8" | 54 1/2" | 2 1/4" |
| BR-1 | Inside | — | — | 2 1/2" |
Pro Tip: Photograph the open recess with a tape measure visible in the frame. Attach that photo to your order. It catches errors that numbers alone miss.
How to measure for an outside (face) mount
Outside mounts give you more control over coverage, but you’re deciding the finished size yourself.
Step 1: Choose your mounting point
Most guides suggest mounting above the opening by a few inches to allow the fabric to stack clear of the glass when raised. The higher you mount, the taller the window looks — and the more stack sits above the glass.
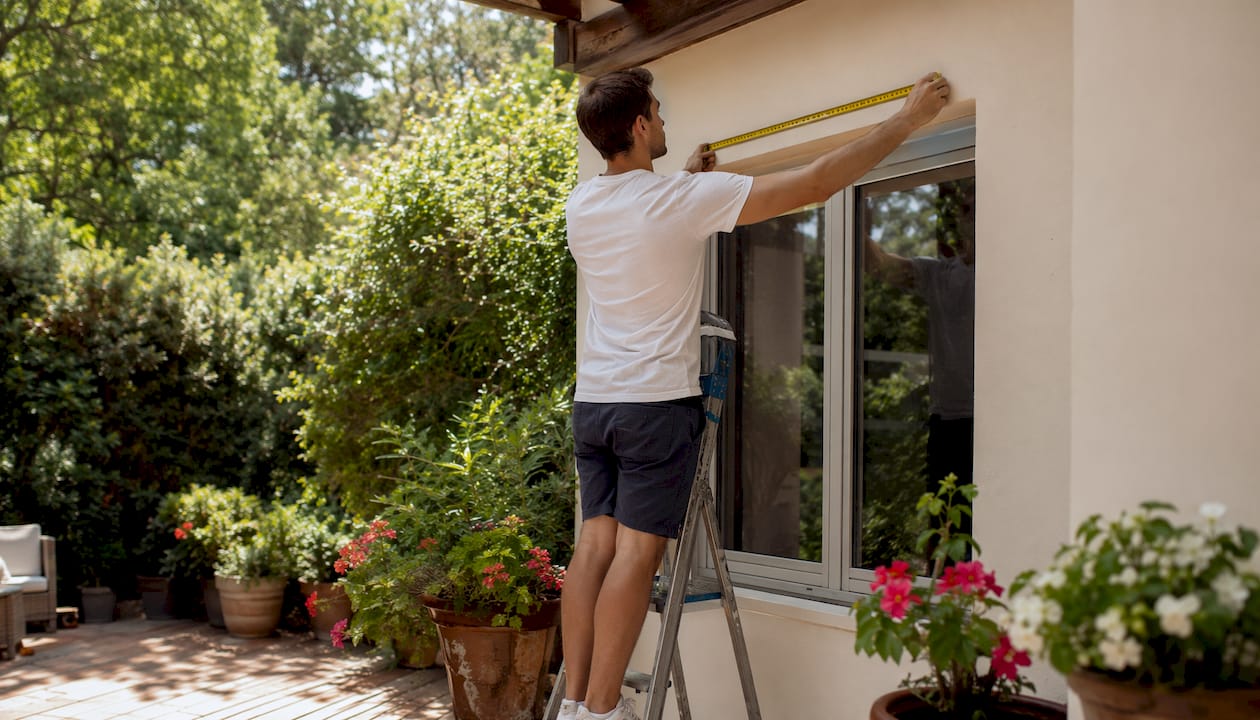
Step 2: Measure finished width
Measure the full width you want covered, then add a side overlap. The standard recommendation is to add a few inches per side for light control, with the exact amount varying depending on the desired coverage. Add your chosen overlap to both sides and record that as your finished W.
Step 3: Measure drop from mounting point
Measure from your chosen mounting point straight down to where you want the blind to end (at the sill, below the sill, or to the floor). This is your finished H.
A quick note on stack height: When a roman blind is raised, the fabric folds up at the top. That stack of fabric can be 8–12 inches tall depending on the blind’s drop and fabric weight. For outside mounts, this stack sits above the glass, so mounting higher keeps your view clear when the blind is up. ☀️
- Mount higher = more stack above glass = cleaner view when raised
- Mount lower = stack partially covers glass = less visual height gain
- Wider overlap = better light seal at the sides
Measuring tricky windows: bay, grouped, and irregular openings
Non-standard windows need a bit more planning, but the core rules still apply.
Bay windows: Treat each panel as its own blind. Measure each opening separately with three width and three drop measurements per panel, and label them clearly (Bay-Left, Bay-Center, Bay-Right). Decide upfront whether you want individual blinds or a single continuous headrail spanning the bay. For adjacent panels, allow a small gap tolerance between blinds so the fabric doesn’t collide when raised. Confirm meeting-edge details with your supplier before ordering.
Grouped or side-by-side windows: Measure each opening individually. One wide blind across multiple panes can look dramatic but is heavy and harder to operate. Separate blinds per pane are usually more practical.
| Window Type | Key Action | Watch Out For |
|---|---|---|
| Bay window | Measure each panel separately | Fabric collision at meeting edges |
| Grouped windows | Measure each opening individually | Uneven drops between panes |
| Deep-silled window | Note sill depth as obstruction | Headrail clearing the sill edge |
| Window with handle | Measure clearance from handle to frame | Blind catching on hardware |
Windows with handles, tiles, or trim: Note any protrusion and measure the clearance it leaves. A handle that sticks out 1 1/2" into the recess means your headrail depth must clear it. If it doesn’t, outside mount is your answer.
For very complex openings, a photo with a tape measure in frame and a written obstruction note goes a long way. DIY door replacement projects run into the same issue: skipping a clearance check upfront causes expensive rework later.
Common measuring mistakes and pro tips from installers
The errors that cause returns are almost always the same ones. Here’s what to avoid:
- Using a fabric tape measure — it stretches, giving you a number that’s up to 1/4" off
- Measuring only once — windows are rarely perfectly square; one measurement is a guess
- Skipping the reveal depth check — the headrail won’t fit and you’ll be reordering
- Using the average instead of the smallest — for inside mounts, average = binding
- Forgetting to note obstructions — handles and tiles cause surprises at install
Pro Tip: Before you submit your order, run through this quick checklist: window label ✓, mount type ✓, W × H to nearest 1/8" ✓, reveal depth (inside mounts) ✓, control side ✓, photo attached ✓ Two minutes now saves two weeks of waiting for a replacement.
Measuring accurately is one of those things where slowing down pays off. The same principle applies to other home improvement projects — avoiding DIY measurement mistakes is the difference between a smooth install and a frustrating redo.
What to enter on the order form
When you’re ready to order, here’s exactly what to fill in:
- Mount type: inside or outside (never leave this blank)
- Width: your final W to the nearest 1/8", in inches
- Drop: your final H to the nearest 1/8", in inches
- Reveal depth (inside mounts): the recess depth you measured in Step 1
- Mounting point height (outside mounts): how far above the opening you’re mounting
- Control side: left or right (standing facing the window)
- Obstructions: note any handles, tiles, or trim that affect fit
- Window label: use a short code so you and the manufacturer stay in sync
Write measurements as WIDTH × DROP every time, include units, and attach your photos. If the retailer offers a design studio or order-review service, use it — a second set of eyes on your numbers costs nothing and catches the errors that are easiest to miss.
Key Takeaways
Accurate roman blind sizing comes down to measuring three places per axis, recording the smallest values, and supplying the right mount details before you order.
| Point | Details |
|---|---|
| Measure three places per axis | Take width at top, middle, and bottom; take drop at left, center, and right. |
| Always record the smallest | Use the narrowest width and shortest drop for inside mounts to prevent binding and dragging. |
| Check reveal depth first | Confirm the recess is deep enough for the headrail before committing to an inside mount. |
| Format as WIDTH × DROP | Record every measurement in W × H order with units and a window label to avoid order errors. |
| Use Valueblindsdirect’s design studio | Valueblindsdirect offers measurement support and a design studio to verify your numbers before ordering. |
Why careful measuring is worth every extra minute
Getting the measurement right the first time isn’t just about avoiding a return. A roman blind that fits its recess precisely hangs flat, operates smoothly, and looks intentional. One that’s even 1/4" too wide will bind in the frame; one that’s too narrow leaves light gaps that defeat the purpose of the blind entirely.
The cases where a professional measurer genuinely earns their fee are large windows over 72" wide, complex bay configurations where panels need to meet cleanly, and any install where precise blackout is the goal. For those situations, the cost of a pro visit is almost always less than the cost of a reorder and the wait that comes with it. For a standard single window? You’ve got this.
Valueblindsdirect makes measuring and ordering easier
You’ve done the hard work of measuring. Now the fun part: choosing your roman shades. Valueblindsdirect takes the stress out of the ordering stage with a window treatment design studio where you can enter your measurements, preview fabric options, and get expert support before you commit. Free swatches, flexible shipping, and a team ready to answer questions mean you’re never guessing about fit or finish.

Whether you’re outfitting one window or an entire home, Valueblindsdirect’s custom roman shades collection lets you dial in every detail: mount type, fabric, control side, and more. Head to the design studio, plug in your W × H, and let the team help you get it right the first time.
Useful sources for further reading
| Source | Why it’s useful |
|---|---|
| Roman Blind Measuring Guide (Betta Blinds & Awnings) | Manufacturer PDF that covers minimum reveal depth, three-point measuring, and whether to supply exact or finished sizes. |
| How to Measure for Roman Blinds (Elite Curtains) | Clear retail guide emphasizing three measurements per axis and using the smallest for inside fits. |
| How to Measure for Roman Blinds (Just Fabrics) | Covers outside-mount stack height and mounting point height recommendations. |
| How to Measure Windows for Roman Shades (Valueblindsdirect) | Step-by-step DIY guide with printable checklist from Valueblindsdirect. |
| Measuring Windows for Blinds: Step-by-Step (Valueblindsdirect) | Covers both inside and outside mount measuring with accuracy tips. |
| How to Measure for Inside Mount Blinds (Valueblindsdirect) | Focused inside-mount guide with detailed recess measurement instructions. |





%20or%20outside%20mount%20(blind%20covers%20the...)