
How to measure windows for custom blinds that fit
TL;DR:
- Accurately measuring windows for custom blinds requires careful preparation, proper tools, and verification to ensure a perfect fit.
- Rushing or skipping steps like measuring multiple points and checking for obstructions often leads to costly errors and returns.
Getting custom blinds only to discover they’re too narrow, too wide, or just slightly off is one of the most frustrating home improvement moments you can experience. You’ve picked the perfect style, chosen a great color, and then the blinds arrive and the fit is completely wrong. The good news is that measuring windows accurately is a skill anyone can master with the right approach. This guide walks you through every step, from gathering your tools to submitting a verified order, so your custom blinds arrive ready to hang on day one.
Table of Contents
- Preparing for precise blind measurement
- Step-by-step guide: How to measure your windows for blinds
- Avoiding common mistakes and troubleshooting measurement issues
- Verifying measurements and preparing for ordering
- Our honest take: What most DIY guides miss about measuring blinds
- Ready for custom blinds that fit flawlessly?
- Frequently asked questions
Key Takeaways
| Point | Details |
|---|---|
| Use the right tools | A steel tape measure and basic prep make all the difference for accuracy. |
| Measure every window | Even similar windows can have minor differences requiring unique measurements. |
| Follow precise steps | Take width and height in several places and always note inside or outside mount. |
| Double-check all numbers | Review each measurement before ordering to prevent costly mistakes. |
| Order with confidence | With verified numbers, buying custom blinds is smooth and stress-free. |
Preparing for precise blind measurement
With the importance of accurate measuring established, let’s make sure you’re fully prepared with the right tools and know-how before you touch a single window.
The tools you actually need
Skipping the right tools is where many DIY projects go sideways before they even begin. For window measuring, you don’t need much, but what you do need matters. The window measuring tool guide covers the essentials and tips for getting an accurate read every time.
Here’s your measuring toolkit:
- Steel tape measure (at least 25 feet long for larger windows)
- Level (to check if your window frame is truly square)
- Notepad and pencil (never trust your memory for exact fractions)
- Step stool or ladder (for reaching the tops of tall windows safely)
- Pencil or painter’s tape (for temporarily marking reference points)
Understanding window types before you measure
Knowing which mount style you want before you measure changes which numbers matter most. There are two primary options: inside mount and outside mount.
Inside mount means the blind fits inside the window frame opening. It gives a clean, built-in look and keeps the window trim visible. To achieve this look, you need precise measurements of the exact interior opening.
Outside mount means the blind attaches to the wall or window trim above and around the frame. This option is ideal for windows with shallow frames, windows with obstructions (like deep handles or cranks), or when you want the window to appear larger than it is.
| Feature | Inside mount | Outside mount |
|---|---|---|
| Mount location | Inside the frame | On wall or trim above frame |
| Frame depth needed | Minimum 1.5 inches | None required |
| Visual effect | Sleek, built-in look | Makes window appear larger |
| Best for | Deep frames, clean look | Shallow frames, obstructions |
| Privacy coverage | Less, gaps on sides | Full coverage possible |
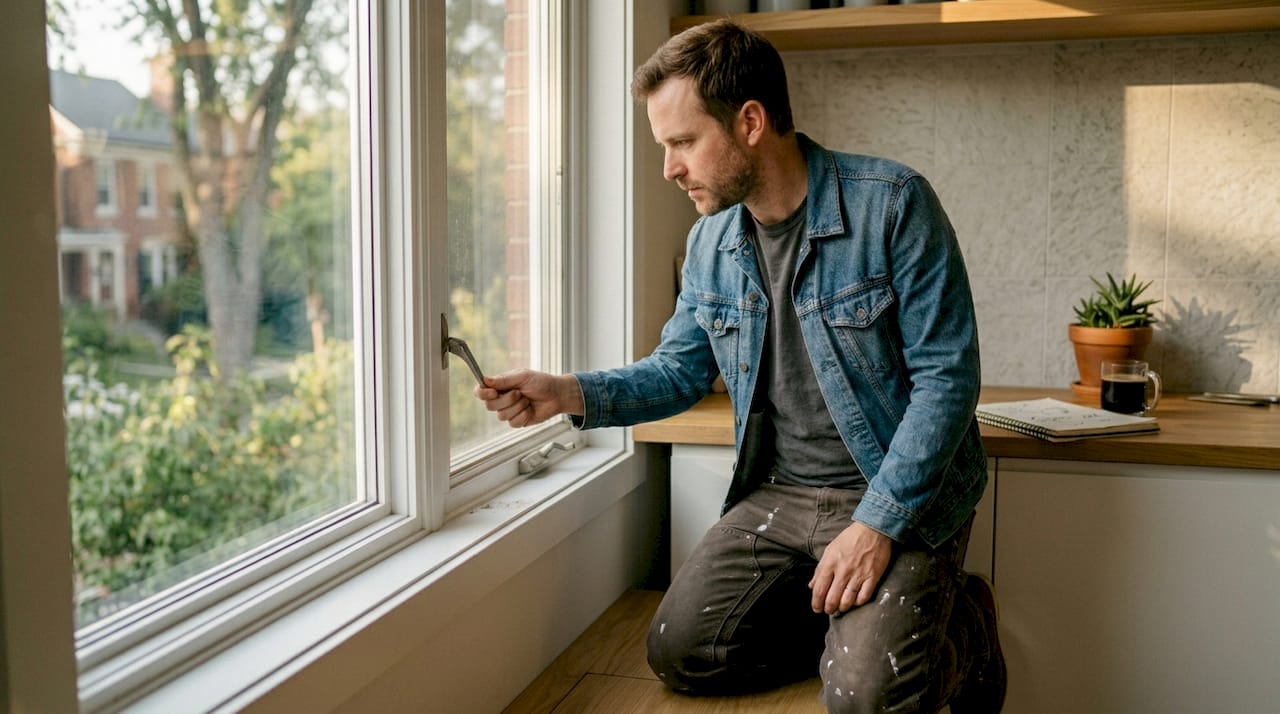
Check for obstructions before anything else
Walk up to each window and look carefully. Are there window cranks or handles that protrude into the frame? Does the sill slope or tilt? Is the trim uneven on one side? These small quirks will affect how your blind sits once installed, especially for inside mounts where space is limited.
Pro Tip: Always measure to the nearest 1/8 inch. Rounding to the nearest half-inch seems harmless but can result in a gap that lets light seep in or a blind that refuses to close inside the frame. Fractions matter with custom orders.
Step-by-step guide: How to measure your windows for blinds
Now that you’re set up and understand your window style, let’s walk through the measuring process step by step so you don’t skip any crucial details.
Measuring for an inside mount
The measure inside mount blinds process focuses on the exact interior opening of the window frame. Follow these steps carefully.
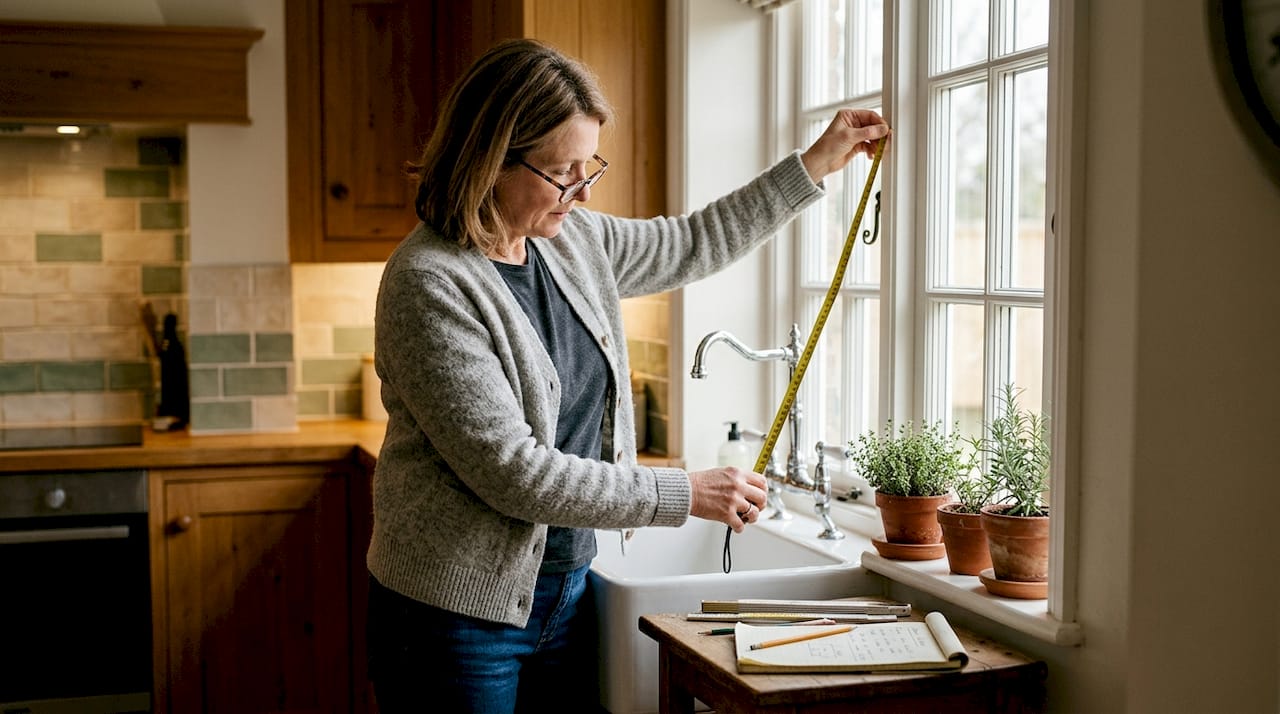
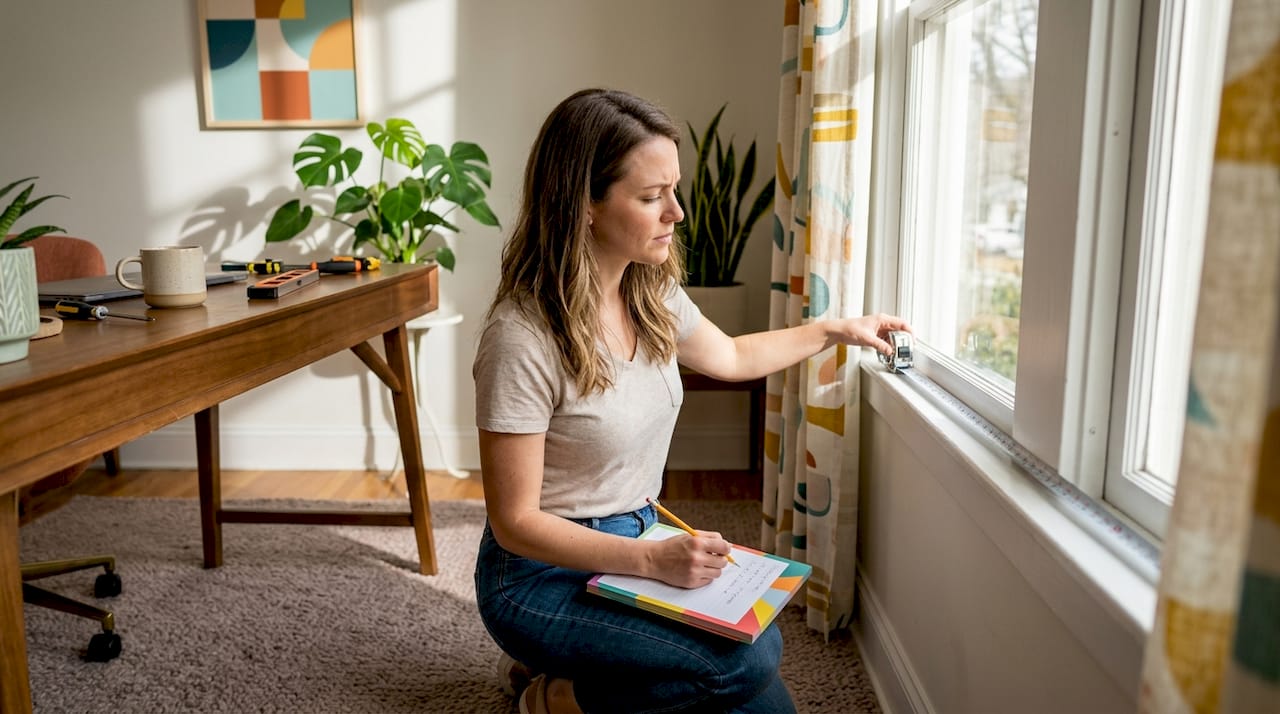
- Measure the width at three points. Hold your steel tape measure across the window opening at the top, middle, and bottom. Write down all three numbers.
- Use the smallest width measurement. This prevents your blind from being too wide to fit inside the frame. Custom manufacturers typically deduct a small amount for clearance, but you should still provide the smallest number.
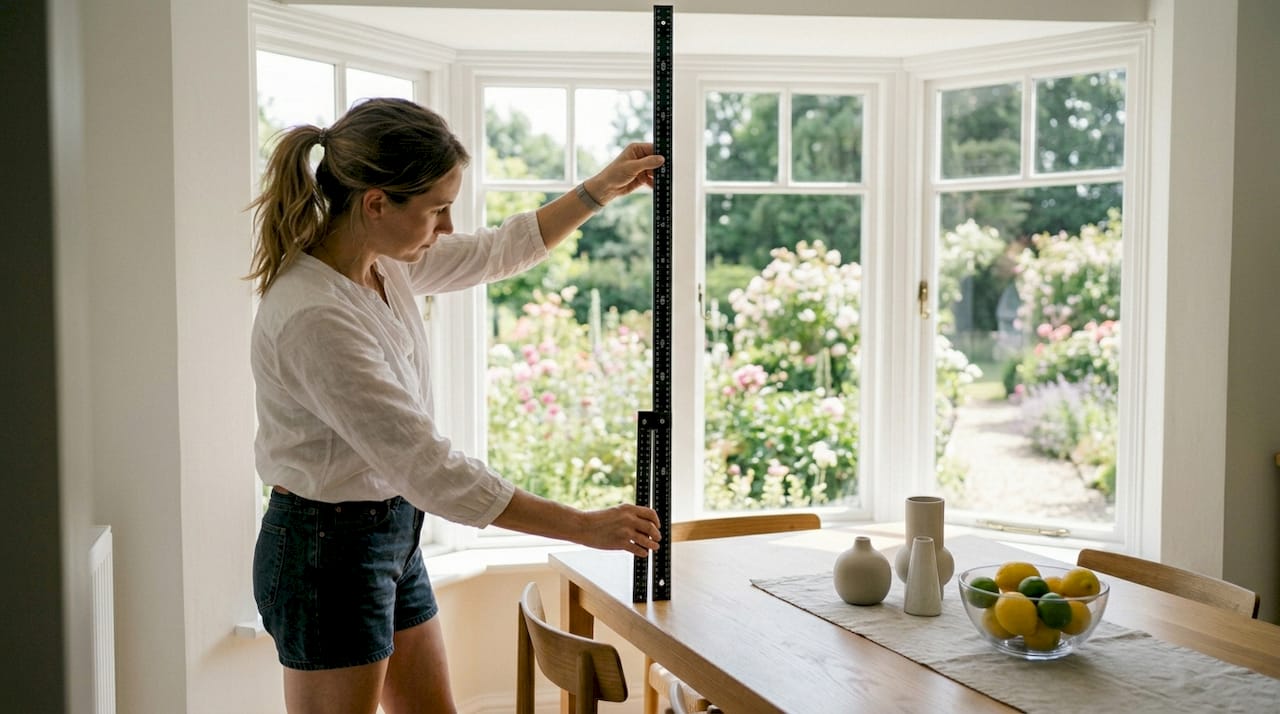
- Measure the height at three points. Measure from the top of the frame opening down the left side, center, and right side.
- Use the longest height measurement. This ensures your blind will cover the full length of the window interior.
- Record all measurements with labels. Write “Width: X inches” and “Height: X inches” clearly with the window name or room location next to each entry.
- Double-check each number. Remeasure at least once before writing your final numbers.
Measuring for an outside mount
For outside mount, the perfect fit blinds guide recommends deciding how much overlap you want on each side before you measure.
- Determine your overlap. A standard overlap of 1.5 to 3 inches on each side helps block light and frame the window.
- Measure the total width you want covered. Add your overlap amounts to the window frame’s outer width. For example, a 30-inch frame with 2 inches on each side equals 34 inches total width.
- Determine your mounting height. Decide how high above the window frame you want to mount the blind (2 to 4 inches above the frame is common).
- Measure the total height. Measure from your chosen mounting point down to where you want the blind to end, usually at the window sill or a few inches below.
- Account for the mounting hardware. Add another 0.5 to 1 inch above for bracket depth if needed.
- Record with full labels, just like inside mount.
Inside mount vs. outside mount measuring comparison
| Step | Inside mount | Outside mount |
|---|---|---|
| Width measurement | Smallest of top, middle, bottom | Frame width plus overlap on each side |
| Height measurement | Longest of left, center, right | Mounting point to desired end point |
| Key rule | Use smallest width | Add overlap to all sides |
| Deduction needed | Manufacturer deducts clearance | No deduction, you control total size |
| Light control | Some light gap at sides | Full control with generous overlap |
As the step-by-step measuring instructions point out, taking multiple measurements at different points is not optional. It is the core habit that separates a successful install from a frustrating return.

Pro Tip: Measure every window individually, even if two windows are side by side and appear identical. New construction homes in particular often have surprising variations between windows that are supposed to be the same size.
Avoiding common mistakes and troubleshooting measurement issues
Even with the right steps, it’s easy to overlook details. Let’s make sure your efforts pay off by learning the mistakes to avoid before they cost you time or money.
The most common measuring errors
Many people walk into this process with confidence and still make avoidable mistakes. Here are the ones we see most often, as outlined in the how to measure and install blinds guide:
- Using a fabric tape measure. Fabric tapes stretch and give inconsistent readings. Always use a rigid steel tape measure. The difference of even 1/4 inch matters enormously in a custom order.
- Not checking if the window is square. Just because a frame looks rectangular doesn’t mean it is. Use a level and measure both diagonals. If they’re different lengths, your window is out of square, and you need to account for this.
- Confusing width and height. It sounds obvious, but in the rush of measuring multiple windows, width and height get swapped regularly. Label everything immediately after measuring.
- Measuring only once. A single measurement is not a verified measurement. Remeasure every window at least twice.
- Forgetting to measure every window individually. Even windows in the same room from the same builder can vary by 1/4 inch or more due to settling, installation differences, or trim thickness.
The accurate DIY measuring tips are worth bookmarking for a quick review before you order. And when it comes to home project measuring best practices, consistency and documentation are consistently cited as the factors that separate successful outcomes from frustrating ones.
“Double-checking is always worth the extra minute. Custom window treatments are made to your specific numbers, so verifying those numbers before you submit is the single most effective thing you can do to guarantee a good result.” — Value Blinds Direct
How to troubleshoot if your measurements don’t feel right
If you measure a window and the numbers seem surprising, don’t assume you made an error and guess. Remeasure from scratch without looking at your first numbers. If both readings match, trust them. If they differ by more than 1/8 inch, measure a third time to identify which is correct.
Also check that you’re measuring from the right points. For inside mount, you must measure from the inside surface of the frame on each side. For outside mount, you’re measuring from the intended bracket mounting points, not from the frame edge itself.
Verifying measurements and preparing for ordering
After careful measurement, it’s critical to verify and finalize your figures to guarantee your custom blinds will fit on installation day.
Final verification steps
Verification is where many people cut corners, and it’s exactly where the work pays off. Follow these steps before submitting any order.
- Go back to each window with your notes. Compare each recorded measurement to the actual window one more time.
- Check your labels. Confirm that every entry lists the room, window location (e.g., “bedroom, left window”), mount type, width, and height.
- Confirm your mount type choice for each window. Inside or outside mount changes how your numbers are used. Don’t mix them up on the order form.
- Review the order form fields carefully. Some order forms ask for width first, some ask for height first. Match your entries precisely to what the form requests.
- Use a separate column in your notes for “verified.” Check it off only after you’ve confirmed the number against the actual window measurement.
As the final check steps for verifying perfect fit explain, the goal is to eliminate any gap between what you measured and what you submit.
The cost of skipping this step
Here’s a number worth pausing on: over 80% of blinds returns result from incorrect measurements. That means the vast majority of return shipments, delays, and replacement orders are completely avoidable. This isn’t a manufacturing quality issue. It’s a process issue, and verifying your numbers is the single step that addresses it directly.
Pre-order checklist
Before you click submit on any custom order, confirm the following:
- Width measured at three points, smallest used for inside mount
- Height measured at three points, longest used for inside mount
- All windows measured individually (not assumed from one another)
- All numbers recorded to the nearest 1/8 inch
- Mount type noted for each window
- Measurements verified against the window a second time
- Order form entries match your verified notes exactly
Our honest take: What most DIY guides miss about measuring blinds
Most guides treat window measuring like a one-time checkbox. Measure once, record it, move on. That mindset is exactly why so many custom orders end up being remade or returned. The real challenge isn’t the measuring technique itself. It’s the process discipline that surrounds it.
What we’ve learned from working with homeowners through thousands of custom orders is this: measuring mistakes are almost never caused by bad tools. They’re caused by rushing. Someone gets partway through measuring six windows, feels confident, and starts estimating instead of measuring for the last few. Or they measure correctly but write down the numbers in a hurry and transpose two digits. Or they skip the verification step because the blinds looked “close enough” to the same size as the ones in the next room.
The custom fit advice we always give is simple: slow down on purpose. Not because measuring is complicated, but because custom blinds are built once to your exact numbers and they can’t be adjusted after the fact. The time you invest in a careful, verified measuring session is paid back on installation day when everything fits perfectly on the first try.
We’d also push back on the idea that only older homes have irregular windows. New construction homes have their own quirks. Frames can be out of square from the start, or settling begins within the first year. Treat every window as unique, even in a brand new build, because that assumption will protect your order every time.
Patience during each step of this process does more for your long-term satisfaction than any single tool or trick ever could. That’s the honest truth most guides don’t tell you because it’s not a shortcut.
Ready for custom blinds that fit flawlessly?
You’ve done the hard work of measuring carefully and verifying your numbers. Now it’s time to put those measurements to use with confidence. At Value Blinds Direct, the custom ordering process is built around making this step as easy as possible for homeowners just like you.

Browse the full range of quality blinds to find your style, from classic wood to modern solar and everything in between. If you want help visualizing how different options will look in your space, the custom design studio lets you explore combinations before you commit. And if energy efficiency is on your list, the honeycomb cellular shades collection offers beautiful insulation in a clean, contemporary style. Your measurements are ready. Your perfect blinds are a few clicks away.
Frequently asked questions
Should I measure each window separately, even if they look the same?
Yes, always measure each window individually because even windows of similar size can have slight variations that affect fit. Assuming they’re identical is one of the most common causes of poor-fitting blinds.
What type of tape measure is best for window blinds?
A steel tape measure is best because it gives the most accurate and consistent results. As recommended for window measuring, fabric tapes stretch over time and can introduce errors of 1/4 inch or more.
Can I order blinds if my measurements aren’t exactly to the 1/8 inch?
Precision to 1/8 inch is crucial for custom blinds because even small discrepancies can result in visible gaps or a blind that won’t fit inside the frame. Always round to the nearest 1/8 inch rather than the nearest 1/4 or 1/2 inch.
What’s the difference between inside and outside mount blinds?
Inside mount fits within the window frame opening for a sleek look, while outside mount sits on the wall or trim above the frame. Measuring techniques for each differ significantly, so confirming your mount type before you start is essential.
How do I know if my windows have obstructions I should plan for?
Check for handles, cranks, or uneven surfaces before measuring. The window obstruction checklist recommends physically running your hand along the frame interior to feel for anything that protrudes and might interfere with your chosen mount style.


