
Motorize Existing Blinds: Save $500 with DIY Kits in 2026
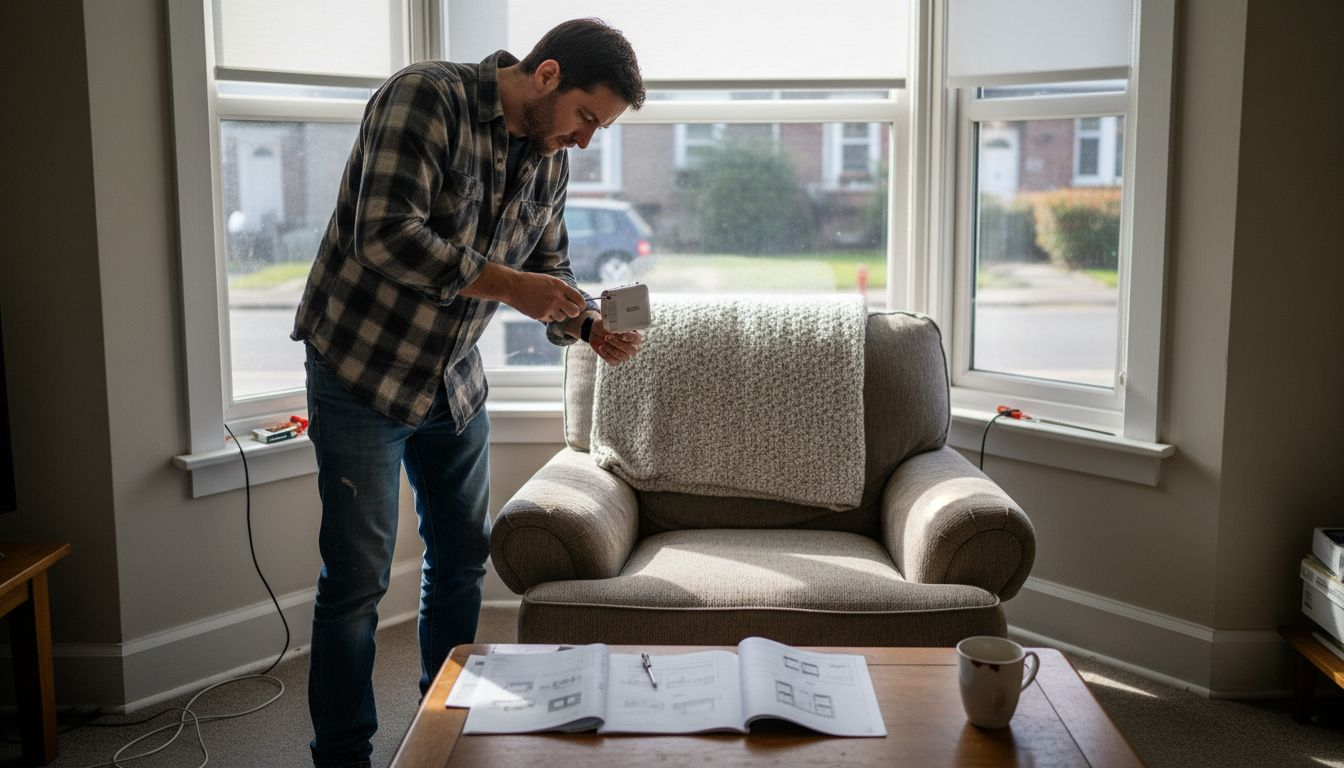
Struggling with hard-to-reach blinds or tangled cords? You’re not alone. Many homeowners face frustration with manual window treatments daily. The good news? You can motorize existing blinds for $100-$200 using retrofit kits, avoiding costly full replacements. This guide shows you how to add convenience, safety, and modern appeal to your current blinds without breaking the bank.
Table of Contents
- Prerequisites And Tools Needed
- Types Of Blinds Compatible With Motorization
- Selecting The Right Motorization Kit
- Step-By-Step Installation Process
- Common Mistakes And Troubleshooting
- Expected Results, Benefits, And Cost Overview
- Upgrade Your Home With Value Blinds’ Motorized Solutions
- FAQ
Key Takeaways
| Point | Details |
|---|---|
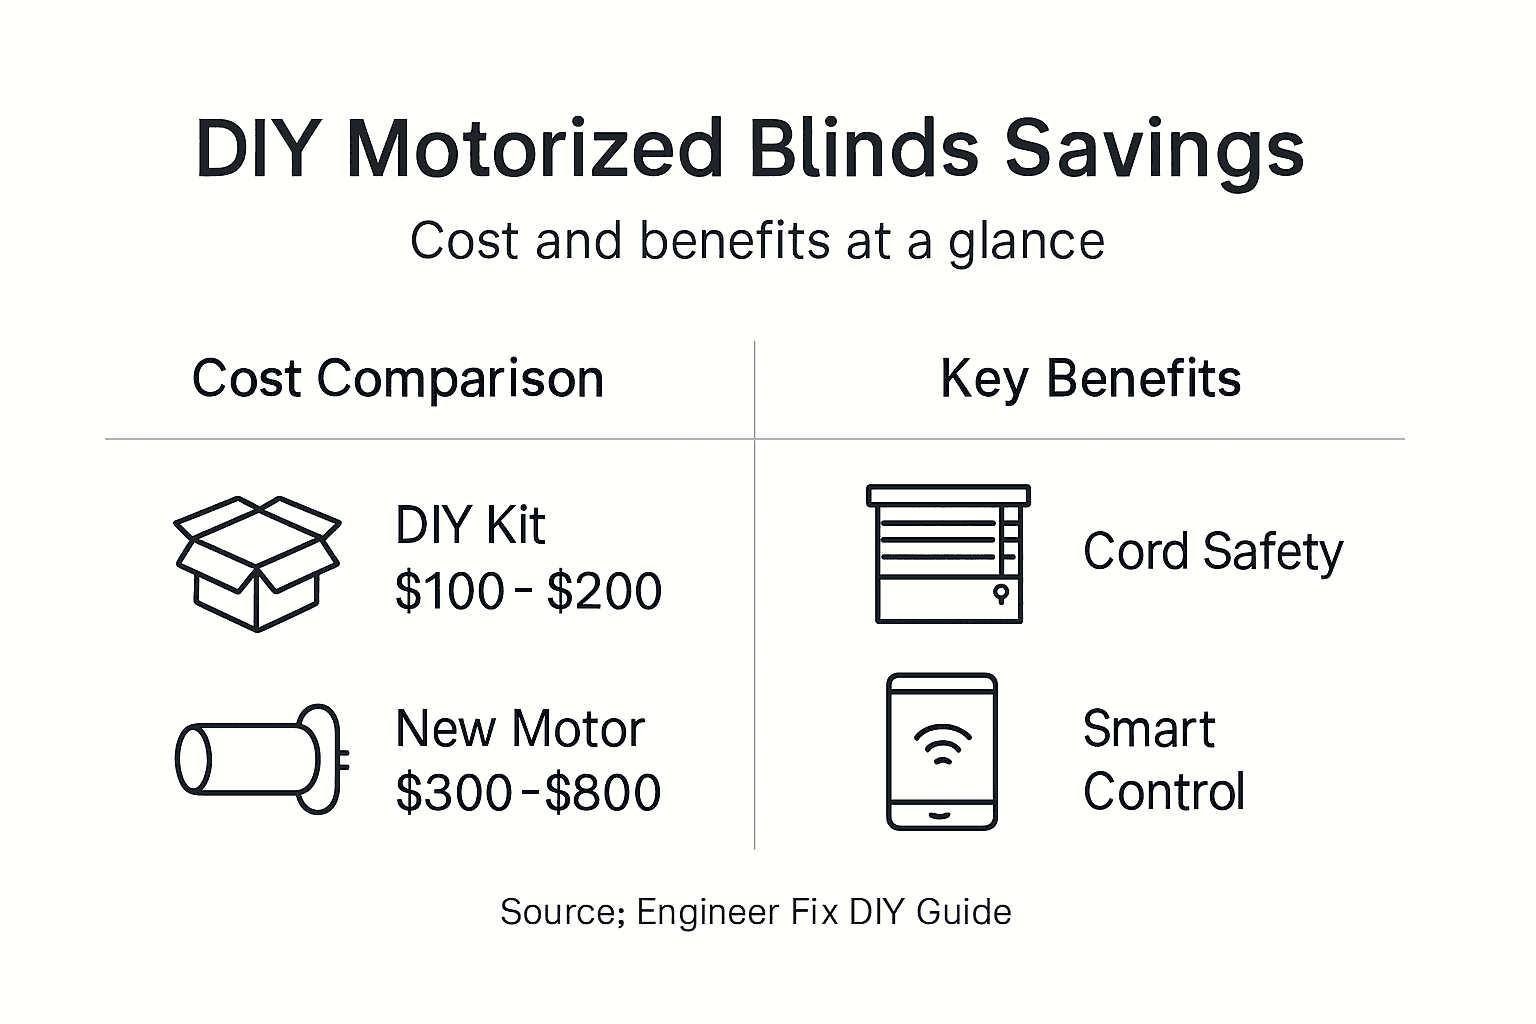
| Cost Savings | DIY retrofit kits cost $100-$200 versus $300-$800 for new motorized blinds |
| Installation Time | Expect 2-4 hours per window with basic tools and careful measurements |
| Safety Benefits | Eliminates dangerous cords while adding smart home integration |
| Compatibility | Roller, Venetian, vertical, Roman, and cellular blinds work with most kits |
| Power Options | Battery-powered kits require no wiring, making DIY installation simple |
Prerequisites and Tools Needed
Before you start motorizing, gather the right equipment. You’ll need a screwdriver, drill, measuring tape, and level for basic installation. Safety glasses protect your eyes during drilling. A ladder helps you reach upper windows safely.
Understanding your blind type matters. Check whether you have roller, Venetian, or Roman blinds. Each requires specific motor attachments. Measure your blind’s weight and width accurately. These numbers determine which motor strength you need.
Power options split into three categories. Battery-powered kits offer easiest installation with no electrical work. Plug-in motors suit nearby outlets. Hardwired systems handle heavy blinds but require electrical skills or professional help.
Pro Tip: Take photos of your blind mechanism before disassembly. These snapshots become invaluable references during reassembly if you get confused.
Here’s your essential toolkit:
| Tool/Material | Purpose | Notes |
|---|---|---|
| Screwdriver set | Remove existing controls | Phillips and flathead types |
| Power drill | Create mounting holes | Cordless models work best |
| Measuring tape | Verify dimensions | Measure twice, cut once |
| Level | Ensure straight installation | Prevents binding issues |
| Safety glasses | Protect eyes | Required for drilling |
| Motor kit | Power the blinds | Match to blind weight |
Consult the Engineer Fix DIY motorized blinds guide for additional preparation tips. Learn about control mechanisms before purchasing your kit. Remote controls, smartphone apps, and voice assistant compatibility vary by manufacturer.
Types of Blinds Compatible with Motorization
Not every blind accepts motor retrofits equally. Roller, Venetian, vertical, Roman, and cellular blinds commonly work with retrofit kits. Each style has specific considerations for successful motorization.
Roller blinds prove easiest to motorize. Their simple tube mechanism accepts motors cleanly. Venetian blinds require tilt motors for slat adjustment. You can add lift motors too for complete automation. Motorized Venetian blinds offer dual control over light and privacy.
Vertical blinds need specialized tracks. Roman blinds work well with chain-driven retrofit kits. Cellular shades accommodate motors but require careful weight calculations. Heavy or oversized blinds may exceed motor capacity limits.
Blind condition affects feasibility. Check for damaged headrails, worn cords, or bent slats. Replace broken components before adding motors. Fresh blinds perform better than aging ones approaching replacement anyway.
Understand tilt versus lift motorization. Tilt motors rotate Venetian slats without raising them. Lift motors raise and lower entire blinds. Some kits provide both functions. Match your motor type to your control needs.
| Blind Style | Motorization Type | Motor Recommendation | Considerations |
|---|---|---|---|
| Roller | Lift only | Tubular motor | Easiest installation |
| Venetian | Tilt and/or lift | Dual motor system | Requires precise alignment |
| Vertical | Track motor | Specialized kit | Check track compatibility |
| Roman | Lift via chain | Chain-drive motor | Weight capacity critical |
| Cellular | Lift only | Standard tubular | Lightweight advantage |
Assess your blind’s condition honestly. Motorizing failing blinds wastes money. Replace worn blinds first, then motorize. Your investment lasts longer with quality foundations.
Selecting the Right Motorization Kit
Motor torque determines success or failure. Calculate required torque based on blind weight and roller diameter. A 40-inch wide roller blind weighing 5 pounds needs roughly 1.1 Nm torque. Heavier blinds demand 2.0 Nm or higher. Selecting correct motor torque matching blind weight prevents strain and premature failure.
Measure your blind carefully. Weigh it using a bathroom scale if possible. Width, drop length, and fabric density all impact motor requirements. Manufacturers provide torque calculators. Use them before purchasing.

Power sources offer tradeoffs. Battery-powered kits win for DIY simplicity. No electrician needed. Batteries last months between charges. Plug-in motors suit windows near outlets. Hardwired systems handle the heaviest blinds but require electrical expertise.
Control interfaces vary widely. Basic remotes cost less but limit functionality. Smartphone apps enable scheduling and automation. Voice assistant integration works with Alexa, Google Assistant, and Siri. Choose controls matching your smart home ecosystem.
Popular retrofit kit brands include Soma, Neo Smart Blinds, and Zemismart. Each offers different torque ratings and features. Read reviews carefully. Battery life, noise level, and app reliability matter for daily satisfaction.
Consider these factors when shopping:
- Motor torque rating (match to blind weight)
- Power source compatibility (battery vs hardwired)
- Control options (remote, app, voice)
- Integration with existing smart home devices
- Warranty coverage and customer support
- Noise level during operation
Pro Tip: Measure your blind headrail diameter at three points. Manufacturing inconsistencies exist. The tightest measurement determines your motor tube size. Accurate sizing prevents wobbling and binding.
Explore remote control options matching your lifestyle. Multi-channel remotes control several blinds simultaneously. Single-channel remotes suit individual windows. Wall-mounted switches mimic traditional controls.
Step-by-Step Installation Process
Follow these steps for successful motorization. Rushing causes mistakes. Take your time.
-
Measure headrail dimensions precisely. Record width, diameter, and mounting bracket positions. Double-check against motor kit specifications.
-
Remove manual control mechanisms. Unscrew chain or cord controls carefully. Keep hardware for potential reinstallation. Photograph the original setup.
-
Install motor into headrail. Slide tubular motor into roller tube opening. Secure with provided adapters and screws. Ensure tight fit without forcing.
-
Connect power source. Install batteries in designated compartment for battery-powered kits. Route power cables neatly for plug-in models. Test polarity before securing.
-
Pair remote or app controls. Follow manufacturer pairing instructions exactly. Most require holding buttons while motor powers on. Confirm connection before mounting.
-
Test and calibrate limits. Raise blind incrementally to check for binding. Set upper and lower travel limits in app or via remote programming. Prevents over-rolling damage.
Installation typically requires 2-4 hours per window for first-timers. Subsequent windows go faster. Accuracy in measurements and secure fitting prevent motor stress.
Pro Tip: Test motor range in small increments first. Raise blind 6 inches, then lower. Gradually increase travel distance. This identifies binding issues before they damage the motor.
Safety checks matter. Verify battery polarity before closing compartments. Inspect power cables for damage. Ensure mounting brackets support motor weight fully. Wobbly installations cause premature wear.
Read manufacturer instructions thoroughly. Kit-specific nuances exist. Some motors require specific wiring sequences. Others need app configuration before first use. Follow their guidance precisely. The motorized blinds installation guide provides additional installation insights.
Common Mistakes and Troubleshooting
Most installation problems stem from preventable errors. Learn from others’ mistakes.
Incorrect torque choice tops the failure list. Undersized motors struggle and burn out quickly. Oversized motors waste money but work fine. Always round up when between torque ratings. Your motor lasts longer.
Wiring faults plague hardwired installations. Reversed polarity damages motors instantly. Use a multimeter to verify connections. Label wires clearly during installation. Double-check before applying power.
Inaccurate measurements cause binding. Blinds rub against brackets or walls. This strains motors unnecessarily. Measure headrail position relative to window frame. Leave clearance for smooth operation.
Pairing failures frustrate beginners. Remote controls require specific button sequences. Apps need Bluetooth or Wi-Fi proximity. Follow pairing steps exactly. Reset both motor and controller if initial attempts fail.
Common fixes for frequent issues:
- Motor won’t respond: Check battery charge or power connection first
- Blind binds during travel: Verify headrail alignment and bracket tightness
- Remote pairing fails: Reset motor by power cycling, then re-pair
- Motor struggles or stops: Torque too low for blind weight, upgrade needed
- Uneven blind movement: Calibrate travel limits in app or remote settings
Maintain batteries proactively. Replace or recharge before complete depletion. Dead batteries mid-operation can confuse motor positioning. Keep spare batteries handy.
Reset procedures vary by manufacturer. Most involve holding specific button combinations. Consult your manual for exact steps. Factory resets clear glitches effectively.
The troubleshooting motorized blinds guide covers advanced fixes. Persistent problems may indicate defective components. Contact manufacturer support with specific error descriptions.
Expected Results, Benefits, and Cost Overview
Motorizing existing blinds delivers measurable advantages. Understanding costs and benefits helps you decide confidently.
| Option | Cost Range | Installation Time | Battery Life | Key Benefits |
|---|---|---|---|---|
| DIY Retrofit Kit | $100-$200 | 2-4 hours | 6-12 months | Cost savings, no wiring |
| New Motorized Blinds | $300-$800 | 1-2 hours | Varies | Integrated design |
| Professional Install | $400-$1000+ | 1-2 hours | N/A | Expert guarantee |
DIY retrofit motor kits cost $100-$200 with 2-4 hour installation time. Battery kits last months before recharging. This represents significant savings versus new motorized blinds costing $300-$800 each.
Safety improvements matter most for families. Motorized blinds eliminate cord hazards that endanger children and pets. No dangling chains means safer homes. This alone justifies the upgrade for many households.
Convenience transforms daily routines. Schedule blinds to open with sunrise, close at sunset. Control all windows from your phone. Adjust hard-to-reach blinds effortlessly. Voice commands through Alexa or Google Assistant add luxury.
Energy savings accumulate over time. Scheduled light control reduces cooling costs in summer. Automated closure retains heat in winter. Smart blinds optimize natural light usage. These benefits of motorized blinds extend beyond convenience.
Battery longevity depends on usage frequency. Typical rechargeable batteries last 6-12 months with daily operation. Solar-powered options eliminate battery concerns entirely. Hardwired systems never need battery attention.
Maintenance stays minimal. Clean motor housings annually. Check mounting screws for tightness. Replace batteries proactively. Motors themselves require no lubrication or adjustment.
Home value increases subtly. Modern conveniences appeal to buyers. Smart home integration represents current standards. Motorized blinds signal updated, well-maintained properties. The investment pays back partially at resale.
Upgrade Your Home with Value Blinds’ Motorized Solutions
Ready to experience effortless window control? Value Blinds Direct offers an extensive motorized and smart shades collection designed for modern living. Whether you’re retrofitting existing blinds or upgrading to fully integrated systems, expert guidance ensures perfect results.

Our window treatment design studio helps you customize solutions matching your home’s unique style. Choose from energy-efficient options with smart scheduling capabilities. User-friendly technologies integrate seamlessly with existing smart home systems.
Explore premium high-quality blinds backed by expert support and comprehensive warranties. Free swatches let you test materials before committing. Flexible shipping accommodates your timeline. Transform your home with motorized convenience today.
FAQ
How do I know if my existing blinds can be motorized?
Most roller, Venetian, vertical, Roman, and cellular blinds accept retrofit motor kits. Check your blind’s condition for damage or excessive wear. Measure headrail diameter and blind weight to confirm kit compatibility with manufacturer specifications.
What is the easiest power option for DIY blind motorization?
Battery-powered retrofit motor kits require no hardwiring and simplify DIY installation dramatically. They offer wireless remote and app control with periodic battery recharging every 6-12 months. No electrician needed.
Can I integrate motorized blinds with my existing smart home system?
Most retrofit motor kits support scheduling, smartphone app, and voice assistant control. Integration with Alexa, Google Assistant, and Apple HomeKit enhances convenience. Check kit specifications for compatible platforms before purchasing. Explore motorized blinds remote control options for seamless automation.
What common installation mistakes should I avoid?
Avoid incorrect motor sizing, which causes strain and failure. Take precise measurements rather than estimating. Ensure proper wiring polarity for hardwired systems. Verify control pairing follows exact manufacturer steps. Check battery health regularly to prevent mid-operation failures. The motorized blinds troubleshooting guide addresses persistent issues comprehensively.
Recommended
- Motorized Blinds Advantages – Expert Comparison 2025
- Motorized Blinds Remote Control: Smart Living Made Easy
- Motorized Blinds Installation Guide for Effortless Results
- Motorized Smart Blinds: Transforming Modern Interiors
- Automating Video Editing: Transforming Production Efficiency
- 4 Property Automation Examples Cut Compliance Work by 30%


