
Motorized Blinds Installation Guide for Effortless Results
Most modern American homeowners want more than just basic window coverings. In urban spaces where every detail counts, motorized blinds bring energy savings and smart convenience right to your fingertips. Industry reports show over 60 percent of tech-savvy adults prefer automated solutions for their homes. Learn how a step-by-step installation can seamlessly combine functionality, safety, and minimalist style for a home that feels both advanced and comfortable.
Table of Contents
- Step 1: Gather Tools And Prepare Your Window
- Step 2: Measure Accurately And Mark Mounting Points
- Step 3: Install Brackets And Attach Blinds
- Step 4: Connect Motor And Set Up Controls
- Step 5: Test Operation And Finalize Installation
Quick Summary
| Key Insight | Explanation |
|---|---|
| 1. Clear the Workspace | Ensure the window area is cleared of obstacles and all necessary tools are gathered for installation. |
| 2. Measure Precisely | Take multiple measurements of the window to ensure accurate and level placement of the blinds. |
| 3. Securely Install Brackets | Properly anchor brackets to studs or use appropriate anchors for drywall to support the blinds safely. |
| 4. Test the Motor Function | Run several operational tests to ensure the blind operates smoothly and all connections are secure. |
| 5. Document Troubleshooting | Keep track of any issues during testing and consult the manufacturer if problems persist after adjustments. |
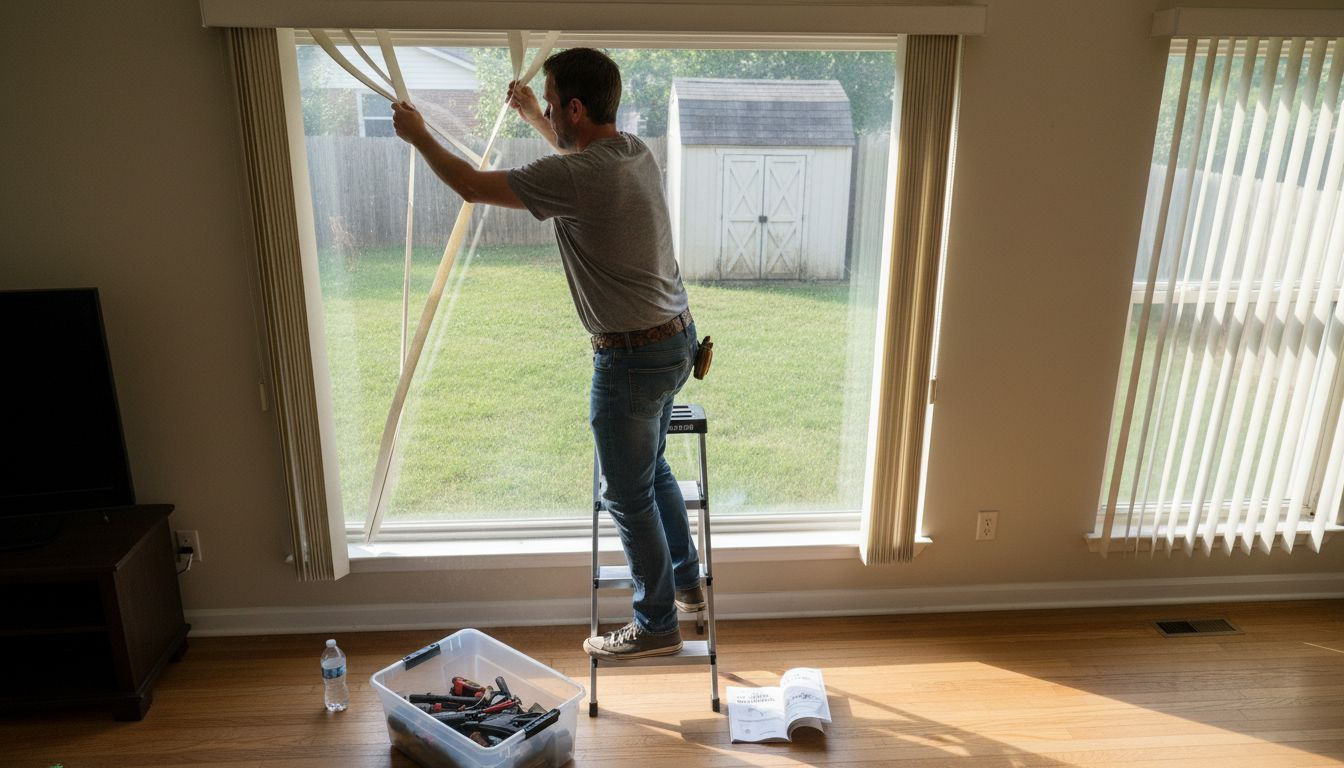
Step 1: Gather Tools and Prepare Your Window
Preparing for motorized blind installation requires strategic planning and the right equipment. Your goal is to create a smooth workspace that ensures a safe and efficient setup for your new window treatment.
Start by clearing the entire window area and collecting essential tools. You’ll need a power drill, measuring tape, level, pencil, stud finder, mounting brackets, screwdriver, and your motorized blind kit. Carefully review child safety guidelines to ensure proper installation that protects children and pets. Remove any existing window coverings and clean the window frame thoroughly to provide a clean mounting surface.
Measure your window precisely multiple times to confirm accurate dimensions. Check that the window frame is structurally sound and can support the motorized blind mechanism. Look for any potential obstacles like electrical wiring, uneven surfaces, or structural irregularities that might complicate installation.
Pro Tip: Always test your power drill and mounting tools on a scrap piece of material to ensure proper tension and alignment before starting your actual window installation.
Step 2: Measure Accurately and Mark Mounting Points
Accurate measurement is the foundation of a successful motorized blind installation. Your precision at this stage determines how smoothly your window treatment will function and look once installed.
Begin by using a metal measuring tape to carefully measure the width and height of your window frame. Measure at three different points horizontally width (top, middle and bottom) and vertically (left, center, right) to account for any subtle variations. Proper measurement standards recommend capturing multiple dimensions to ensure absolute accuracy. For inside mount installations, measure the width at the top of the window where the mounting brackets will attach. For outside mount options, measure the desired coverage area beyond the window frame.
Here’s a summary comparing inside and outside mount options for motorized blinds:
| Feature | Inside Mount | Outside Mount |
|---|---|---|
| Placement | Within window frame | Overlaps window frame |
| Appearance | Sleek, integrated look | Covers more area, bold look |
| Light Gaps | Small side gaps possible | Greater light coverage |
| Installation Complexity | Measured fit required | More flexible measurements |
| Frame Impact | Secures to frame | Secures to wall or molding |
Once measurements are confirmed, use a pencil and level to mark precise mounting points. Ensure your markings are level and equidistant from the window edges. Double check all measurements before drilling to prevent misalignment. The mounting points must be sturdy and capable of supporting the motorized blind mechanism without causing stress on the window frame.
Pro Tip: Create small pilot holes first to verify bracket placement before committing to full installation to avoid unnecessary wall damage.
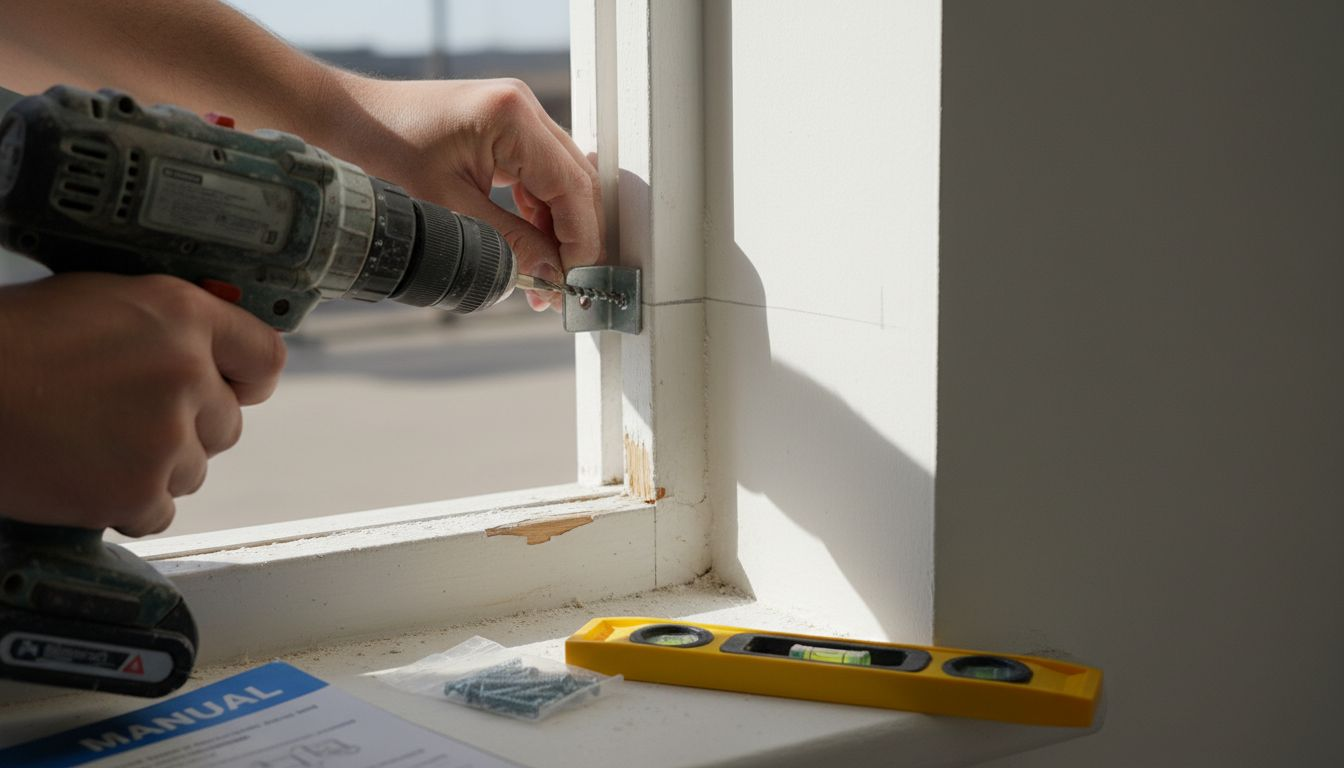
Step 3: Install Brackets and Attach Blinds
The installation of mounting brackets and attaching your motorized blinds is a critical phase that determines the overall performance and appearance of your window treatment. Precision and careful attention during this step will ensure a professional and seamless result.
Carefully align your pre-marked mounting points and drill pilot holes using a power drill with the appropriate drill bit size for your wall material. Window blind bracket installation requires selecting the correct bracket type based on your mounting style either inside or outside the window frame. For inside mount, the brackets will attach directly to the window frame, while outside mount brackets require secure attachment to the wall surrounding the window. Ensure each bracket is level and firmly anchored using screws that penetrate solid wall studs or use appropriate wall anchors for drywall.
Once brackets are securely installed, gently attach the motorized blind unit. Most modern motorized blinds feature a click or snap mechanism that allows easy mounting onto the installed brackets. Verify the blind moves smoothly along its track and that the motor unit is properly aligned. Test the motorized function multiple times to confirm smooth operation and correct positioning before completing the final installation.
Pro Tip: Keep your installation manual nearby and wear safety glasses during drilling to protect yourself from potential debris.
Step 4: Connect Motor and Set Up Controls
Connecting the motor and configuring your motorized blinds controls transforms your window treatment into a smart home feature. This step bridges the mechanical installation with the technological convenience of automated window management.
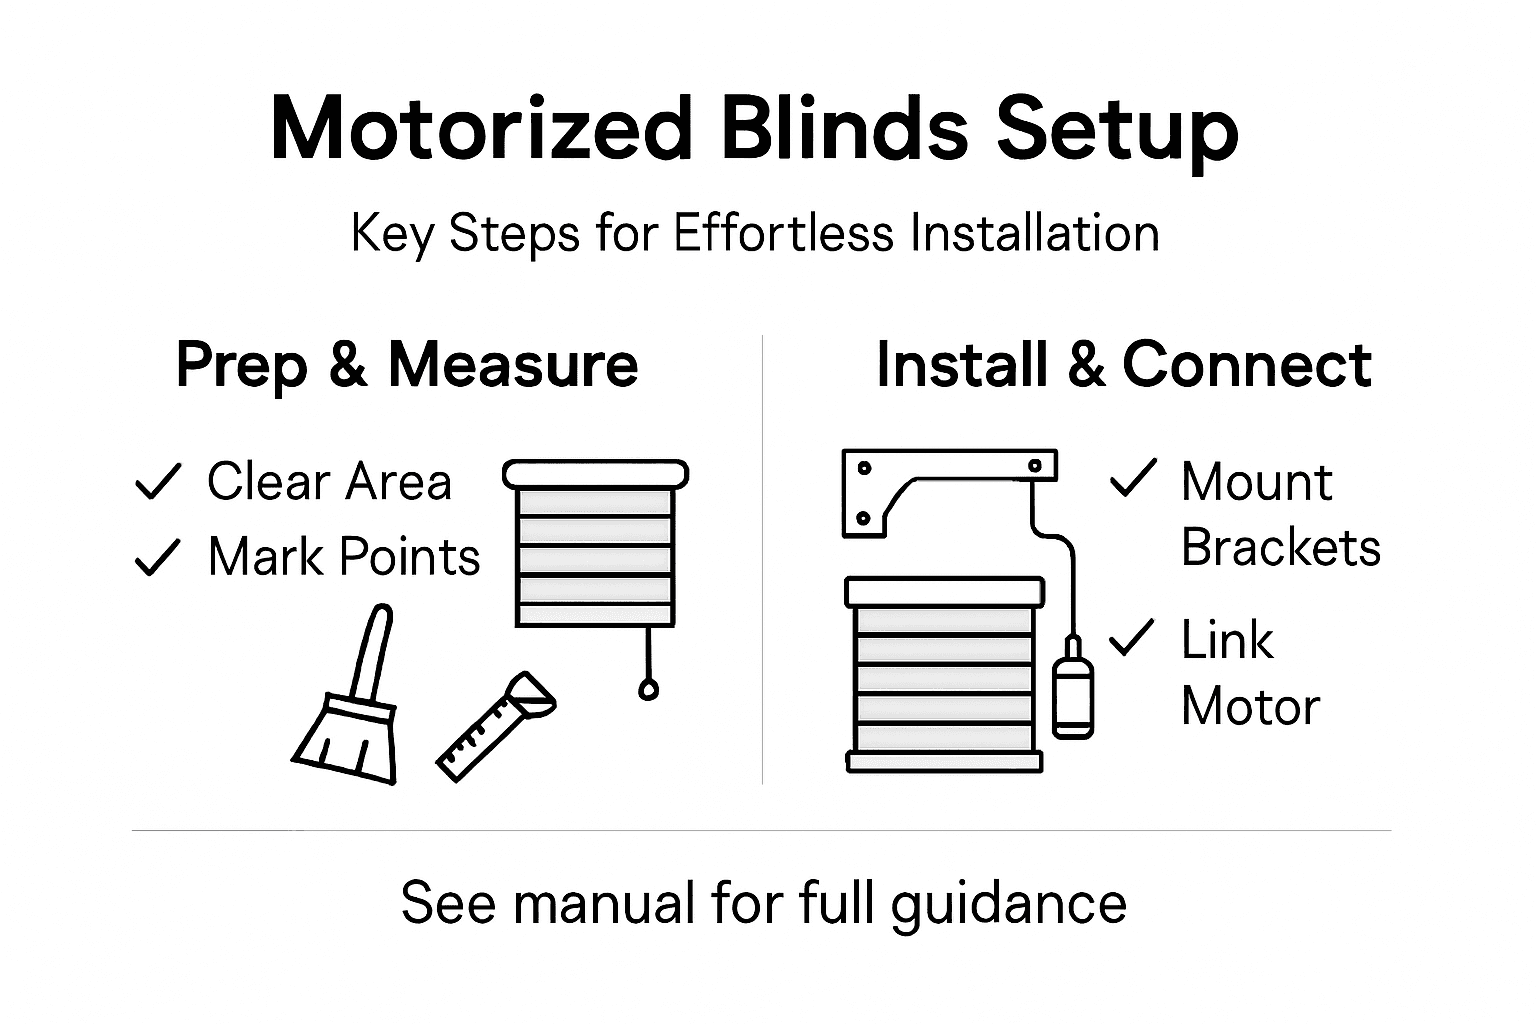
Motor control mechanisms require careful attention to electrical connections and wireless communication protocols. Begin by locating the motor control unit and identifying its power requirements. Most modern motorized blinds use rechargeable batteries or direct electrical connections. If your system uses a battery pack, ensure it is fully charged before installation. For hardwired systems, carefully connect the motor to the designated electrical outlet or home automation circuit, following manufacturer instructions precisely.
Pair your motor with its corresponding remote control or smartphone app by following the manufacturer’s synchronization instructions. This typically involves pressing specific button sequences or using Bluetooth pairing techniques. Test the motor’s range of motion multiple times to confirm smooth operation in both open and closed positions. Verify that the control interface responds accurately to commands and that the blind moves without resistance or unusual sounds.
Pro Tip: Keep the instruction manual and packaging until you are completely satisfied with the installation and motor functionality.
Step 5: Test Operation and Finalize Installation
The final stage of your motorized blind installation is crucial for ensuring long-term performance and satisfaction. This comprehensive testing phase will verify that all your previous careful work comes together seamlessly.
Installation performance standards recommend a thorough operational test to validate the blind’s functionality. Begin by running multiple complete open and close cycles using both the remote control and manual override options. Check for smooth movement without jerking or hesitation. Observe the blind at various positions to confirm it stops precisely where commanded and maintains alignment throughout its range of motion.
Carefully inspect all mounting points and electrical connections to ensure nothing has become loose during initial testing. Verify that the motor responds consistently to control inputs and that the battery or power connection maintains stable performance. Pay special attention to any unusual sounds or resistance during operation that might indicate a need for adjustment. Document any concerns and consult the manufacturer if you encounter persistent issues that cannot be resolved through simple recalibration.
Below is a quick reference to common troubleshooting tips for motorized blind setup:
| Issue | Possible Cause | Solution |
|---|---|---|
| Blind won’t move | Power not connected | Check battery or outlet |
| Jerky operation | Misaligned brackets | Relevel and retighten screws |
| Remote not syncing | Incorrect pairing process | Repeat pairing instructions |
| Uneven movement | Mounting points uneven | Re-check measurement marks |
Pro Tip: Wait 24 hours after installation before making final adjustments to allow all components to settle into their optimal position.
Upgrade Your Home with Effortless Motorized Blinds from Value Blinds
Mastering motorized blinds installation requires precision and the right tools. If the challenges of measuring perfectly, securing brackets, and connecting motor controls feel overwhelming, Value Blinds is here to help transform that process into a seamless experience. Our premium selection of motorized shades offers custom designs built for easy installation and smooth operation without the stress of guesswork.

Explore our New Arrivals to find the latest in motorized window treatments that combine style and functionality. With our expert measurement guides, free swatches, and dedicated support, you gain confidence every step of the way. Don’t wait to elevate your space with energy-efficient, cordless, and customizable options tailored to fit your home perfectly. Visit Value Blinds today and start your journey toward effortless installation and lasting satisfaction.
Frequently Asked Questions
How do I prepare my workspace for motorized blind installation?
Begin by clearing the entire window area and gathering essential tools like a power drill, measuring tape, and screwdrivers. Clean the window frame thoroughly to ensure a clean mounting surface, and review child safety guidelines to ensure a safe installation.
What measurements do I need to take for installing motorized blinds?
Measure the width and height of your window frame at multiple points to ensure accuracy. For inside mounts, measure the width at the top of the window, and for outside mounts, measure the desired coverage area beyond the frame to make sure your motorized blinds fit perfectly.
How do I install the brackets for my motorized blinds?
Align your pre-marked mounting points and drill pilot holes carefully using a drill. Ensure each bracket is level and anchored firmly into solid wall studs or appropriate wall anchors, depending on your wall material, for the best support.
What should I do to connect the motor and set up controls?
Locate the motor control unit and connect it to the power source, whether that’s a battery or an outlet. Pair the motor with its corresponding remote control or app by following the manufacturer’s instructions to enable full functionality.
How can I troubleshoot common issues after installing my motorized blinds?
Run multiple test cycles to check for smooth operation. If the blinds don’t move or operate unevenly, check the power connection and ensure the brackets are correctly aligned; adjusting these factors can help resolve most minor issues quickly.
What are the final steps to ensure my motorized blinds are working properly?
After installation, conduct a thorough operational test to ensure the motor responds accurately and the blinds operate smoothly. Wait 24 hours before making any adjustments to allow all components to settle, which can help optimize their performance.


