

13 Proven Ways to Increase Property Value Before You Sell
The fastest ways to increase property value before listing are, in order: fix any safety or inspection issues first (roof, HVAC, water intrusion), then tackle curb appeal (garage door, front entry, fresh landscaping), then presentation (deep clean, declutter, neutral paint, professional photos and staging), and finally targeted interior updates like a minor kitchen or bath refresh. That sequence matters because buyers and inspectors will discount for deferred maintenance regardless of how pretty the countertops look. A garage door replacement alone can return over 200% of its cost in resale value, and staged homes sell for a 5–13% premium according to NAR data. Here’s your quick action shorthand:
- 30 days: Deep clean, declutter, neutral touch-up paint, basic curb fixes, schedule professional photos
- 90 days: Staging, garage/front door upgrade, minor kitchen or bath refresh, pull any needed permits
- 180 days: Larger mid-range projects or basement finish if comps show upside. Re-run comps and set listing strategy
The one rule to tattoo on your brain: fix condition issues → curb appeal → presentation → targeted interior updates. Skipping that order is the single most expensive mistake sellers make.
Key Takeaways
The single most important thing you can do to increase property value before selling is fix condition issues first, then invest in curb appeal and presentation — in that order — before touching interior cosmetics.
| Point | Details |
|---|---|
| Fix condition issues first | Roof, HVAC, and water intrusion will suppress offers regardless of cosmetic upgrades. |
| Curb appeal delivers the highest ROI | Garage door replacement returns over 200% of cost; steel entry door returns —. |
| Minor updates beat major remodels | Minor kitchen remodels return ~113% nationally; upscale remodels often fall below 60%. |
| Staging and photos are non-renovation wins | Staged homes sell for a 5–13% premium per NAR data — no construction required. |
| Valueblindsdirect for the finishing touch | Custom cellular shades and cordless blinds improve staging photos and energy efficiency affordably. |
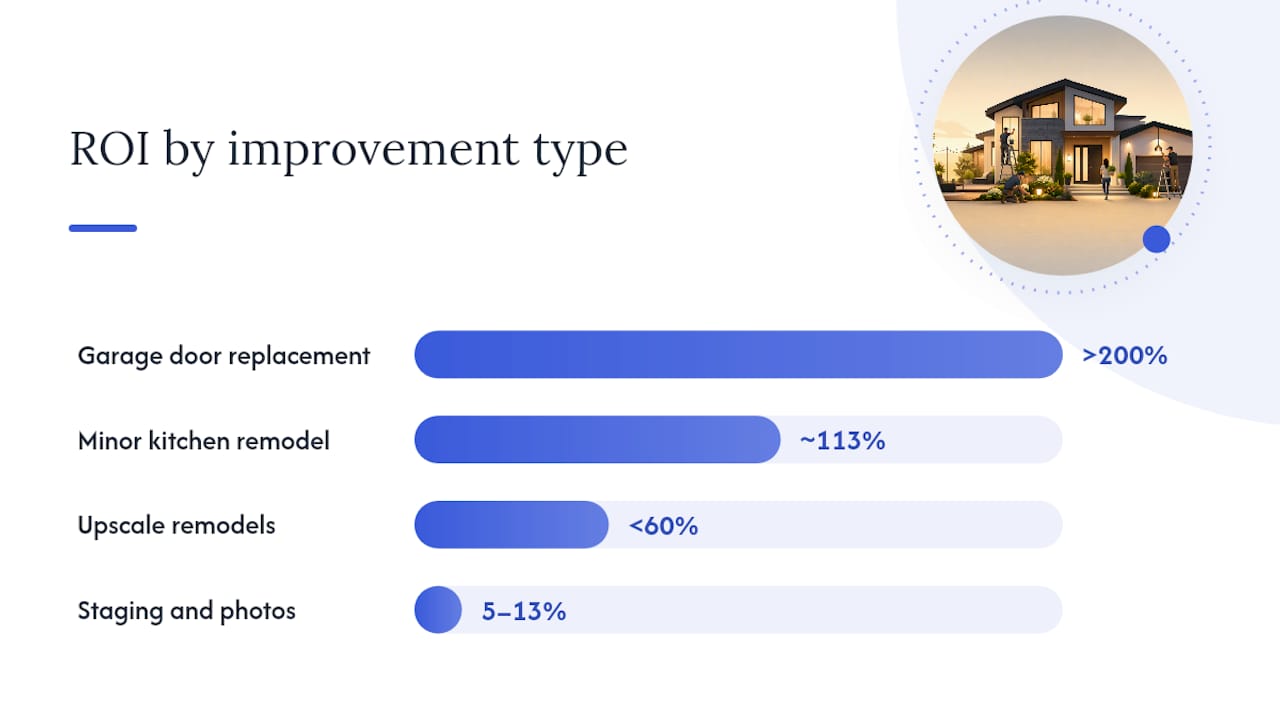
Table of Contents
- 1. Curb appeal upgrades deliver the highest ROI of any project
- 2. Interior updates that actually move the needle (and ones that don’t)
- 3. Energy-efficiency and smart-home upgrades buyers actually care about
- 4. Adding usable square footage: when it’s worth it
- 5. Budget buckets: what you can do at every spending level
- 6. How to prioritize improvements before you list
- 7. Realistic costs, ROI ranges, and how to finance your projects
- 8. Window treatments: a staging and efficiency upgrade most sellers overlook
- 9. What most sellers get wrong (and what actually works)
- Valueblindsdirect can help you finish the job with the right window treatments
- Sources
1. Curb appeal upgrades deliver the highest ROI of any project
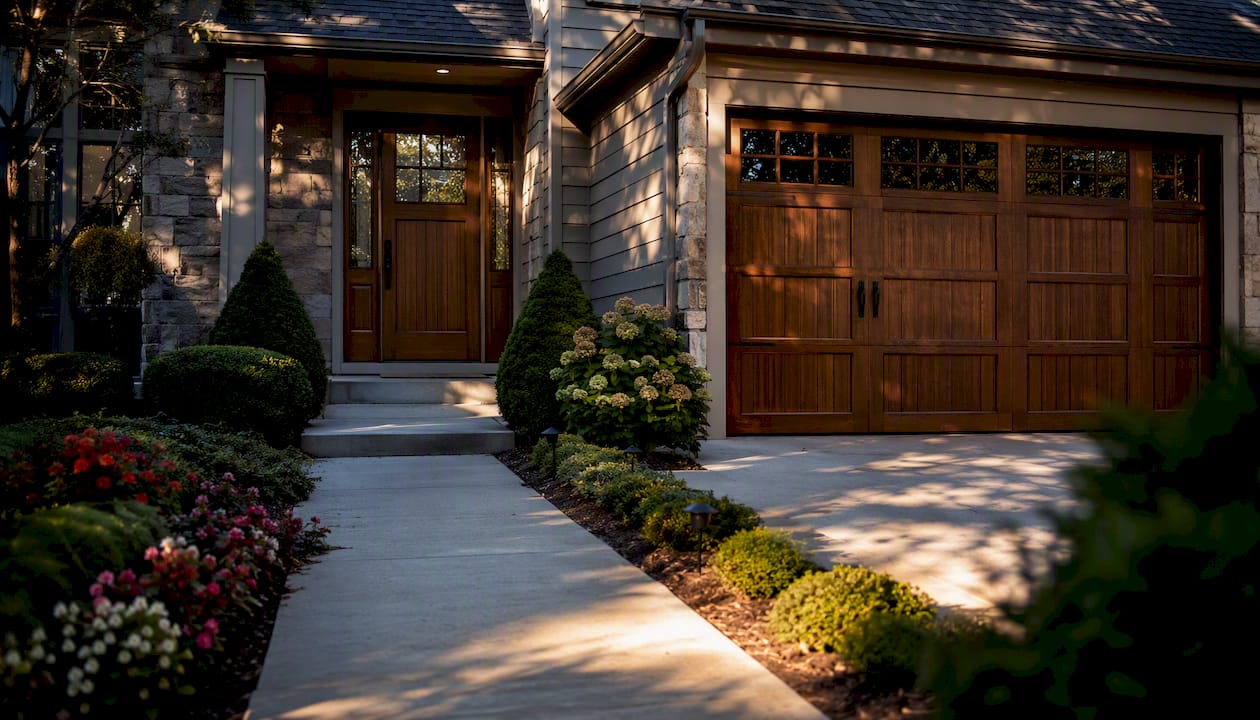
First impressions happen online before a buyer ever pulls into your driveway. Your listing photos are the curb appeal now, which means the exterior has to look sharp in a thumbnail. The good news? The projects that move buyer perception the most are also among the cheapest relative to their returns.
Source: Opendoor’s ranked guide to home value improvements, drawing on Cost vs. Value reporting.
The garage door and steel entry door combo is the single best bang-for-your-buck exterior play for most sellers; learn more about how to upgrade your home’s value with practical door improvements. Add a $300–$500 landscaping refresh (fresh mulch, trimmed shrubs, seasonal color at the entry) and you’ve addressed the three things buyers notice in the first five seconds. Manufactured stone veneer makes sense when your neighborhood skews toward updated exteriors and your plain siding looks dated by comparison. Fiber-cement siding is a longer-term play — strong if the current siding is failing, but the ROI is lower, so weigh it against your timeline.
Pro Tip: Before spending on siding or stone veneer, check three recent sold comps within a half-mile. If none of them feature those upgrades, buyers in your area likely won’t pay a premium for them — redirect that budget to the garage door and entry door instead.
2. Interior updates that actually move the needle (and ones that don’t)
Here’s the truth about interior renovations: minor, targeted updates almost always outperform full gut remodels on a per-dollar basis. A minor kitchen remodel returns roughly 113% nationally in Cost vs. Value framing, while a major upscale kitchen remodel returns a lower percentage of its cost. The same pattern holds in bathrooms — midrange bath remodels return a substantial portion of their cost, while upscale bathroom remodels return less on investment.
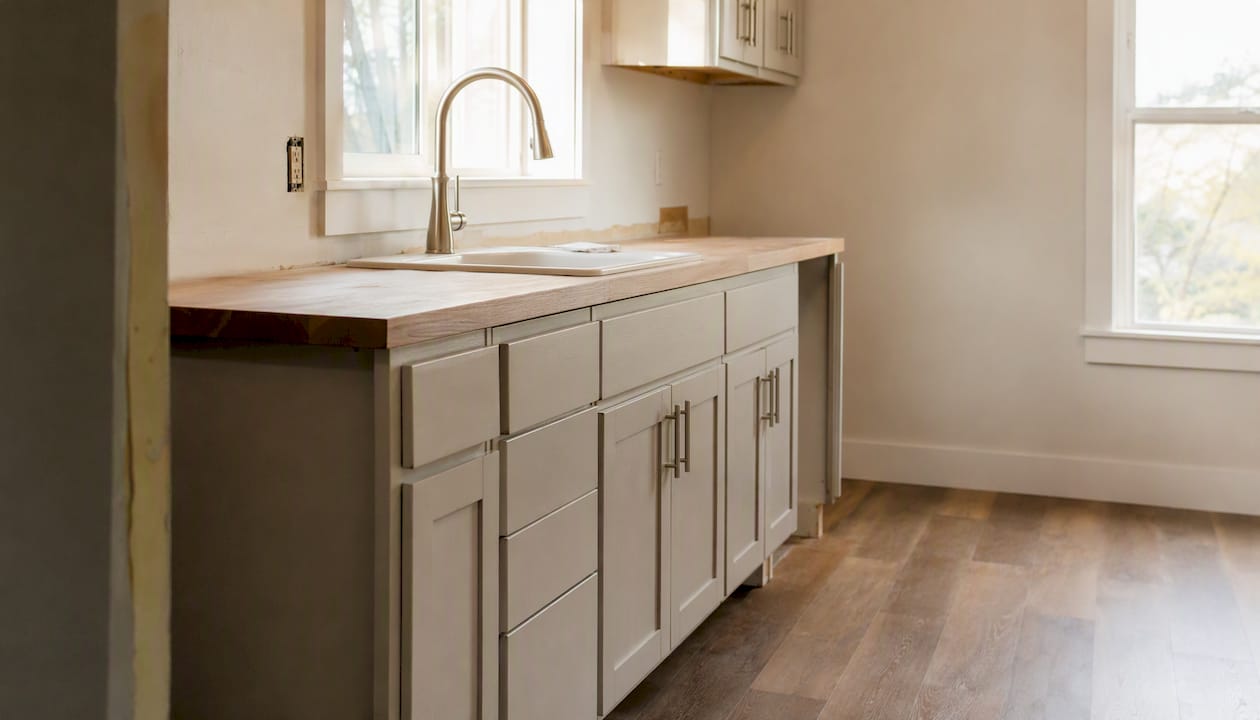
For a minor kitchen refresh, think: reface or repaint cabinets, swap out hardware, install mid-grade countertops (quartz or butcher block), and update the faucet. That’s it. You don’t need new appliances unless the existing ones are broken or visually jarring. Luxury vinyl plank (LVP) flooring in the main living areas is another high-return move — it photographs well, holds up to buyer foot traffic during showings, and costs a fraction of hardwood replacement.
Staging and professional photography sit in a category of their own because they require zero structural work. Professional photos and staging speed up listings and support that 5–13% price premium. A good stager will neutralize personal touches, maximize perceived space, and make sure every room reads well in photos. Check out this step-by-step staging guide if you want a practical walkthrough.
Pro Tip: A full remodel is only justified when the kitchen or bath is so severely dated or dysfunctional that it’s actively suppressing offers — think avocado-green appliances or a layout that makes the space feel unusable. Otherwise, a targeted refresh will do the job at a fraction of the cost.
3. Energy-efficiency and smart-home upgrades buyers actually care about
Buyers are paying attention to utility costs more than ever, and energy-efficient features rank consistently in Zillow’s buyer-preference data. The upgrades that deliver the clearest combination of cost savings and buyer appeal are also the ones you can tackle without a contractor.
High-impact efficiency moves to consider:
- Attic insulation: One of the highest-ROI efficiency upgrades; reduces heating and cooling costs and is easy to document for buyers
- Smart or programmable thermostat (Nest, Ecobee): Costs under $250 installed; buyers love the modern appeal and the monthly savings story
- LED retrofit throughout: Under $200 for a whole house; improves photo brightness and signals a well-maintained home
- Low-E double-pane windows: Higher upfront cost (~$300–$700 per window) but meaningful for drafty older homes; ENERGY STAR-certified windows carry a trust signal buyers recognize
- ENERGY STAR appliances: If you’re replacing appliances anyway, the certification label is a selling point worth mentioning in your listing
Solar panels are a more complicated story. They can add value, but only when the system is owned outright (not leased). A leased system can actually complicate the sale, so get clarity on your financing structure before listing.
The practical trust signal buyers respond to is documentation: save your utility bills from the past 12 months, keep appliance manuals and warranty cards in a folder, and note any ENERGY STAR certifications in your listing description. That paper trail turns an invisible upgrade into a visible selling point.
4. Adding usable square footage: when it’s worth it
Raw square footage adds real dollars in most markets, but the ROI is highly dependent on where you start and what your neighborhood ceiling looks like. Finishing a basement typically adds a significant amount of value in many U.S. markets, making it one of the largest dollar-value additions available to homeowners. A bathroom addition in a home where the bedroom-to-bathroom ratio is out of sync with local comps can also deliver strong returns.
Before you commit to any square-footage project, run through this checklist:
- Check your neighborhood ceiling. Pull three sold comps within a half-mile and 90 days. If the highest-priced homes in your area top out at $450,000, a $60,000 basement finish won’t push you past that ceiling.
- Confirm permitting requirements. Unpermitted additions are a liability at closing. Budget time for permits — typically 4–12 weeks depending on your municipality — and factor that into your listing timeline.
- Assess structural constraints. Basement finishing requires adequate ceiling height (7 feet minimum in most markets), proper egress, and moisture control. Get a contractor assessment before budgeting.
- Compare to similar comps with the added feature. If homes with finished basements in your zip code sell for $30,000 more on average and your finish costs $25,000, the math works. If the premium is $15,000, it doesn’t.
- Consider NAHB trend data on buyer demand. Flexible rooms (home offices, flex spaces) and outdoor living areas are gaining traction with 2026 buyers — a finished basement that can serve as a home office or rec room aligns with that demand.
A bathroom addition makes the most sense when you have a 3-bedroom, 1-bathroom home in a market where buyers expect at least 2 bathrooms. That mismatch suppresses offers; fixing it removes a real objection.
5. Budget buckets: what you can do at every spending level
Not everyone has $20,000 to spend before listing, and honestly, you often don’t need to. Here’s a practical menu organized by what you can realistically spend, with expected returns at each tier. For more budget-friendly ideas, this home improvement projects guide is worth a look.
Quick wins under $1,000 (Zillow and Opendoor both flag these as the highest per-dollar-spent category):
- Deep clean every surface, including grout, appliances, and windows
- Declutter and remove personal photos, excess furniture, and anything that makes rooms feel smaller
- Neutral touch-up paint in high-traffic areas (warm white or greige reads well in photos)
- Hardware swaps: cabinet pulls, door handles, light switch plates
- Basic landscaping: fresh mulch, trimmed shrubs, potted plants at the entry
- Mailbox replacement and new house numbers
- Power-wash the driveway, walkway, and siding
Mid-range $1,000–$10,000:
- Minor kitchen refresh (repaint cabinets, new hardware, updated faucet, mid-grade countertop)
- Bathroom refresh (new vanity light, mirror, faucet, re-caulk tub and shower)
- LVP flooring in the main living areas or kitchen
- Smart thermostat installation
- Window treatments in key rooms — neutral, staging-friendly styles that also improve energy efficiency (more on this below)
Major projects $10,000+:
- Garage door replacement (~$4,600, but often grouped here by contractors)
- Manufactured stone veneer or fiber-cement siding
- Midrange kitchen remodel
- Bathroom addition
- Basement finish
One caution on major projects: the Harvard Joint Center for Housing Studies notes that remodeling growth is set to downshift in late 2026, which means contractor costs may ease but buyer appetite for premium finishes could soften too. If you’re planning a major project, get multiple bids and time it carefully relative to your listing date.
6. How to prioritize improvements before you list
You can run this prioritization framework in a single afternoon. It will save you from the most common seller mistake: spending money on cosmetics before fixing the things that will kill your deal at inspection.
-
Audit your home’s condition first. Walk the roof (or hire a $150 inspector), check the HVAC service date, look for water stains on ceilings and around windows, and test every outlet and switch. This home maintenance checklist covers the key systems to inspect. Deferred maintenance is a price suppressor — buyers discount for it even when the kitchen looks great.
-
Pull three sold comps within a half-mile and 90 days. Your agent can run these in 10 minutes. Identify the price ceiling for your neighborhood and note which features the top-priced homes share. That tells you where to spend and where to stop.
-
Triage by objection removal first. Water intrusion, a roof within two years of end-of-life, and a failing HVAC system will all show up on inspection and give buyers leverage to renegotiate or walk. Fix these before spending a dollar on paint.
-
Layer in curb appeal next. Garage door, front entry, and basic landscaping are your highest-ROI exterior moves. These also set the tone for listing photos.
-
Invest in presentation. Professional photography and staging are non-negotiable for most markets. The 5–13% staging premium is real, and photos are the first showing.
-
Add targeted interior updates last. Only after steps 1–5 are covered should you consider a kitchen or bath refresh. Ask your agent: “Will this specific update move us to a higher price tier, or just make us competitive at the same tier?” If it’s the latter, skip it.
Pro Tip: Ask your listing agent to walk the home with you before you spend anything. A good agent has seen dozens of homes in your zip code and can tell you in 30 minutes which updates buyers in your market actually respond to — and which ones you’ll never recoup.
7. Realistic costs, ROI ranges, and how to finance your projects
Here’s a quick snapshot of national cost and ROI ranges for the most common projects, drawn from Cost vs. Value reporting as summarized by industry sources:
Financing options and what to know about each:
- Cash: No carrying cost, no closing complications. The cleanest option if you have the reserves.
- HELOC: Good for larger projects if you have equity; variable rate means carrying costs can rise. Works best when you have 6+ months before listing.
- Cash-out refinance: Only makes sense if current rates are favorable relative to your existing mortgage. Adds closing costs and resets your loan term — rarely the right move for a short pre-listing window.
- Personal loan (unsecured): Higher interest rate but no equity required and fast funding. Best for quick-win projects under $5,000 where the ROI is clear.
Pro Tip: Staging and professional photography often outperform financed mid-range remodels on a per-dollar basis when you’re selling fast. A $2,500 staging-and-photos package that generates a 5% price premium on a $350,000 home returns $17,500 — before you’ve touched a single cabinet.
8. Window treatments: a staging and efficiency upgrade most sellers overlook
Window treatments are one of the most underrated ways to enhance property appeal before listing. They do two things at once: they make rooms look polished and intentional in photos, and they deliver measurable thermal performance that buyers increasingly ask about. 🪟
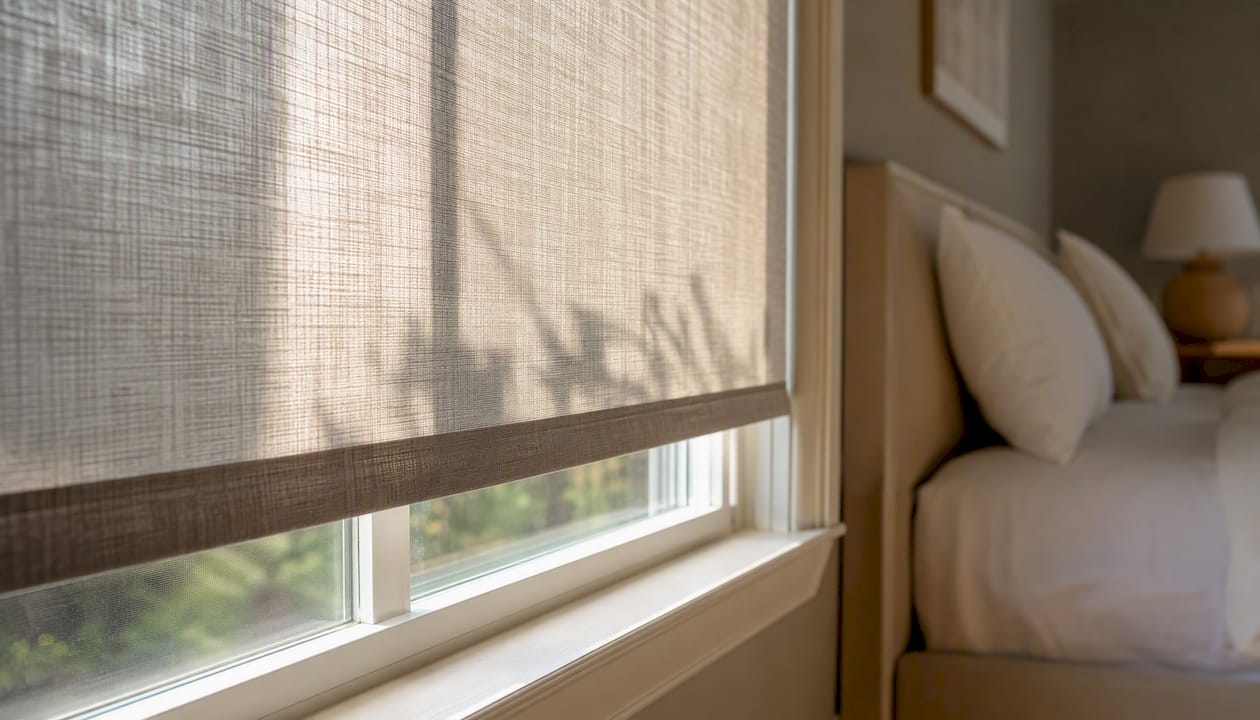
The dual role matters more than most sellers realize. Bare windows in listing photos read as unfinished. Mismatched or dated treatments (ugh, those plastic mini-blinds) actively drag down perceived value. The right window covering, by contrast, frames the view, controls light beautifully in photos, and signals that the home has been thoughtfully maintained.
What to consider for staging and efficiency:
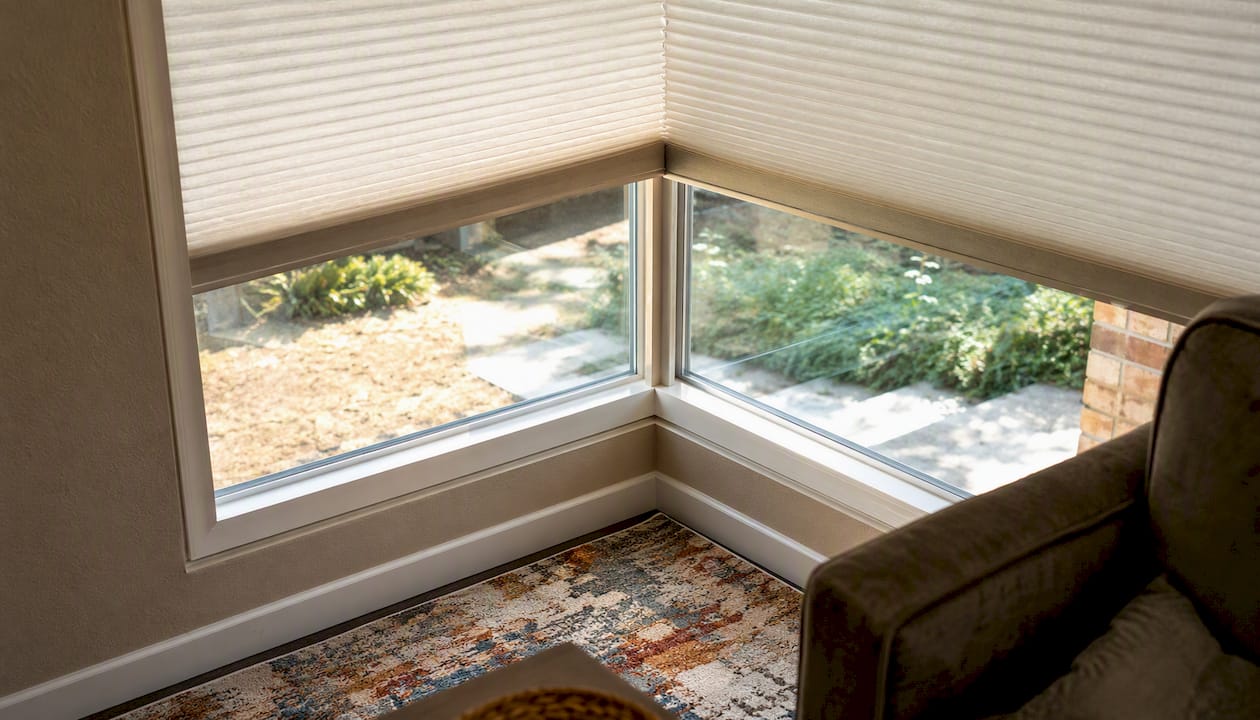
- Cellular (honeycomb) shades are the top pick for energy performance. Their air-pocket construction insulates against heat and cold, and energy-efficient window treatments can meaningfully reduce heating and cooling loads. Cordless or motorized versions also remove the safety hazard of dangling cords, which matters to buyers with young children.
- Cordless options photograph cleaner and feel more modern. No cords means no visual clutter in listing photos — a small detail that adds up across every room.
- Neutral fabrics (warm whites, soft grays, natural textures) work in almost any room and don’t compete with the buyer’s mental image of their own furniture in the space.
- Motorized shades add a genuine “wow” moment during showings. A buyer who can adjust every shade in the room from their phone tends to remember that home.
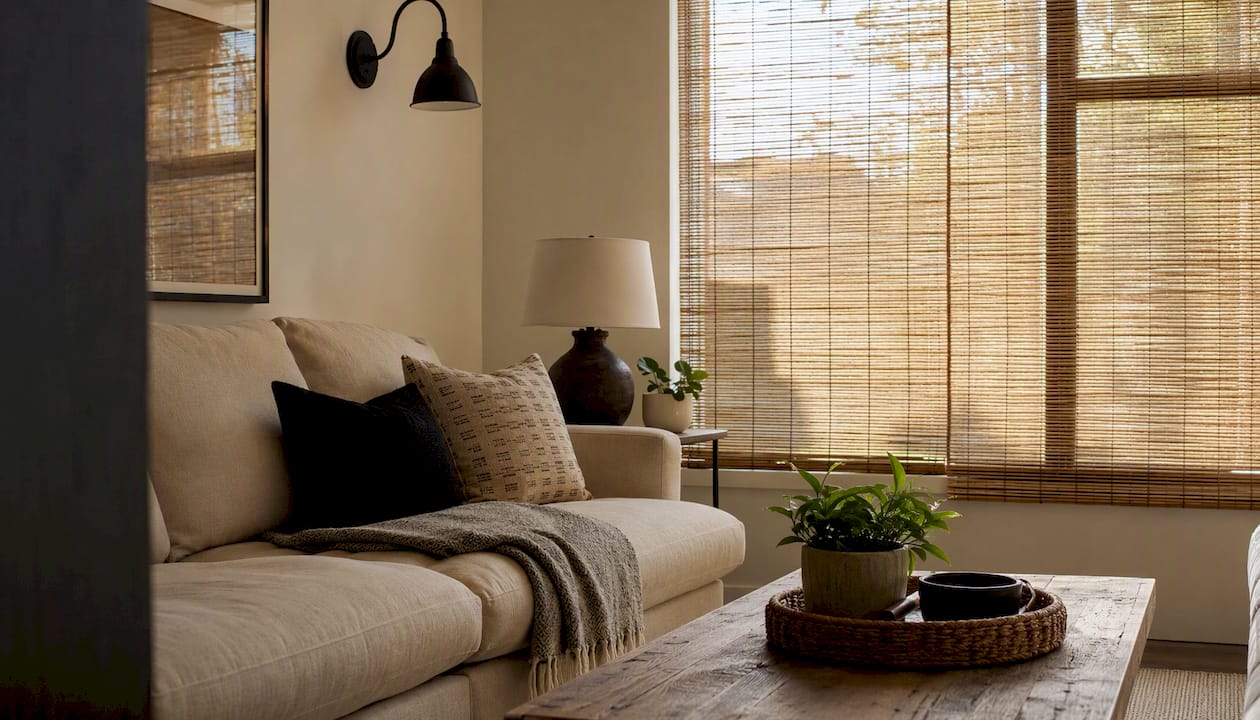
- Woven or natural shades work well in living rooms and dining rooms where texture adds warmth without overwhelming the space.
According to staging research on window treatments, the right window covering can make a room feel larger, brighter, and more finished — all three of which translate directly into buyer perception of value.
9. What most sellers get wrong (and what actually works)
Here’s a perspective that might surprise you: the biggest ROI mistakes aren’t about choosing the wrong renovation. They’re about doing renovations in the wrong order.
Most sellers I talk to have already mentally committed to a kitchen remodel before they’ve checked whether the roof has two years of life left. That’s backwards. A buyer’s inspector will flag the roof. The buyer will use it to renegotiate. Your beautiful new quartz countertops won’t offset a $12,000 roofing credit request.
The other common mistake is confusing personal taste with market value. Luxury finishes — custom tile, high-end appliances, designer fixtures — feel like obvious value-adds. But if your neighborhood ceiling is $400,000, buyers at that price point aren’t expecting a $150,000 kitchen. They’re expecting a clean, functional, well-maintained home. Spend to meet expectations, not to exceed them.
The one pro tip I’d give every seller: neutralize before you personalize. Remove anything that makes a buyer think “this is someone else’s house.” That means bold paint colors, personal photos, and niche design choices. Neutral doesn’t mean boring — it means giving the buyer’s imagination room to move in. Pair that with great lighting and professional photos, and you’ve done more for your sale price than most mid-range remodels would.
Valueblindsdirect can help you finish the job with the right window treatments
You’ve done the hard work — fixed the inspection issues, refreshed the curb appeal, staged the rooms. Now the windows are staring back at you, bare or dated, and you know they’re holding the listing photos back. That’s exactly where Valueblindsdirect comes in. 🎉

Valueblindsdirect offers custom cellular shades, cordless blinds, motorized options, and natural woven styles that are designed to look polished in photos and perform on energy efficiency — without the showroom markup. Free swatches let you match fabrics to your staging palette before you commit, and the expert measurement guides mean you’re not guessing on sizing. For sellers who want a more hands-on experience, the Window Treatment Design Studio walks you through style and sizing choices room by room. Ready to shop? Browse the full blinds and shades collection and find the right fit for every room you’re staging.
Sources
The ROI figures and prioritization advice in this article draw from the following authoritative sources. National averages are a starting point — always cross-reference with your local agent and recent comps before committing to a project.
- What Are the Best Ways to Increase Home Value? A Ranked, Data-Backed Guide for Sellers | Opendoor
- Best ways to increase home value
- Best home improvements to increase value | Zillow
- How to Increase Home Value in 2026
- Remodeling growth set to downshift late 2026 | Harvard JCHS
- National Association of Home Builders (NAHB)
A note on using national data: Cost vs. Value figures are national averages. Your local market may return significantly more or less on any given project. Before spending, pull recent sold comps with your agent and get at least two contractor bids. The prioritization framework in this article (condition → curb appeal → presentation → interior updates) holds regardless of market — the specific dollar amounts do not.




,%20then%20tackle%20curb%20appeal%20(garage%20door,%20front%20entr...)