Article: Add 18–24 in Visually: Custom Window Sizing for Homeowners
Add 18–24 in Visually: Custom Window Sizing for Homeowners
Custom-sized window treatments are what create those designer-grade proportions and clean, uninterrupted sightlines you see in photos of really well-done rooms. When a shade or blind is made to fit your exact opening, the mounting height, the return depth, and the overall proportion all work together instead of fighting each other. Get the sizing right and you keep the light control, privacy, and visual balance you actually wanted. Get it wrong, and you end up with awkward gaps, weird overlaps, or a treatment that just looks a little off, even if you can’t quite say why. 🙂
TL;DR:
- Proper measurement includes width at three points and height at three points, with attention to depth and obstructions, measured to the sixteenth of an inch.
- Mounting height can visually increase room height by 18 to 24 inches when hung at the ceiling line, creating a more spacious look.
- Sizes that result in gaps or overlaps can weaken light control, privacy, and thermal performance, especially if treatments are undersized or misaligned.
- Layered treatments require additional clearance — about 3.5 inches for return depth — to prevent a squeezed, unbalanced appearance.
- Custom sizing is most beneficial in high-visibility areas with architectural pockets, while simpler options suffice for utility or guest bathrooms.
Table of Contents
- 1. How proportion and mounting height shape the look of a room
- 2. The field measurement realities that make or break the finished look
- 3. How correct sizing affects daylight, glare, privacy, and energy use
- 4. Designer rules of thumb worth specifying on your order
- 5. Quick checklist: what to confirm before you order custom window treatments
- When custom sizing is actually worth the investment
- How Value Blinds Direct helps you get the sizing right
- FAQ
- Sources
1. How proportion and mounting height shape the look of a room
Proportion is really just the relationship between all the parts: how long the panel is compared to the valance, how full the fabric is, how chunky or slim the rod or rail looks against the window frame. When those ratios are off, even a quality fabric looks cheap. When they’re dialed in, a basic fabric can look custom-tailored.
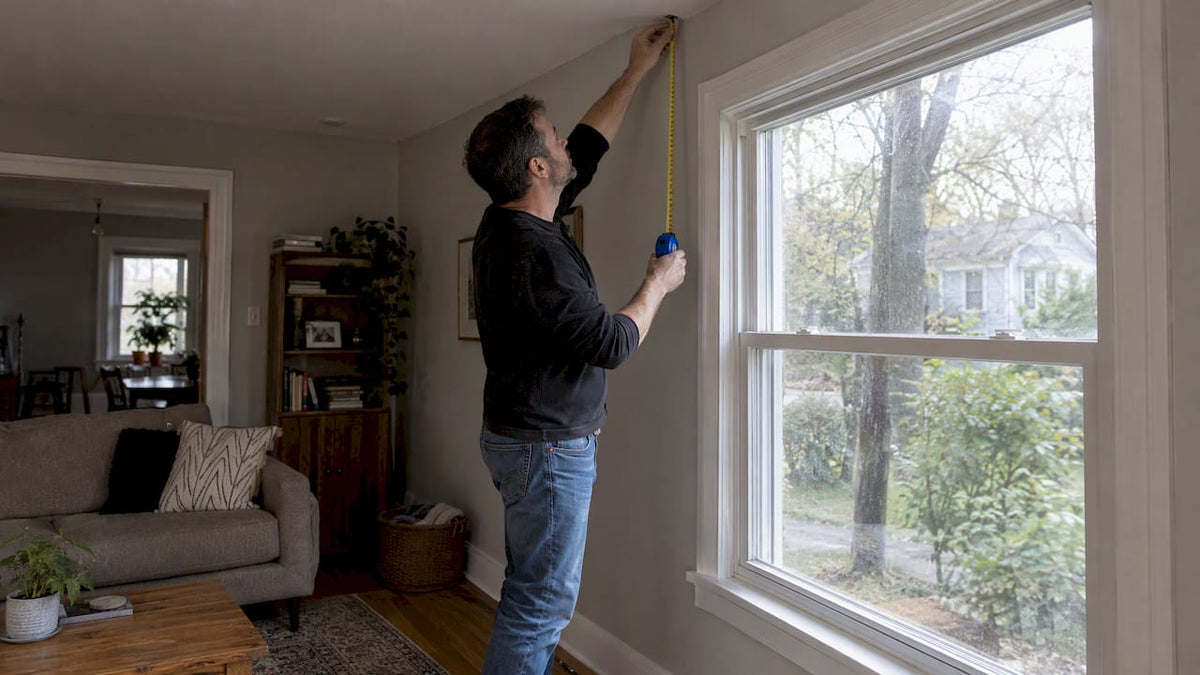
Mounting height does a lot of the heavy lifting here too. Treatments hung at the ceiling line, rather than right at the top of the window frame, can increase the perceived height of a room by about 18 to 24 inches. That’s a dramatic shift for something that costs nothing extra to specify, just a different measurement.
Pro Tip: If you’re treating several windows in one room, keep the mounting height and panel length consistent across all of them. Mismatched heights are one of the fastest ways to make a space look unfinished.
A few things worth keeping in mind as you plan proportions can be found in this detailed awning measuring guide.
- Valance-to-panel ratios in the range of 1:5 or 1:6 tend to read as balanced rather than top-heavy.
- Fuller fabric (more width per rod inch) generally photographs and lives better than a flat, stretched-out panel.
- Uniform sizing across multiple windows signals intention, which is a big part of what makes a room feel “designed” instead of just furnished.
2. The field measurement realities that make or break the finished look
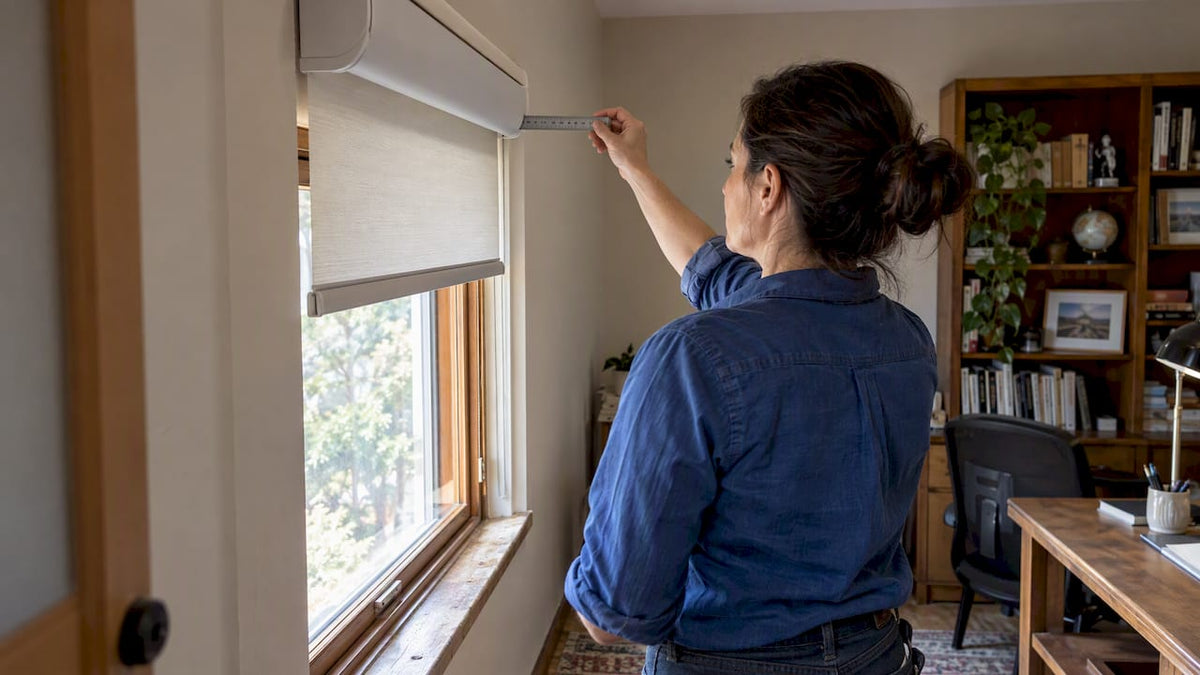
Here’s the thing nobody tells you until it’s too late: architectural drawings are a starting point, not the final word. Real windows settle, frames warp a little over time, and walls are rarely perfectly square. That’s why installers measure the opening in person rather than trusting the blueprint alone.
A proper measurement check typically includes:
- Width at the top, middle, and bottom of the opening (three separate numbers, not one average).
- Height at the left, center, and right sides.
- Depth of the mounting surface or recessed pocket, if there is one.
- Any obstructions: handles, cranks, trim, or hardware that could interfere with the finished treatment.
Skipping any of these is how you end up with a shade that’s a half inch too wide for its bracket, or a valance that doesn’t quite clear a window crank.
Pro Tip: Measure to the nearest sixteenth of an inch, not the nearest half inch. On a recessed mount, that small margin is often the difference between a treatment that fits and one that gets sent back.
The most common pitfalls are ignoring return depth, misjudging pocket depth on a recessed install, and forgetting to account for the hardware stack (brackets, headrails, and motors) when measuring clearance.

3. How correct sizing affects daylight, glare, privacy, and energy use
Aesthetics and performance aren’t separate conversations. The same sizing decisions that make a treatment look right also determine how much heat, light, and glare actually get into the room.
Interior shades, exterior appendages, and devices like light shelves all change a window’s solar heating, daylighting, and shading behavior, and the right choice depends on the window’s orientation and your local climate. A treatment sized to fully cover the glass, with minimal light gaps around the edges, does a far better job of controlling glare than one that’s slightly undersized and leaves daylight leaking in around the frame.

Sizing also drives thermal performance. Insulating shades can meaningfully improve a window’s thermal resistance when they’re sealed tightly around the perimeter, but that only works if the shade is actually sized to seal, not just to approximately cover the opening.
A few trade-offs worth weighing:
- Exterior shading tends to block heat before it ever reaches the glass, which is efficient but adds maintenance and weather exposure.
- Interior shades are easier to control and maintain but need a tighter perimeter fit to deliver the same insulating benefit.
- Larger, uninterrupted window areas often call for adjustable shading to balance daylight access against glare.
4. Designer rules of thumb worth specifying on your order
A few numbers make the difference between a treatment that looks store-bought and one that looks tailored. These are the ratios and clearances designers lean on again and again.
- Panel length: decide up front whether you want panels just grazing the floor or puddling slightly. Both look intentional; stopping a few inches short usually doesn’t.
- Fullness: more fabric width relative to the rod length (a fullness multiplier) gives panels body instead of a flat, pinched look.
- Valance-to-panel ratio: 1:5 or 1:6 is a common starting point for a proportion that reads as balanced rather than top-heavy.
- Return depth: standard return is about 3.5 inches, though layered treatments (shade plus panels plus valance) often need more clearance to avoid a squashed look.
Pro tip aside: when you’re stacking a shade, side panels, and a valance on one window, add clearance in increments, not all at once, and confirm each layer against the one in front of it before finalizing the order.
5. Quick checklist: what to confirm before you order custom window treatments
Before you place an order, run through this short list so the fabricator gets exactly what they need the first time.
- Measure width at three points (top, middle, bottom) and height at three points (left, center, right).
- Record mounting surface depth or recessed pocket dimensions, down to the sixteenth of an inch.
- Note any obstructions: cranks, trim, outlets, or hardware near the opening.
- Confirm stack-back space and motor clearances if you’re going motorized.
- Decide whether to self-measure using a detailed guide or book professional measuring for recessed or architectural installs.
- Set your timeline expectations: custom fabrication and installation generally take longer than off-the-shelf options, so plan ahead for any firm deadlines.
Pro Tip: If your window has a recessed pocket, double check depth and width with the fabricator before finalizing your order. A one-inch mismatch can prevent a motorized headrail from closing properly.
When custom sizing is actually worth the investment
In my time helping people spec window treatments, the rooms that benefit most from custom sizing are the ones with high visibility and high stakes: formal living rooms, dining rooms with continuous runs of windows, and anything involving a recessed architectural pocket. Those are the spaces where a half-inch gap or a mismatched return actually gets noticed.
For a guest bathroom or a utility room, a simpler made-to-measure option without all the extras is usually fine. Save the upgraded treatment, and the Pro Measure & Install service, for the rooms that do the most visual work in your home: the ones guests see first, or the ones with tricky openings that punish a DIY measurement mistake.
— Sunny
How Value Blinds Direct helps you get the sizing right
Getting proportions and clearances right on paper is one thing. Getting them right on an actual order is where most people get nervous, and that’s exactly where we come in. Custom window treatment providers build treatments to exact measurements, not generic size brackets, so the proportion and mounting decisions you’ve just read about actually show up in the finished product.

A few ways to make that happen without the guesswork:
- Request free fabric swatches before committing, so you can check color and texture against your actual room light.
- Use our measurement guides to self-measure for simpler windows.
- Consider booking professional measuring services for recessed pockets, motorized treatments, or any opening where a one-inch error would be costly.
- Some suppliers offer warranty coverage, so sizing issues on their end may be addressed.
Browse the full shade and blind catalog to start narrowing down styles, or head straight to Valueblindsdirect to request swatches and get your measurements confirmed.
FAQ
Why does custom sizing matter more than buying ready-made blinds?
Ready-made blinds come in fixed width and length increments, which rarely match your actual opening exactly. Custom sizing closes those gaps, which is what produces the clean proportions and consistent sightlines associated with a designer look.
How much does mounting height really affect how a room looks?
Mounting a treatment near the ceiling instead of at the window frame can increase perceived room height by roughly 18 to 24 inches. It’s one of the simplest sizing decisions with the biggest visual payoff.
What is return depth, and why does it matter for aesthetics?
Return depth is the distance between the treatment and the wall, and the standard is about 3.5 inches. Skipping it, or underestimating it on a layered treatment, is a common reason finished shades look squashed against the wall.
How long does custom window treatment fabrication typically take?
Timelines vary by product and order complexity, so it’s best to confirm your specific timeline when you place your order. Building in extra time is smart for recessed or motorized installs, since those require more precise fabrication.
Sources
- The Key to Designer-Look Window Treatments (Houzz)
- Window design strategies to conserve energy (NIST Building Science Series)
- Fenestration (ASHRAE Handbook)
- Daylighting fenestration (WELL Standard v7)