Article: Measure Projection Right: 6 Step Blind Mount Routine for Homeowners
Measure Projection Right: 6 Step Blind Mount Routine for Homeowners
Projection in blind mounting is the front-to-back clearance the installed headrail or shade occupies from the mounting surface. It matters because getting this number wrong leads to snagging, tilted slats, or light sneaking through the sides, and nobody wants to fight with their blinds every morning. Get it right, and your blinds open and close like they’re supposed to, smoothly and quietly every single time.
TL;DR:
- Most blinds require 1.5 to 3 inches of projection from the wall for outside mounts, depending on trim and hardware, with deeper moldings possibly needing more.
- Inside mounts typically need 1/4 to 1/2 inch of clearance to prevent rubbing and ensure smooth operation, requiring precise measurement at multiple points.
- Use spacer blocks, extension brackets, or shims within manufacturer limits to increase projection if the measured clearance is insufficient.
- Always verify product-specific projection specs and measurement guides before ordering to avoid misfits and re-drilling.
- Accurate projection measurement helps prevent light gaps, uneven slats, and hardware wear, leading to smoother operation and longer-lasting blinds.
Table of Contents
- What projection actually means on a technical level
- Why projection matters for how your blinds actually work
- Typical projection distances you can use as a starting point
- How to measure the projection you need, step by step
- Projection hardware: spacer blocks, extension brackets, and shims
- Inside vs outside mount: let projection guide your decision
- Fixing projection problems during and after installation
- Where to find projection specs and get measuring help
- Why measuring projection beats trusting a general rule
- How Value Blinds helps you get projection right the first time
- Installation guides worth checking before you order
- Sources
- FAQ
What projection actually means on a technical level
Projection is simple once you see it in person: it’s the distance your headrail, cassette, or fabric sticks out from the wall or window frame once it’s mounted. Picture standing a ruler flat against your window frame and measuring how far the front of the blind pokes out toward you. That’s projection.
It’s easy to confuse with other blind measurements, so let’s separate them. Inside-mount depth is how far back into the window opening a bracket sits. Factory width deduction is the small trim taken off your measured width so the blind fits inside the frame without binding. Projection is neither of those. It’s strictly about the forward reach of the installed unit, and it depends entirely on what you’re mounting.
A cellular shade with a slim cassette projects less than a wood blind with a bulky headrail and tilt wand. Add a crank system or a cordless lift mechanism, and projection changes again because those parts stick out too. This is why manufacturer installation guides list minimum mounting depths by product and even by pleat size. There’s no single number that works for every blind, so always check the spec sheet for the exact product you’re buying before you grab a drill.
Why projection matters for how your blinds actually work
Here’s where projection stops being a technical term and starts being a real headache if you skip it. When there isn’t enough clearance, cranks and tilt handles rub against window trim, moldings, or even the glass itself every time you operate the blind. That friction doesn’t just annoy you, it throws off the tilt angle and makes slats sit crooked over time.
Light gaps are the other sneaky problem. Inside mounts that are too shallow can leave thin slivers of daylight creeping around the edges of the headrail, which defeats the purpose if you’re after a dark bedroom or privacy in a bathroom. Outside mounts generally reduce this because the shade overlaps the frame rather than tucking inside it, blocking side light more effectively.
Then there’s wear and tear. A crank or wand that brushes against trim with every use wears down faster than one with clean clearance. Over months of daily operation, that friction can loosen brackets, strip screws, or just make the whole mechanism feel sticky and reluctant. None of this is dramatic on day one, but it adds up, and it’s the kind of thing that turns a smooth-gliding shade into a dreaded chore. Measuring projection correctly up front saves you from all of it.

Typical projection distances you can use as a starting point
While every product has its own spec sheet, there are patterns worth knowing before you start measuring. Inside mounts generally need a small buffer between the headrail and anything in the way, often around 1/4 inch to 1/2 inch, just enough to let the mechanism move freely without rubbing.
Outside mounts work differently because they’re not confined to the window opening. A widely used pro recommendation puts outside mount projection at 1.5 to 3 inches from the wall, which clears trim, cranks, and hardware while also improving how well the shade blocks light at the edges.

Outside mount blinds commonly project 1.5 to 3 inches from the wall to clear trim and hardware, according to professional installation guidance. That range is a dependable starting point for most standard window setups, though deep moldings or oversized cranks can push it higher.
Manufacturer hardware adds more specifics:
- Spacer blocks typically project brackets about 1/2 inch each, and installation guides specify how many can be stacked safely.
- Extension brackets can push projection up to roughly 2 1/2 inches depending on the product, according to Silhouette installation instructions.
- Outside mount brackets often require at least 2 inches of flat surface above the window frame to mount securely.
How to measure the projection you need, step by step
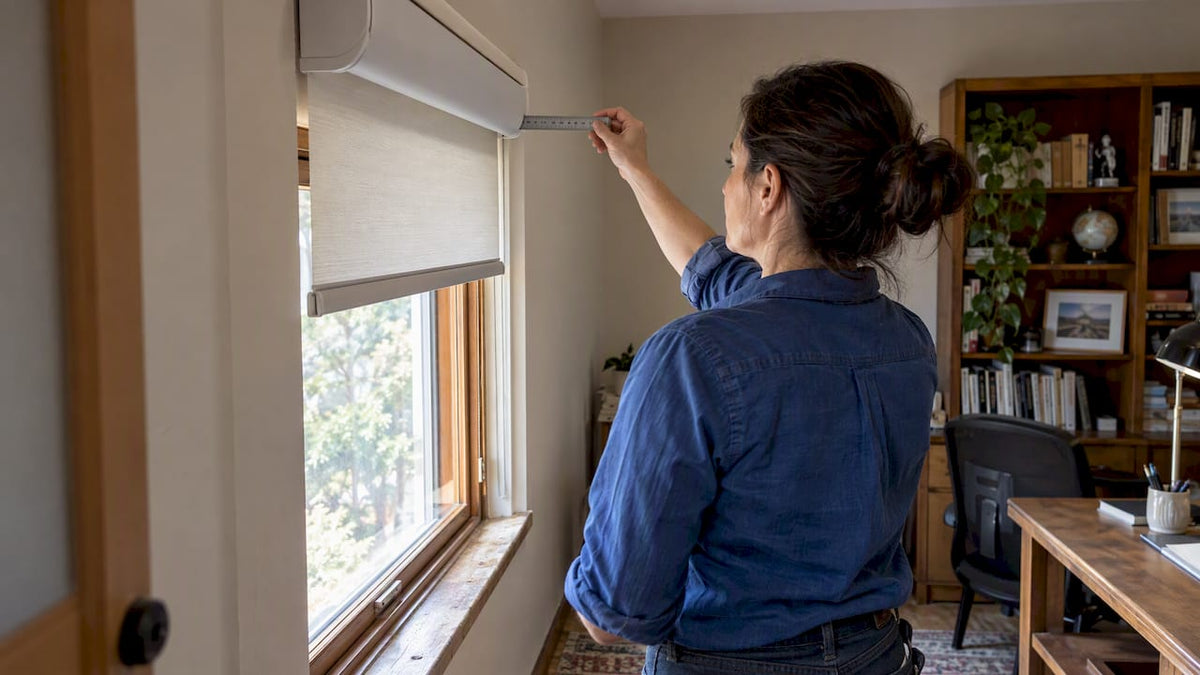
Before you order anything, walk through this measuring routine. It takes a few minutes and saves you from a shade that snags every time you touch it.
Grab a tape measure, a pencil, and a straight edge. That’s it, no fancy tools required.
- Identify your mounting surface. Decide whether you’re mounting inside the window frame or on the wall/trim outside it.
- Measure to the farthest obstruction. From that mounting surface, measure out to whatever sticks out the most: a crank handle, a tilt wand, window molding, or trim.
- Add a clearance buffer. For inside mounts, add 1/4 inch to 1/2 inch beyond the obstruction. If your blind has moving parts like a crank, lean toward the larger buffer.
- Repeat at three points. Measure near the top, middle, and bottom of the window, since frames are rarely perfectly square.
- Use the largest number. Whatever measurement came out biggest, that’s your required projection, plus your buffer.
- Compare to available depth. If your frame doesn’t have that much usable depth, switch to an outside mount or plan on extension hardware.
If you’re working with vertical blinds, the track and vane hardware add their own depth requirements, so check a vertical blind measuring guide before finalizing your order. And if you’re committing to an inside mount, confirm your depth and deduction numbers with a dedicated inside mount guide first.
Pro Tip: Measure with the window closed and any screens or storm windows in place, since those add depth you’ll need to account for.
Projection hardware: spacer blocks, extension brackets, and shims
When your measured projection comes up short, hardware can bridge the gap, as long as you stay within what the manufacturer allows. Here’s what’s typically available:
- Spacer blocks add small, incremental projection, commonly about 1/2 inch each, and most installation guides specify a maximum stacking limit.
- Extension brackets are built for bigger gaps, sometimes adding up to around 2 1/2 inches of projection depending on the product line.
- Shims level out uneven or out-of-square mounting surfaces so brackets sit flush, which is critical since installation instructions require brackets to mount on a flat vertical surface, never a curved or warped one.
Screw length matters more than people expect. Too short, and the bracket won’t bite into real backing. Too long, and you risk poking through drywall into nothing solid. Manufacturer guides note that screws need to reach secure backing, not just hang on by a thread.
Stacking spacer blocks beyond the manufacturer’s stated maximum isn’t a shortcut, it’s a safety risk, since brackets weren’t engineered to carry that much unsupported weight. Always follow the product’s own installation PDF rather than guessing.
Inside vs outside mount: let projection guide your decision
Projection is often the deciding factor between inside and outside mount, more than style preference. Here’s a quick checklist to settle it:
- Confirm inside mount depth. You need enough usable depth inside the frame, factoring in the factory width deduction, to clear cranks, wands, or cassette hardware.
- Check for shallow frames. If your frame depth is less than what the product requires, outside mount becomes the practical choice instead of forcing a tight fit.
- Consider trim and hiding flaws. Outside mounts are forgiving for out-of-square openings and can hide unattractive trim or molding.
- Think about blackout needs. Since outside mounts overlap the frame, they reduce the light gaps that inside mounts sometimes leave, according to outside mount guidance.
- Plan for overlap. A standard rule of thumb for outside mounts is 2 to 3 inches of overlap per side, which also factors into your total projection need.
If you’re leaning outside mount, a step-by-step measuring guide walks through the overlap math so you order the right width, not just the right depth.
Fixing projection problems during and after installation
Even careful measuring sometimes needs a second pass once the blind is actually hanging. Here’s how to troubleshoot the common issues:
- Tilted shade: If one side sits lower or juts out more than the other, re-level the brackets and make sure projection is equal on both sides.
- Rubbing or snagging: Add a spacer block, shift the bracket slightly forward, or switch to an outside mount if the frame is simply too shallow to fix.
- Loose brackets: Check screw length against your wall material. Drywall alone often isn’t enough backing for heavier headrails, so look for a stud or add a mounting board.
- Thick or uneven trim: A trim clearance guide explains when shimming solves the problem and when it’s time to move the mount outward entirely.
Door and window hardware interactions can complicate clearance too, and a broader look at functional hardware clearances is a useful reference if your window has deep casing or unusual trim profiles.
Pro Tip: If your walls are thick masonry or your window has an unusual frame shape, it’s often faster and safer to bring in a professional than to keep shimming and re-drilling on your own.
For complex frames, oversized windows, or anything involving masonry, calling in professional help protects both your walls and your warranty.
Where to find projection specs and get measuring help
Every blind is a little different, and the fastest way to get projection right is to check the product-specific numbers before you order. Value Blinds lists headrail and bracket details on individual product pages, so you can compare projection and mounting depth for roller shades, cellular shades, or wood blinds side by side before committing.
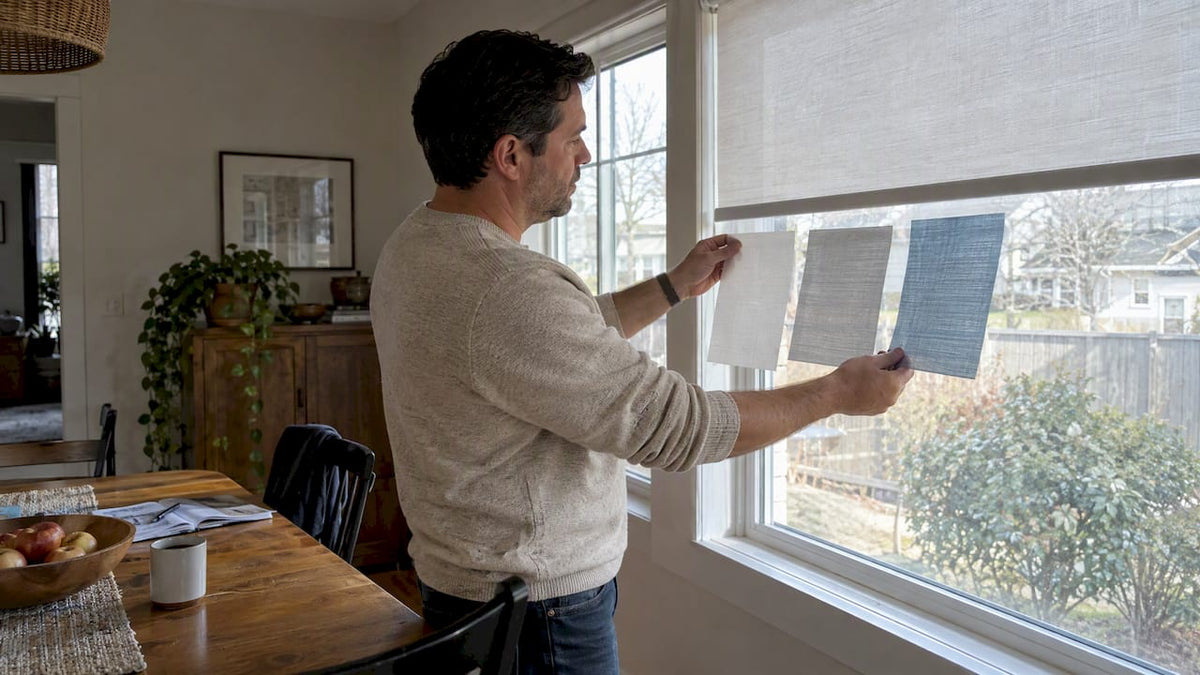
If the numbers feel confusing, measurement guides and design tools can help you through the process, and free fabric swatches let you check color and texture while you’re sorting out depth and clearance. For trickier installs, bigger windows, thicker trim, or anything that makes you nervous about drilling, consider professional measuring and installation services.
Sunny put this guide together to take the mystery out of a term that trips up a lot of first-time blind buyers. Getting projection right the first time means fewer returns, fewer re-drilled holes, and blinds that actually open and close the way you pictured.
Why measuring projection beats trusting a general rule
The conventional advice floating around is “just leave an inch or two,” and that’s exactly the kind of shortcut that causes problems. Projection isn’t a style choice or a rough guess, it’s a clearance requirement tied to the specific product you’re buying. A slim cellular shade and a wood blind with a chunky tilt wand need completely different amounts of room, and treating them the same is how you end up with a crank that won’t turn without scraping the trim.
What’s overrated here is the single universal number people repeat online. What’s underrated is the three-point measurement habit: checking top, middle, and bottom of your frame, because very few windows are perfectly square, and a measurement taken once in the middle can miss a tight spot near the top. If you prioritize anything, prioritize that habit and the product’s own installation sheet over any general rule you find in a blog post, including this one.
— Sunny
How Value Blinds helps you get projection right the first time
Once you know your required projection, the next step is ordering a blind that actually fits that space, and that’s where things get easier. Value Blinds offers custom blinds and shades built to your measurements, so you’re not stuck adapting a one-size-fits-all product to an odd frame.

Before you check out, run your measurements through the site’s design tools and measurement guides, and order free swatches so you can see and feel the fabric before it’s custom made. If your window has tricky trim, deep masonry, or hardware that makes you hesitate, Pro Measure & Install puts a professional on the job so projection, leveling, and mounting all get handled correctly the first time. Browse the full blinds collection to start comparing options for your space.
Installation guides worth checking before you order
A few manufacturer resources back up the numbers in this guide and are worth bookmarking. The Silhouette installation instructions and Duette Ultraglide installation guide detail spacer block and extension bracket specs, while the Lowe’s mount type guide covers inside versus outside mounting requirements. Always check the product-specific PDF for your exact blind before drilling.
Sources
- How Far Off the Window Should Blinds Be? The Pro Distance
- Choose a Mount Type: Inside Mount or Outside Mount (Lowes install guide PDF)
- Duette Ultraglide installation guide (Hunter Douglas Architectural)
FAQ
What is a projection bracket?
A projection bracket is hardware designed to move the headrail forward from the mounting surface, creating extra clearance for cranks, handles, or trim. It’s commonly used when the standard bracket doesn’t leave enough room for the blind to operate without rubbing.
What are the different types of blind mounts?
The two main types are inside mount, where the blind sits within the window frame, and outside mount, where it’s mounted on the wall or trim surrounding the frame. Each has different projection requirements, with outside mounts commonly needing 1.5 to 3 inches of clearance from the wall.
How do I mount blinds with limited depth?
Measure your available depth first, then compare it to the product’s required projection, including any crank or handle clearance. If the depth falls short, switch to an outside mount or add extension hardware like spacer blocks or extension brackets to gain the room you need.
What’s better, inside mount or outside mount blinds?
Neither is universally better, it depends on your frame depth and goals. Inside mount gives a clean, built-in look when you have enough depth, while outside mount is the more forgiving choice for shallow frames, uneven openings, or when you want improved light blocking.
How much clearance do outside mount blinds need?
Outside mount blinds generally need 1.5 to 3 inches of projection from the wall to clear trim and hardware comfortably. Many installers also recommend 2 to 3 inches of overlap per side of the window frame for better light control.