

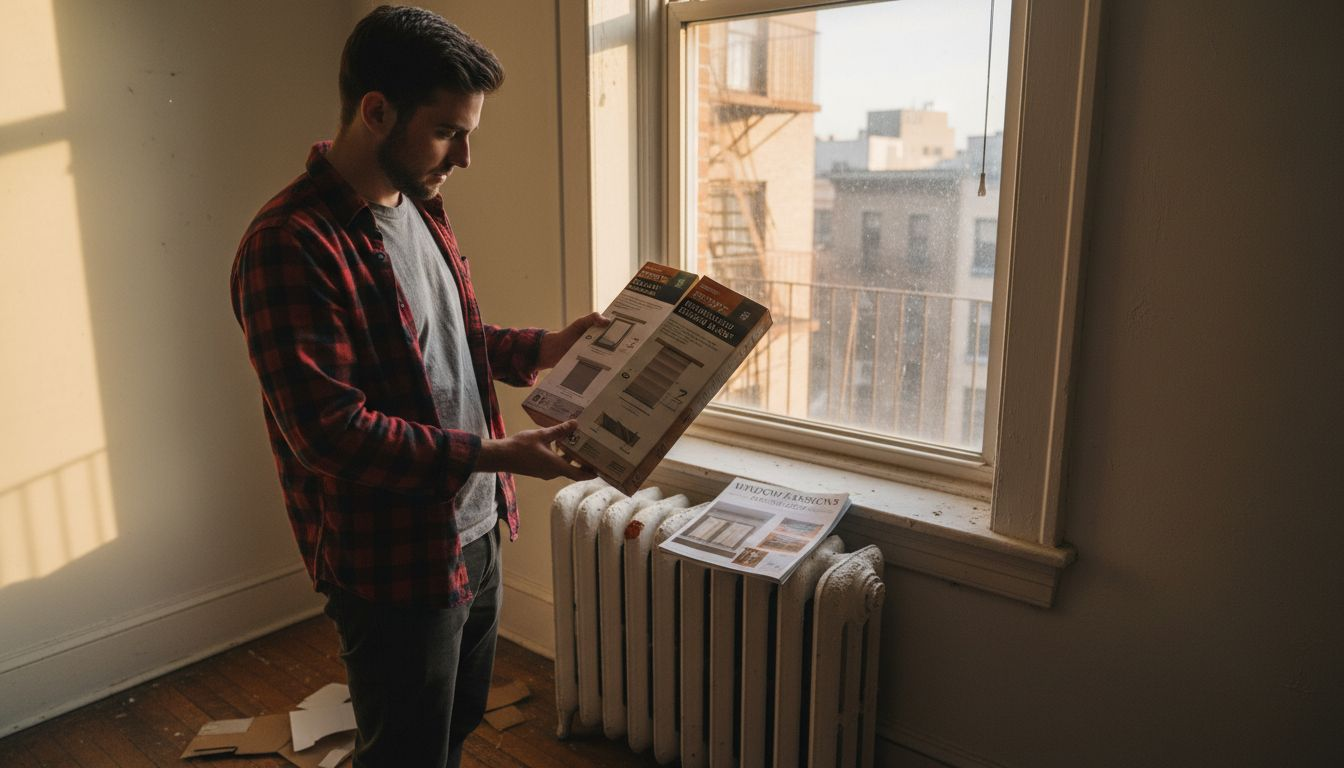
Easy Install Window Blinds: DIY Success Made Simple
Choosing the right window blinds can feel like a challenge for city homeowners striving for a stylish, energy-efficient upgrade. The process is smoother and more satisfying when you start with accurate measurements and easy installation methods recommended by professionals. This guide steers you through each step from picking your tools to perfecting the fit, giving you the confidence to transform your home while saving energy and enhancing custom style.
Table of Contents
- Step 1: Gather Tools And Select Easy Install Window Blinds
- Step 2: Measure Window Precisely For Perfect Fit
- Step 3: Mount Brackets Securely To Frame Or Wall
- Step 4: Attach Blinds And Check Smooth Operation
- Step 5: Adjust And Test For Proper Function
Quick Summary
| Effective Insight | Detailed Explanation |
|---|---|
| 1. Gather essential tools first | Have a measuring tape, level, drill, and safety glasses ready to ensure a smooth installation process. |
| 2. Choose blinds with easy installation | Opt for blinds that include clear instructions and mounting hardware to simplify the DIY experience. |
| 3. Measure for a perfect fit | Follow recommended measuring techniques for inside or outside mounts to ensure proper sizing of blinds. |
| 4. Securely mount brackets | Use precise marking and the right anchors to ensure stability and proper alignment of your blinds. |
| 5. Test and adjust for smooth operation | After installation, fully test the blinds and make adjustments to ensure they operate seamlessly and align correctly. |
Step 1: Gather Tools and Select Easy Install Window Blinds
Preparing for a successful window blind installation requires strategic planning and the right equipment. Gathering your tools and selecting the perfect blinds are crucial first steps that will determine the overall ease and quality of your DIY project.
For a smooth installation, you’ll need some basic tools to ensure precise measurements and secure mounting. Your essential toolkit should include:
- Measuring tape for accurate window dimensions
- Pencil for marking mounting points
- Level to guarantee straight, professional-looking installation
- Power drill with appropriate drill bits
- Screwdriver (Phillips and flathead)
- Mounting brackets (usually included with easy install blinds
- Ladder or stable step stool
- Safety glasses
When selecting your window blinds, focus on ease of installation and compatibility with your specific window type. Look for blinds that come with clear instructions, pre-attached mounting hardware, and straightforward mounting systems. Consider factors like window size, interior design aesthetic, light control needs, and room functionality.
Here’s a quick summary of common window blind types and their ease of DIY installation:
| Blind Type | Ease of Installation | Best For | Light Control Level |
|---|---|---|---|
| Roller Blinds | Very easy | Kitchens, offices | Moderate |
| Venetian Blinds | Moderate | Living rooms | Adjustable |
| Cellular Shades | Easy | Bedrooms, nurseries | High |
| Vertical Blinds | Moderate | Sliding doors | Adjustable |
| Roman Shades | Moderate | Formal spaces | Moderate |
Pro tip: Always measure your windows twice and purchase blinds with a slight margin for error to ensure a perfect fit.
Pro tip: Invest in blinds with detailed installation guides and pre-drilled mounting holes to simplify your DIY project.
Step 2: Measure Window Precisely for Perfect Fit
Achieving a flawless window blind installation starts with precise measurements. Taking accurate dimensions is crucial to ensure your blinds fit seamlessly and function perfectly in your space. Understanding the nuanced process of window measurement techniques will save you time and frustration.
Measuring your windows requires careful attention to detail. Follow these critical steps for both inside and outside mount installations:
- Determine mount type: Decide between inside or outside mounting
- For inside mount:
- Measure width at top, middle, and bottom of window
- Use the smallest width measurement
- Measure height at left, center, and right sides
- Use the longest height measurement
- For outside mount:
- Add 2-3 inches to width for better light control
- Add 3-4 inches to height for enhanced coverage
Professional installers recommend measuring twice to guarantee accuracy.
Special considerations can impact your measurement process. Windows with unusual shapes, architectural moldings, or obstructions like handles might require additional planning. Always account for any protrusions or unique architectural features that could interfere with blind installation.
For quick reference, here are measurement differences between inside and outside mount installations:
| Installation Type | Width Measurement Approach | Height Measurement Approach | Best Use Scenario |
|---|---|---|---|
| Inside Mount | Use narrowest width | Use tallest height | Sleek window fit |
| Outside Mount | Add extra to window width | Add extra to window height | Maximum light coverage |
Pro tip: Use a metal measuring tape for the most precise and consistent measurements, avoiding cloth or fabric tapes that can stretch.
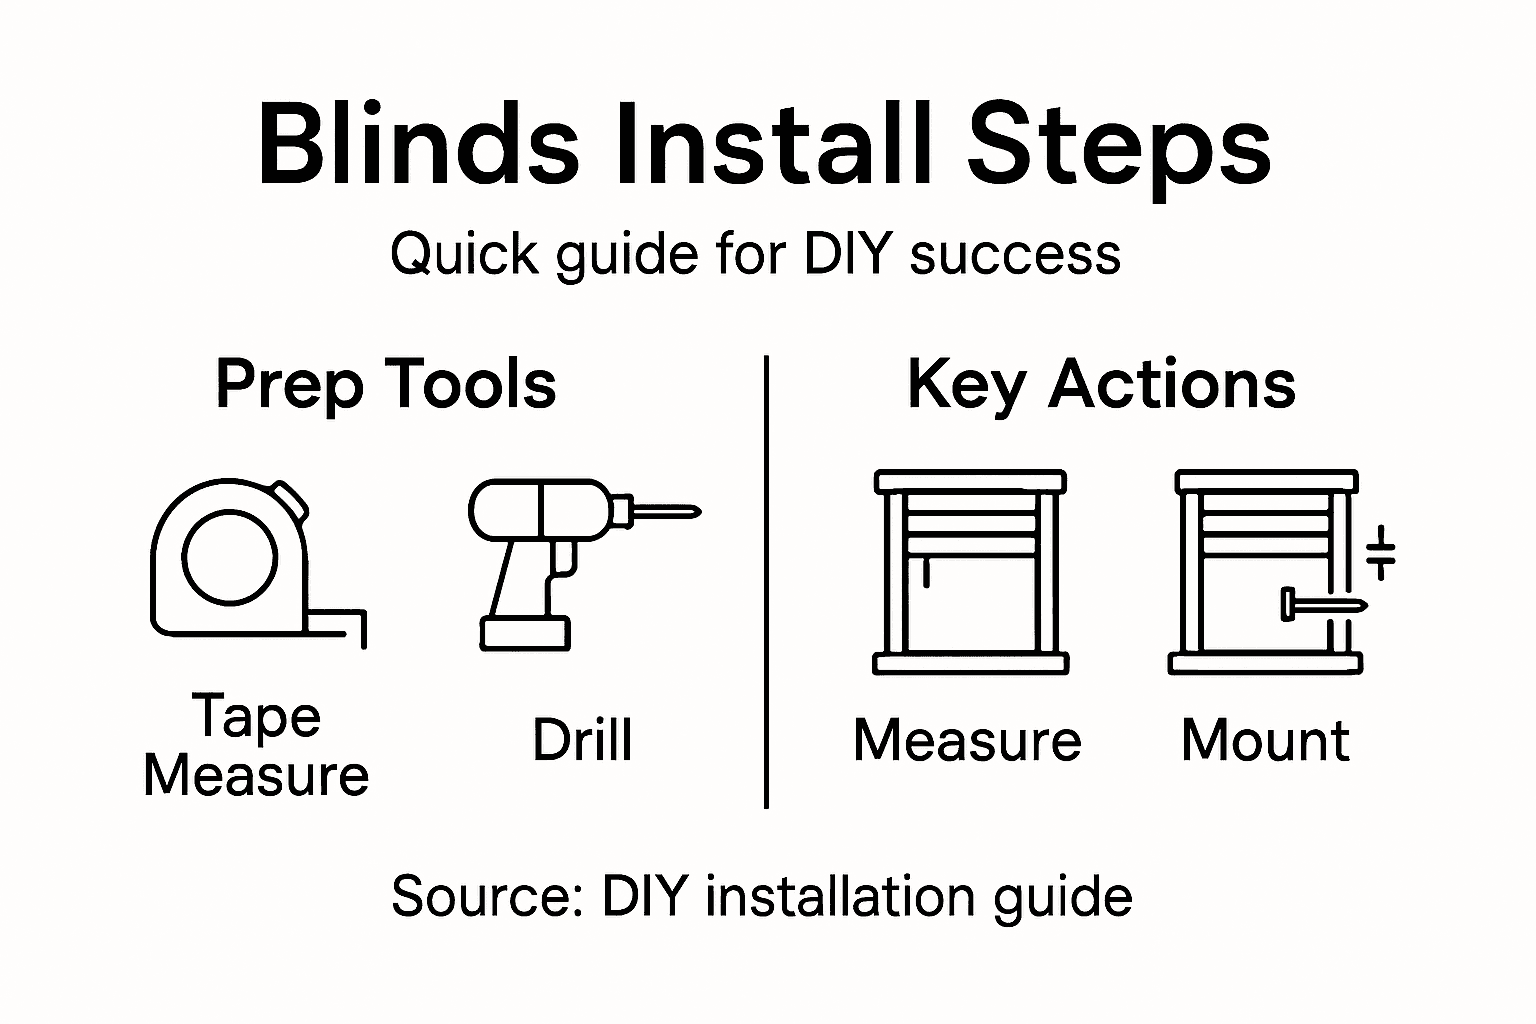
Step 3: Mount Brackets Securely to Frame or Wall
Mounting window blind brackets is a critical step that determines the stability and functionality of your entire installation. Getting this right means the difference between perfectly aligned blinds and a frustrating DIY project. Understanding precise mounting techniques will ensure your blinds look professional and operate smoothly.
Prepare for bracket installation with these essential steps:
-
Gather necessary tools:
- Power drill
- Level
- Pencil
- Measuring tape
- Appropriate screws and wall anchors
- Safety glasses
-
Mark bracket locations
- Use a level to ensure perfectly straight mounting points
- Measure and mark precisely where each bracket will attach
- Double-check measurements before drilling
-
Prepare mounting surface
- For drywall: Use wall anchors for added stability
- For wood frames: Use wood screws
- For brick or masonry: Use specialized masonry anchors
Precision in bracket placement determines the entire blind installation’s success.
When mounting, pay special attention to wider windows that might require additional support. Uneven or loosely attached brackets can cause misalignment, prevent smooth operation, and potentially damage your new blinds.
Pro tip: Always test the strength of your mounted brackets by gently pulling on them before hanging the actual blinds.
Step 4: Attach Blinds and Check Smooth Operation
The final stage of your window blind installation involves carefully attaching the blinds and performing a comprehensive functionality test. This crucial step ensures your hard work pays off with perfectly functioning window treatments. Proper installation techniques will help you achieve professional results and prevent future operational issues.
Follow these detailed steps to attach and test your new blinds:
-
Attach blinds to mounted brackets
- Align blinds carefully with pre-installed mounting brackets
- Gently snap or slide blinds into bracket clips
- Ensure each side is securely and evenly seated
-
Comprehensive operational testing
- Raise and lower blinds completely
- Check for smooth, unobstructed movement
- Test tilt mechanism for uniform slat alignment
- Verify locking mechanisms engage properly
-
Troubleshooting common issues:
- Uneven movement might indicate misaligned brackets
- Sticking can result from improper installation
- Listen for unusual sounds during operation
Smooth, consistent movement indicates a successful blind installation.
If you encounter any resistance or uneven operation, carefully remove the blinds and recheck your bracket positioning. Minor adjustments can often resolve installation challenges and ensure optimal blind performance.
Pro tip: Conduct a full operational test during daylight to clearly see any potential alignment or movement issues.
Step 5: Adjust and Test for Proper Function
Fine-tuning your newly installed window blinds ensures they operate smoothly and look professionally mounted. Understanding blind adjustment techniques will help you resolve minor installation imperfections and achieve optimal performance.
Carefully diagnose and address potential blind operation issues:
-
Inspect overall blind alignment
- Check bottom rail for horizontal levelness
- Verify side-to-side symmetry
- Look for any visible tilting or unevenness
-
Cord mechanism troubleshooting
- Assess cord tension on both sides
- Equalize cord lengths if one side moves differently
- Reset cord lock mechanism inside headrail
-
Common adjustment techniques:
- Loosen mounting brackets slightly to realign
- Gently manipulate ladder strings
- Check for smooth raising and lowering action
- Test tilt mechanism for consistent slat movement
Precise adjustments transform good installations into great window treatments.
Persistent alignment issues might require removing and reinstalling the blinds. Sometimes a fresh start can resolve complex positioning problems that minor tweaks cannot fix.
Pro tip: Perform adjustments in good lighting and take your time to ensure each movement is smooth and controlled.
Transform Your DIY Window Blind Installation into a Seamless Experience
Struggling with precise measurements or secure bracket mounting can turn a simple window blind installation into a frustrating task. This article highlights how careful planning, exact measuring, and correct mounting techniques are the keys to success. If you’re ready to avoid common pitfalls and want blinds that simplify your DIY project, exploring our selection of easy-to-install blinds at Value Blinds is the perfect next step.

Discover our New Arrivals featuring customizable blinds designed for straightforward installation. Benefit from free swatches, expert support, and detailed measurement guides that take the confusion out of your project. Whether you need roller shades, cellular shades, or motorized options, our quality window treatments focus on durability, style, and energy efficiency. Take control of your home’s look and feel today by visiting Value Blinds and start your stress-free DIY journey now.
Frequently Asked Questions
What tools do I need for installing easy install window blinds?
You will need a measuring tape, pencil, level, power drill, screwdriver, mounting brackets, a ladder or stable step stool, and safety glasses. Gather these tools to ensure a smooth installation process.
How do I measure my windows accurately for blinds?
To measure your windows, determine the mount type (inside or outside), then take width measurements at the top, middle, and bottom, using the smallest width. For height, measure at the left, center, and right, using the longest height measurement for an accurate fit.
What is the best way to mount window blind brackets?
Mount window blind brackets by marking their locations with a level, then drill into the surface, using wall anchors if needed for drywall. Ensure that the brackets are secured straight and stable to support the blinds properly.
How do I ensure my blinds operate smoothly after installation?
After attaching the blinds, test their movement by raising and lowering them completely. If they don’t operate smoothly, recheck bracket alignment and adjust as needed for optimal performance.
What adjustments can I make if my blinds are uneven?
If your blinds are uneven, inspect their alignment, and check for cord tension on both sides. Adjust the mounting brackets slightly or manipulate the ladder strings to correct the issue and achieve even operation.


