Article: Fit Perfect Fit Blinds Right: Photo Proof Measurements, Swatches
Fit Perfect Fit Blinds Right: Photo Proof Measurements, Swatches
Yes, you can fit Perfect Fit blinds yourself, and most people finish a single window quickly. The whole job comes down to a simple sequence: measure carefully, snap the mounting brackets into place (or slide them between the glass and the rubber beading for a no-drill setup), clip in the headrail, and test the lift. No specialty tools, no contractor, no drama.
TL;DR:
- Accurate measurements should use the narrowest width and the longest height, rounded to the nearest 1/16 inch, to prevent sizing errors.
- Inside mount requires enough frame depth for the headrail, while outside mount can cover trim and may need projection brackets for handles or moldings.
- Proper bracket placement involves leveling and setting brackets at the same depth, as uneven brackets often cause headrail fitment issues.
- No-drill systems work by sliding clips between the glass and beading, making installation faster but requiring careful handling to avoid dislodging the bead.
- Confirm that all parts and measurements are correct before installation, and consider professional help for irregular, oversized, or exterior mounts.
Table of Contents
- Tools and Parts You’ll Need Before You Start
- How Do You Measure for Perfect Fit Blinds?
- Step-by-Step: Bracket Placement, Headrail Clipping, and Final Testing
- Quick Fixes for Common Fitting Problems
- Expert Tips That Prevent Returns
- DIY or Pro? A Quick Verdict
- How Valueblindsdirect Makes Fitting Easier
- Where to Find More Installation Detail
- Sources
Tools and Parts You’ll Need Before You Start
Before you touch a screwdriver, lay everything out. Missing a bracket mid-install is the fastest way to turn a 20-minute job into an hour of frustration. 😅
Grab these tools first:
- Tape measure (metal, not cloth, for accuracy)
- Cordless drill or driver with a Phillips bit
- Pencil for marking bracket positions
- Torpedo level
- Step stool for taller windows
Your Perfect Fit kit itself should include the headrail, mounting brackets, valance clips, hold down brackets, and the screws to fasten everything. Most standard installs only need basic tools like these, and pilot holes help screws bite cleanly into hardwood or vinyl jambs without splitting the wood. If your household has young kids or pets, consider a cordless or motorized Perfect Fit option instead of a corded version. It’s a small upgrade with a real safety payoff.
How Do You Measure for Perfect Fit Blinds?
Get the measurement wrong and nothing downstream matters, no matter how clean your bracket work is. Start by deciding between inside mount and outside mount. Inside mount tucks the blind into the window recess for a built-in look, but it needs enough frame depth to clear the headrail. Outside mount covers the trim and works well when you want better light blocking or the frame is too shallow, and it sometimes calls for projection brackets to clear window handles or moldings.
Once you’ve picked your mount style, follow this routine:
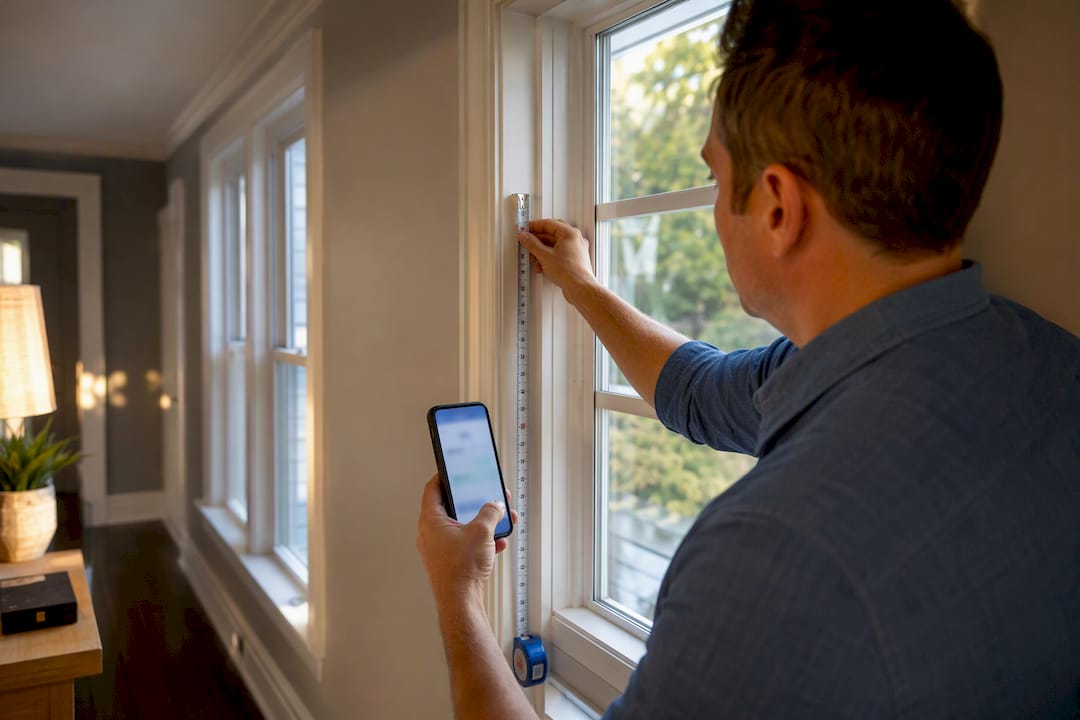
- Measure the width at the top, middle, and bottom of the opening, then use the narrowest of the three.
- Measure the height at the left, middle, and right sides, then use the longest of the three.
- Note the frame depth if you’re going inside mount, so you know the headrail will clear.
- Round every measurement to the nearest 1/16 inch. Never round the width up.
Retailers typically trim blinds slightly during manufacturing to guarantee a clean fit, so rounding up a width measurement is one of the most common reasons a blind arrives just a hair too wide. Measuring three points and using the narrowest reading protects you from that mismatch entirely.
Pro Tip: Photograph each window before you order, with the tape measure visible in the shot. If a support team ever needs to double check your numbers, that photo saves days of back and forth.
If you want a deeper walkthrough with diagrams, this measurement guide for custom windows covers edge cases like uneven frames and older window styles.
Step-by-Step: Bracket Placement, Headrail Clipping, and Final Testing
Start by unpacking every piece and laying it out on a flat surface. Check it against the included parts list, and follow the manufacturer’s template if one came with your kit. Reading those instructions first matters because installation adjustments vary slightly between brands even when the general method is the same.
For an inside mount:
- Mark bracket positions roughly a few inches in from each end of the frame.
- Drill pilot holes at your marks if you’re working with hardwood or vinyl.
- Fit the first screw into the bracket’s slot loosely, so the bracket can pivot while you square it up.
- Check the bracket with your torpedo level, then fully tighten both screws.
- Repeat on the opposite side, matching the same depth exactly.
That last point is worth repeating: brackets set at different depths are the number one reason a headrail refuses to seat properly later. Slotting the front screw first so the bracket can pivot into place, then leveling before you tighten fully, is a small habit that saves a lot of grief.
For an outside mount, mark your bracket positions above the trim instead of inside the recess, add projection brackets if the window has handles or moldings in the way, and secure into solid drywall or trim framing rather than trim alone.
No-drill Perfect Fit systems skip brackets entirely. Slide the mounting clips between the glass and the rubber beading around the window, working slowly so you don’t tear or dislodge the bead, then snap the blind directly onto the clips. It’s genuinely one of the fastest methods out there, and it’s why manufacturer videos showing this exact slide-and-snap motion are everywhere online.
Once brackets or clips are set, clip the headrail into place, close the bracket covers or snap-on doors, attach the valance clips, and press the valance on last. Raise and lower the blind a few times to confirm smooth, even travel before you call it done.
Quick Fixes for Common Fitting Problems
Most installation hiccups trace back to one of a handful of causes, and nearly all of them are a two-minute fix.
- Headrail won’t clip flat: loosen the bracket screws, realign both brackets to the same depth, and retighten. Uneven bracket depth is the most common culprit.
- Uneven lift or a blind that tilts: recheck your level, and add a center support bracket on spans wider than about four feet.
- Light gaps along the edges: reseat the rubber beading on no-drill systems and confirm every clip is fully snapped in, not just resting against the bead.
- Missing or damaged parts: compare against the packing list before you call support. Half the “missing part” calls turn out to be a bracket cover that fell into the box packaging.
Pro Tip: If a bracket feels loose in drywall, the fix usually isn’t a bigger screw. It’s a proper wall anchor. This is the same principle carpenters rely on when hanging any heavy fixture on interior walls.
Expert Tips That Prevent Returns
A few habits separate a first try success from a second order. Double check every measurement against the window itself right before you place your order, not just against your notes from last week. Photograph each window, tape measure included, the way we mentioned earlier.
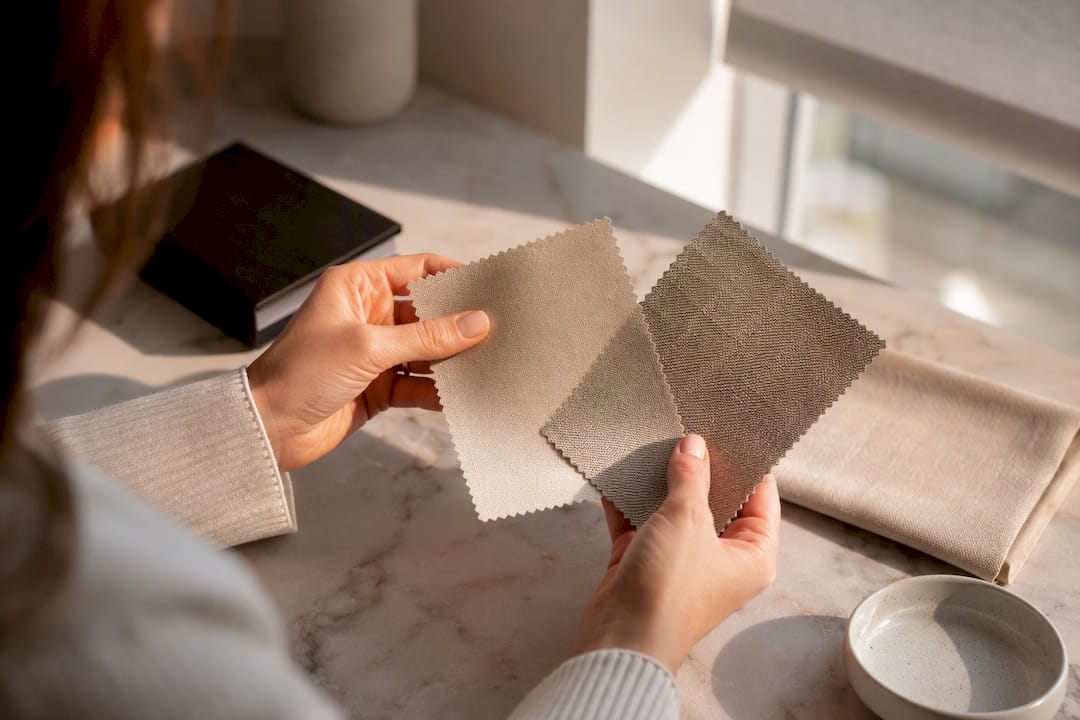
Order free fabric swatches before committing to blackout or specialty materials. Color and light behave differently on your actual wall than they do on a screen. If your household includes children, lean toward cordless or motorized Perfect Fit options rather than corded lift systems. And if a headrail seems tight or a bracket looks off after following every step here, check your warranty and reach out to support with your order photos attached. Small tolerance issues usually resolve fast once someone can see exactly what you’re seeing.
DIY or Pro? A Quick Verdict
Standard rectangular windows, ordered in modest quantities, are squarely a DIY job. Save the professional installer for oversized openings, irregular shapes, or heavy exterior mounts where a mistake gets expensive fast. Either way, measurement guides and optional installation support are available if you’d rather not go it alone.
— Sunny
How Valueblindsdirect Makes Fitting Easier
Getting the fit right starts before the drill ever comes out, and that’s exactly where Valueblindsdirect saves you the most guesswork. Free swatches let you check color and opacity against your actual wall before you commit to a full order, and the Window Treatment Design Studio walks you through sizing and style choices side by side so nothing gets lost between measuring and ordering.

If a no-drill setup fits your window better than a bracketed one, the cordless and no-drill collection is built for exactly that slide-and-snap method covered above, and it’s a smart pick for households with kids too. Prefer to browse everything first? The full blinds collection covers styles beyond Perfect Fit if your window calls for something different. And if your window is oversized, irregular, or you’d simply rather not measure it yourself, reach out for professional measuring and installation support before you order. Getting the numbers right the first time is worth a five minute conversation.
Where to Find More Installation Detail
A few sources are worth bookmarking if you want diagrams or a second walkthrough alongside this guide:
- Family Handyman’s blind installation guide covers inside versus outside mount decisions in more depth.
- wikiHow’s blind installation walkthrough is useful if you want photos alongside each step.
- Show Me Step by Step’s inside mount guide breaks down bracket placement and leveling in detail.
- Valueblindsdirect’s own window measurement guide and custom blind sizing walkthrough are good companions for anything unusual about your window shape.
Sources
- How to Install Window Blinds | Family Handyman
- How to Install Blinds | wikiHow
- How to Install Window Blinds - Inside Mount Step by Step