How to Install Roller Shades: A DIY Step-by-Step Guide
Installing roller shades yourself is totally doable, and honestly, most homeowners finish the job in under an hour. The process comes down to five core steps: measure your window, choose your mount type, mark bracket locations, mount the brackets, and attach the shade. That’s it. Whether you’re a first-timer or you’ve hung a few sets before, having the right prep makes all the difference.
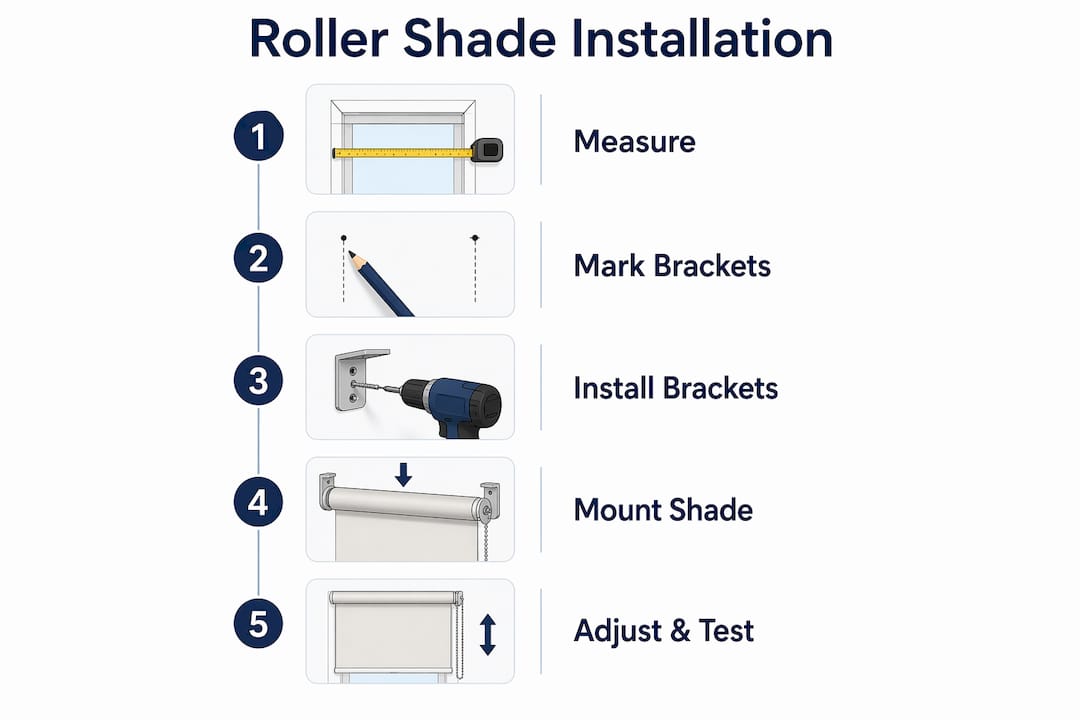
Here’s a quick snapshot of what the full process looks like:
- Measure your window width and height (inside or outside mount)
- Choose and mark bracket placement with a level
- Predrill holes based on your mounting surface
- Mount the control-side bracket, then the rotator-side bracket
- Attach the shade assembly and test the roll
Pro Tip: Every roller shade model is a little different. Read your product-specific manual before you touch a single screw. Bracket styles, installation sequences, and hardware can all vary by shade type, and reading the manual first saves you from backtracking mid-install.
Table of Contents
- What tools and materials do you need for the job?
- How to measure your windows correctly
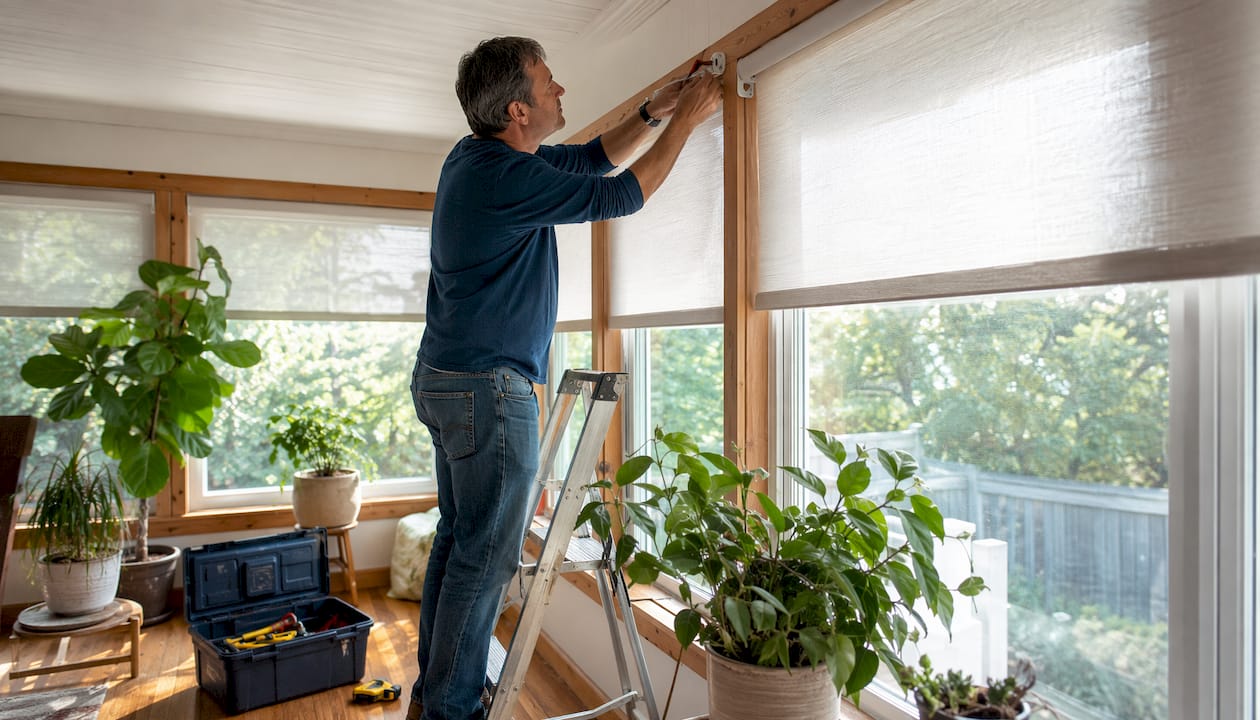
- How to install roller shades: step-by-step instructions
- Tips, precautions, and mistakes to avoid
- Ready to shop? Valueblindsdirect makes it easy
- Key Takeaways
What tools and materials do you need for the job?
Getting your tools together before you start is the move. Nothing slows down a DIY project faster than hunting for a drill bit halfway through. Here’s what you’ll want on hand:
Tools:
- Metal tape measure
- Pencil
- Drill with drill bits
- Flat-head and Phillips screwdrivers
- 1/4" nut driver
- Carpenter’s level
- Ladder (if your windows are high up)
- Safety glasses
Hardware (typically included with your shade):
- Mounting brackets (control-side and rotator-side)
- Screws and anchors
- The shade assembly itself
One thing worth knowing: the exact tools needed can vary slightly depending on your shade model and the surface you’re mounting to. Drywall, wood, and masonry each call for different fasteners, so check your hardware package before you assume everything’s covered.
How to measure your windows correctly
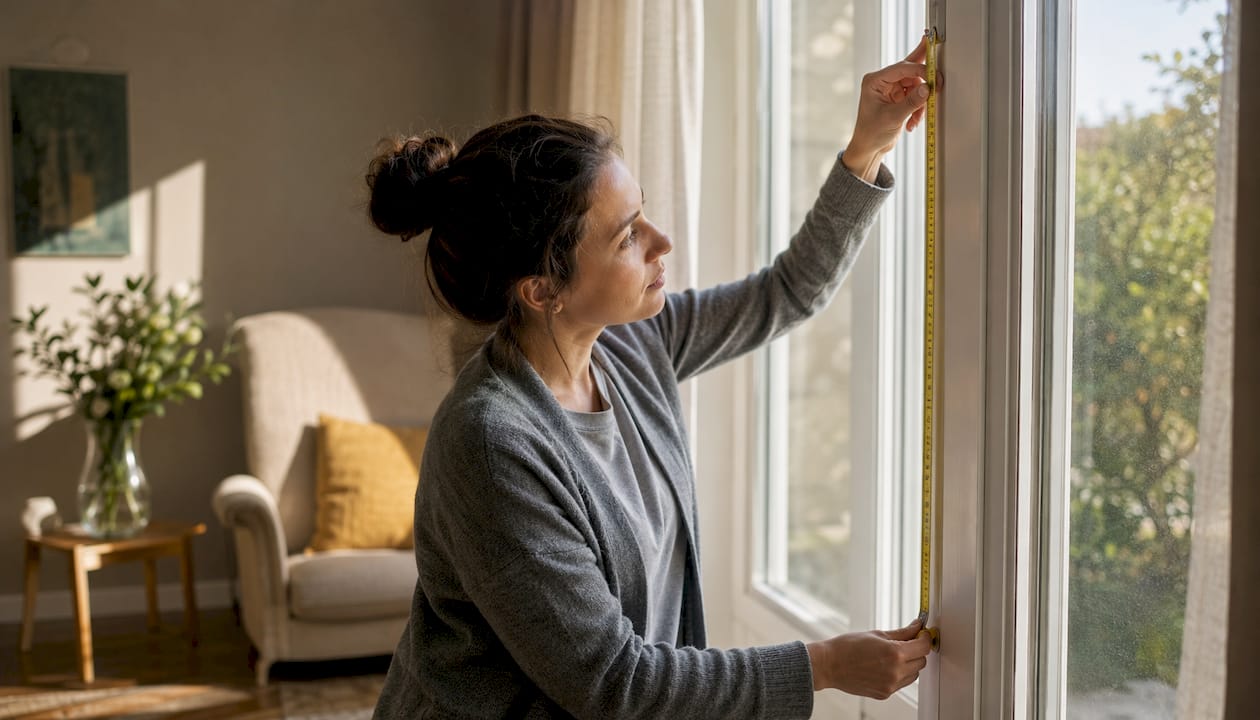
Accurate measuring is where the whole project either succeeds or falls apart. Get this right, and everything else goes smoothly.
Inside mount vs. outside mount:
- Inside mount: The shade sits inside the window frame for a clean, built-in look. Measure the width at three points (top, middle, and bottom) and use the smallest measurement. Then subtract about half an inch from that number so the shade fits without rubbing the frame. For height, measure from the top of the frame to the sill at three points and use the smallest.
- Outside mount: The shade mounts on the wall or window trim above and outside the frame. Add at least 2–3 inches to both width and height to get good coverage and block light gaps.
Measuring at multiple points along both the width and height is the right call, especially in older homes where window frames are rarely perfectly square. A window that’s off by even a quarter inch can cause an inside-mount shade to bind or gap. For a deeper look at measuring techniques, this professional measuring guide covers window treatment sizing in useful detail.
Pro Tip: Write down every measurement immediately after taking it. Relying on memory between the window and the hardware store (or your order form) is how mistakes happen.
How to install roller shades: step-by-step instructions
Now for the main event. Work through these steps in order and you’ll have your shades up without any drama.
-
Organize your parts. Lay out all hardware and confirm the shade is the correct width and length for your window. If you’re installing multiple shades, match each one to its window before you start drilling anything.
-
Keep the shade rolled up. Leave the paper banding on the roller tube for now. This keeps the shade compact and easy to handle while you work.
-
Mark the control-side bracket location. Hold the shade in position at the window. Mark where the control-side bracket (the side with the beaded cord or chain) will go. For inside and outside mounts, the bracket foot points away from the window.
-
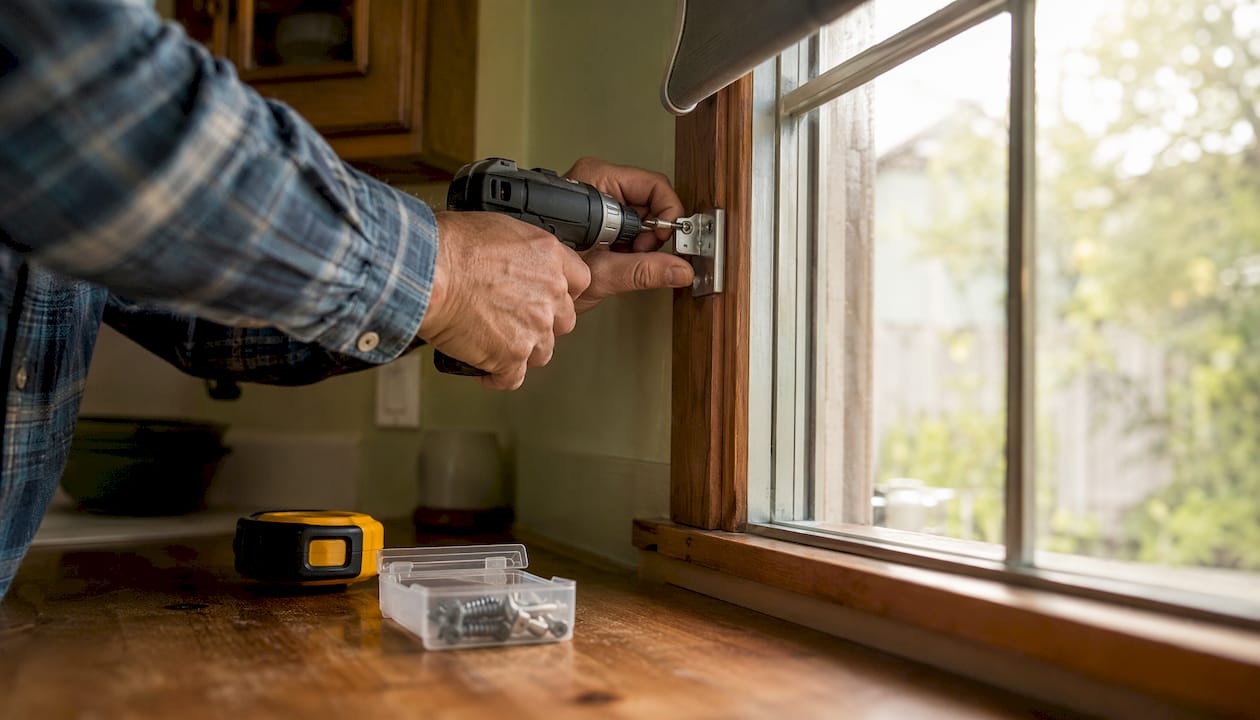
Predrill and mount the control-side bracket. Drill your pilot holes, then attach the bracket with two screws. Use drywall anchors if you’re not hitting a stud.
-
Position the rotator-side bracket. With the control side mounted, support the rotator end of the shade and fit the rotator-side bracket into the pin. Before marking anything, hold a carpenter’s level against the shade to confirm it’s level across both brackets.
-
Mark, predrill, and mount the rotator-side bracket. Once level, mark the rotator bracket location, drill the holes, and secure it with two screws (and anchors if needed).
-
Attach the shade assembly. Hold the shade with the bottom of the clutch facing the floor and the cord hanging straight down. Clip the control side in first, then the rotator side.
-
Remove the paper banding. Only now, with the shade securely mounted, peel off the banding so the shade can unroll freely.
-
Test the operation. Lower the shade fully using the cord, then raise it slowly. Watch how the fabric winds back onto the roller.
Pro Tip: If the fabric telescopes to one side as it rolls up, the shade isn’t level. Uneven rolling means you need to remove the shade, shim or re-drill one bracket, and re-test. Catching this early beats living with a crooked shade.
Tips, precautions, and mistakes to avoid
Even a straightforward DIY roller shade setup has a few traps that catch people off guard. Here’s what to watch for:
Top precautions:
- Always read your product-specific instructions. Bracket styles and installation sequences genuinely differ between shade models.
- Double-check measurements before drilling. A shade ordered to the wrong size can’t be fixed on-site.
- Use a level every time. Brackets mounted even slightly off will cause the shade to roll unevenly or pull to one side.
- Match your fasteners to your surface. Drywall anchors or masonry screws are necessary when you’re not drilling into solid wood.
- Wear safety glasses when drilling overhead or into masonry.
Common mistakes:
- Removing the paper banding before the shade is fully mounted. This causes premature unrolling and makes the installation much harder to manage.
- Holding the shade by the profile or headrail instead of the bottom portion during installation.
- Skipping the level check on the rotator-side bracket because “it looks straight.” It rarely is.
- Forgetting to check that multiple shades are matched to the correct windows before drilling.
Pro Tip: Before you drill a single hole, lay out all your hardware, re-read the instructions, and confirm your measurements one more time. Two minutes of double-checking saves a lot of patching later.
Ready to shop? Valueblindsdirect makes it easy
You’ve got the know-how. Now you just need the right shades. ️

Valueblindsdirect offers custom roller shades built to your exact window dimensions, so you’re not wrestling with a shade that’s a half-inch too wide or ordering a size that doesn’t exist in stores. Every shade ships with the hardware you need, and the site’s window treatment design studio lets you visualize fabric, opacity, and style before you commit. If you’re a renter or just want the simplest possible install, the cordless and no-drill options are genuinely renter-friendly and go up without touching your walls. Browse the full collection, pick your fabric, and get shades that fit the first time.
Key Takeaways
Getting roller shades installed correctly comes down to accurate measuring, level brackets, and following your product-specific instructions from start to finish.
| Point | Details |
|---|---|
| Measure at multiple points | Check width and height at three spots each to catch uneven frames before ordering. |
| Inside mount sizing | Subtract about half an inch from the smallest width measurement for a proper inside-mount fit. |
| Level brackets every time | Uneven rolling means the shade isn’t level; shim or re-drill the bracket before calling it done. |
| Keep banding on until mounted | Remove the paper banding only after the shade is fully secured to prevent premature unrolling. |
| Valueblindsdirect custom fit | Order shades cut to your exact dimensions and use the design studio to plan your window treatment before buying. |