

Install No Drill Window Blinds for a Hassle-Free Upgrade
Nearly half of American renters have lost security deposits due to damage left behind by drilled window treatments. The search for an easier way is clear. No drill window blinds offer a solution that protects your walls and cost while matching your taste and privacy needs. This guide uncovers simple steps for choosing, measuring, preparing, and installing no drill window blinds so you can achieve a custom look with no tools and no headaches.
Table of Contents
- Step 1: Choose The Right No Drill Window Blinds
- Step 2: Measure Your Windows Accurately
- Step 3: Prepare The Installation Area
- Step 4: Attach The No Drill Mounting Brackets
- Step 5: Secure And Test Your Window Blinds
Quick Summary
| Key Point | Explanation |
|---|---|
| 1. Measure Accurately | Use a metal tape measure for precise dimensions—measure width and height in multiple locations to ensure a correct fit. |
| 2. Choose the Right Materials | Select blinds that align with your aesthetic needs, such as cellular for insulation or bamboo for texture, while considering mounting compatibility. |
| 3. Prepare the Installation Area | Clear your workspace and clean the window surface thoroughly to ensure optimal adhesion for no drill mounting. |
| 4. Securely Attach Mounting Brackets | Position and secure brackets with even pressure; check their stability before installing the blinds for a professional appearance. |
| 5. Test Blind Functionality | After installation, ensure the blinds operate smoothly; make adjustments if necessary to prevent future issues. |
Step 1: Choose the Right No Drill Window Blinds
Selecting the perfect no drill window blinds requires understanding your specific window requirements and personal style preferences. Unlike traditional installation methods, these innovative window treatments offer a straightforward solution for renters, homeowners, and anyone seeking a damage free alternative to standard window coverings.
When choosing no drill window blinds, focus on three critical factors: window measurements, mounting type, and material compatibility. Start by carefully measuring your window frame width and height using a metal tape measure, ensuring precision within 1/8 inch. Easy no drill installation techniques depend on accurate measurements to guarantee a seamless fit. Consider interior mount options that sit inside the window frame or exterior mount styles that attach directly to the wall or window trim.
Consider your room aesthetic and functional needs when selecting materials. Cellular shades provide excellent insulation, roller shades offer sleek minimalism, and bamboo options deliver natural texture. Pay special attention to mounting hardware compatibility and weight limitations of adhesive or tension based systems. A quick tip test the adhesive strength by applying pressure and checking stability before full installation. Your chosen no drill window blinds should complement your space while providing practical light control and privacy without compromising your walls or window frames.
Step 2: Measure Your Windows Accurately
Measuring windows precisely is the foundation of selecting perfect no drill window blinds that fit seamlessly and look professionally installed. Your measurement approach will determine the overall success of your window treatment installation.
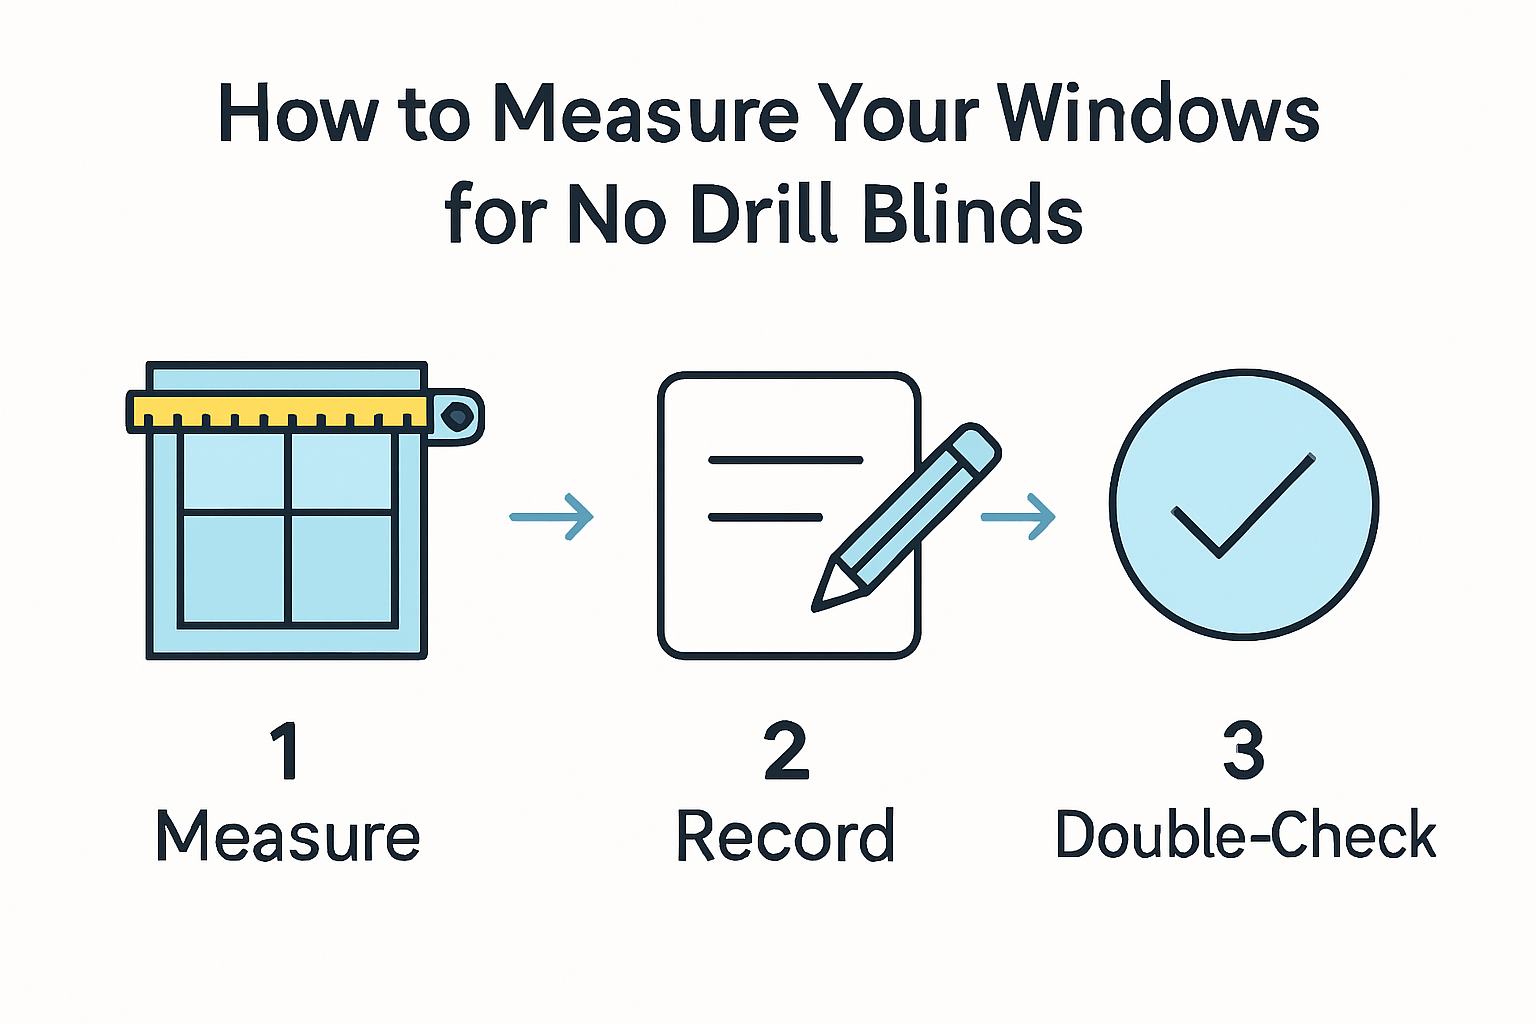
To capture accurate measurements, you will need a metal tape measure with clear markings and a steady hand. Precise window measuring techniques require taking three distinct width measurements inside your window frame at top, middle, and bottom locations. Always record the narrowest width measurement to ensure your blinds will fit comfortably. For height, measure from the top of the window frame to the bottom in three separate locations the left side, center, and right side and note the longest measurement.
Pro tip for renters and homeowners alike always measure twice and double check your numbers before purchasing. Wear comfortable clothing that allows easy movement and ensure your tape measure is pulled taut without bending or sagging. Account for any window obstructions like handles or locks that might impact blind installation. By taking precise measurements, you guarantee a perfect fit that enhances your space without the hassle of returns or adjustments.
Step 3: Prepare the Installation Area
Successful no drill window blind installation begins with thorough preparation of your window area. Creating an optimal workspace ensures a smooth and efficient mounting process that minimizes potential errors and frustration.
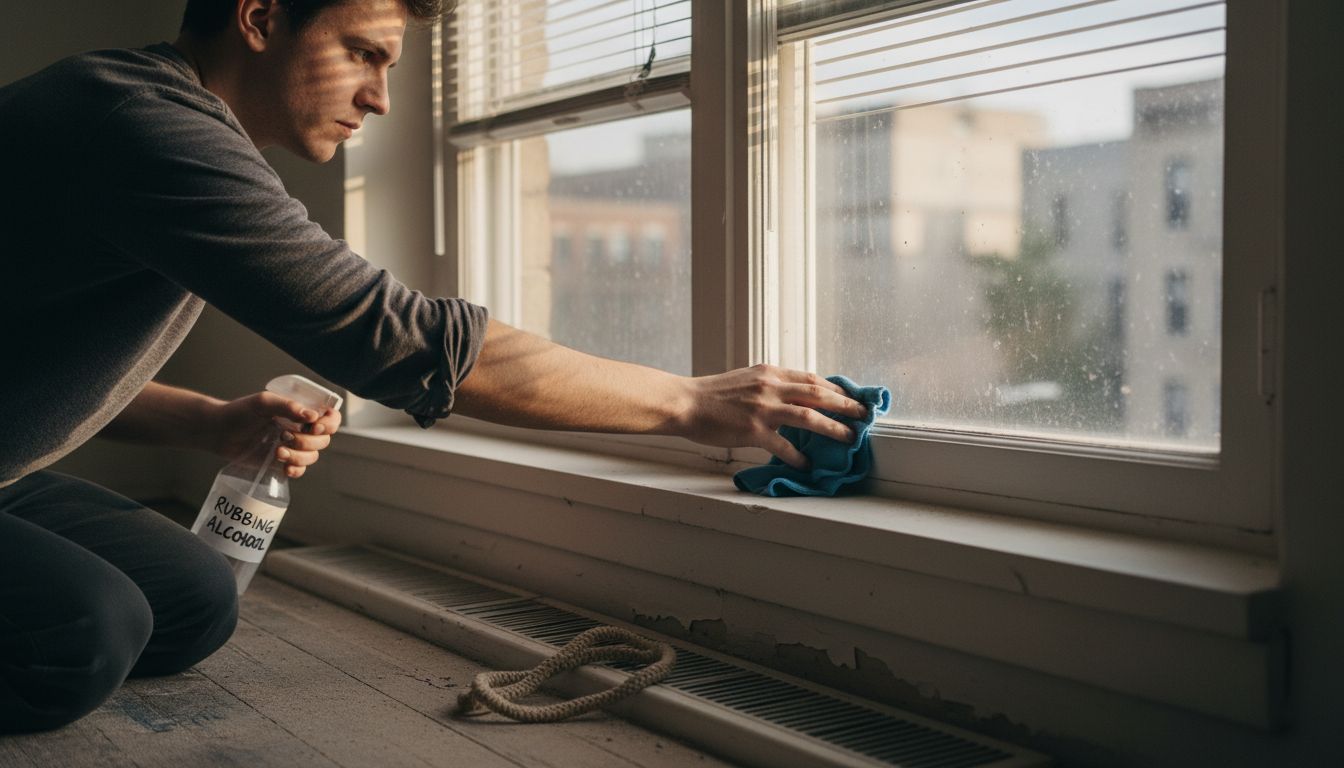
Clear the area surrounding your window completely removing curtains, existing hardware, decorative items, and furniture that might obstruct your work space. Easy blind installation techniques recommend having a clean flat surface within reach for organizing your tools and hardware. Gather essential installation materials beforehand including your metal tape measure, level, pencil, cleaning cloth, rubbing alcohol, and the no drill mounting brackets that came with your window blinds.
Prepare the window surface meticulously by cleaning thoroughly with rubbing alcohol to remove dust, dirt, and oils that could compromise adhesive performance. Use a lint free cloth to ensure a completely dry and smooth surface for mounting. Test the mounting area for structural integrity checking for any uneven surfaces or potential obstacles that might prevent secure installation. A clean and well prepared workspace dramatically increases your chances of achieving professional looking results with minimal stress and maximum efficiency.
Step 4: Attach the No Drill Mounting Brackets
Mounting brackets are the critical foundation for seamless and secure no drill window blind installation. Proper placement ensures your window treatments will look professional and remain stable throughout their lifetime.
Easy to install blinds without drilling require precise bracket positioning using either adhesive mounting or tension based systems. Begin by marking your bracket locations carefully using a pencil and level to ensure perfectly straight alignment. For adhesive mounting, apply firm and even pressure when pressing brackets against the cleaned surface ensuring at least 30 seconds of continuous contact to activate the strong mounting adhesive. When using tension based brackets verify that the internal spring mechanism is fully engaged and capable of supporting the weight of your selected window blinds.
Pro tip for successful installation always test the mounting brackets initial hold by gently pulling and checking stability before hanging the full blind assembly. Check that each bracket sits flush against the window frame or wall surface without any gaps or wobbling. Take your time during this step and double check your measurements and alignment to prevent potential future issues with your window treatment installation.
Step 5: Secure and Test Your Window Blinds
The final stage of no drill window blind installation involves carefully securing your blinds and performing comprehensive functionality tests to ensure perfect performance. This crucial step transforms your careful preparation into a successful home upgrade.
Ensuring proper blind installation requires methodical verification of each mounting point and blind mechanism. Gently attach your window blinds to the installed brackets checking that each side clicks securely into place without excessive wiggle or movement. Slowly raise and lower the blinds multiple times to confirm smooth operation verify that the mechanism moves evenly and the fabric or slats align perfectly without catching or jamming.
Pro tip always conduct your initial tests with minimal force observing how the blinds respond to gentle manipulation. Look for any signs of uneven tension or resistance that might indicate improper installation. If you notice any slight misalignment or stiffness in movement take the time to readjust your mounting brackets or reinstall the blind mechanism. A few extra minutes of careful testing can prevent potential long term issues and ensure your no drill window blinds provide years of reliable performance and aesthetic appeal.
Upgrade Your Home Effortlessly with No Drill Window Blinds
Tired of complicated installations that damage your walls or leave you frustrated? No drill window blinds offer a hassle-free solution that fits perfectly without any permanent changes to your space. Whether you are a renter or a homeowner, these easy-to-install blinds deliver the privacy and light control you want while protecting your window frames. With precise measurements and secure no drill mounting options, you can enjoy a flawless upgrade that instantly enhances your home’s style and functionality.

Discover a wide selection of high-quality custom window treatments at Value Blinds. From sleek roller shades to energy-efficient cellular shades, our collection features versatile options tailored to your exact needs. Explore our New Arrivals to stay ahead with the latest trends or check out our durable Fire Retardant selections for added safety and peace of mind. Start your easy installation journey today and transform your windows without the hassle of drilling or damage.
Frequently Asked Questions
How do I measure my windows for no drill window blinds?
To measure your windows accurately, use a metal tape measure and record width measurements at the top, middle, and bottom of the window frame. For height, take three measurements from the top to the bottom on the left, center, and right sides, ensuring you note the longest measurement for the best fit.
What materials are available for no drill window blinds?
No drill window blinds come in various materials, including cellular shades for insulation, roller shades for a minimal look, and bamboo options for a natural texture. Identify your functional needs and aesthetic preferences to select the most suitable material for your space.
How do I prepare the area before installing no drill window blinds?
Begin by clearing the workspace around your window, removing curtains, existing hardware, and any items that might obstruct your installation. Ensure you have a clean surface for organizing tools, and thoroughly clean the window area with rubbing alcohol to enhance adhesive performance.
What is the process for attaching no drill mounting brackets?
To attach no drill mounting brackets, first mark their locations with a pencil, ensuring they align straight using a level. For adhesive mounts, apply firm pressure for at least 30 seconds, and for tension-based systems, confirm the internal spring mechanism is secure.
How can I test if my no drill window blinds are installed correctly?
To ensure proper installation, gently attach the blinds to the brackets and check for stability. Raise and lower the blinds multiple times to verify smooth operation, making any adjustments if you notice resistance or misalignment.
Can no drill window blinds be easily removed without damage?
Yes, no drill window blinds are designed for easy removal without damaging walls or window frames. Follow the manufacturer’s instructions for safe removal to ensure that your surfaces remain intact.


