
Article: Header Board on a Roman Shade: Its Role in Installation
Header Board on a Roman Shade: Its Role in Installation
The header board is the part of a Roman shade that does the heavy lifting. It is the fixed, rigid piece at the top that screws or clips into your window, and the fabric, the lift cords and the cord lock all hang from it. Get the board level, centered and anchored into something solid, and the shade folds neatly for years. Get it wrong, and you will see sagging, crooked folds and cords that never pull evenly. 🪟
Below, we explain what the header board does, how it differs from a headrail and a mounting board, and how installation changes for inside and outside mounts.
TL;DR
- The header board is the shade’s structural base: it carries the lift-cord hardware and the fabric attaches to it, while the board itself attaches to the window or wall.
- “Header board,” “headrail” and “mounting board” are used loosely. A custom shade usually arrives with a ready-made headrail you bracket up. A DIY shade uses a wood board you screw up yourself.
- Inside mounts need enough frame depth and a board cut a hair narrower than the opening. Outside mounts need a solid anchor point and extra width and height for coverage.
- Pre-drill, use a level, and anchor into framing or the right wall anchors. Most installation trouble starts with an unlevel base.
- Measure first. A header that does not match the opening cannot be fixed with a bigger screw.
Table of Contents
- What a header board does on a Roman shade
- Header board, headrail and mounting board: what is the difference?
- Before you install: measurements and checks
- How to install a header board for an inside mount
- How to install for an outside mount
- Common header board problems and fixes
- Our perspective: treat the top of the shade as the foundation
- Ready for a shade that arrives with the hardware sorted?
- Mistakes to avoid
- FAQ
- Sources
What a header board does on a Roman shade
Think of a Roman shade as three layers of work. The fabric is the part you see. The cords and rings gather it into folds. The header board is what holds everything in place against the wall or window frame.
In a traditional handmade shade, the header is a solid wood board. According to one DIY Roman shade tutorial, it is cut slightly shorter than the inside window width and carries the eye hooks, the cord lock and one side of the hook-and-loop strip that holds the fabric. Another fabrication guide describes the same idea: the board attaches to the wall or window frame at the top, Velcro secures the shade to it, and screw eyes and a cord lock guide the lift cords. It makes no difference whether the shade is flat, hobbled or slatted. The board is the component that ties the whole assembly to the building.
So the header board has four jobs:
- Anchor. It transfers the weight of the fabric and the pull of the cords into the window frame or wall.
- Fabric attachment. Hook-and-loop tape (or a similar fastening) connects the shade to the board, so the fabric can be taken off for cleaning without unscrewing the board.
- Cord management. Eye screws and a cord lock sit on the board and keep the lift cords running in a straight line.
- Alignment. Because the board is rigid and straight, it sets the top line of the shade. Every fold below inherits that line.
That last job is why we keep repeating the word level. 😅 A header board that is off by an eighth of an inch across the window will show up as a lean in the folds at the bottom.
Header board, headrail and mounting board: what is the difference?
These terms get mixed up across shops, tutorials and installation sheets, so here is a plain way to sort them.
| Term | What it usually means | Who installs it |
|---|---|---|
| Header board | A flat board, traditionally wood, with eye hooks, cord lock and fabric tape attached. Common in DIY and workroom-made shades. | You screw it into the frame or wall, then attach the fabric. |
| Headrail | A pre-built metal or composite channel at the top of a manufactured shade that already holds the lift mechanism. | You mount brackets, then snap or clip the headrail into them. |
| Mounting board | A board fixed to the wall first (often for outside mounts or uneven surfaces), which the shade or headrail then attaches to. | You fix it to studs or anchors first, then mount onto it. |
In practice, a made-to-order shade from a retailer ships with a headrail and brackets, so you are not building a header board at all. You are placing brackets that grip the headrail. A one-piece wood header is what you meet when you make a shade yourself or adapt a curtain panel. Either way, the job is the same: provide a straight, solid, level base. Check which you have by looking at the top of the shade. If you see a metal channel with a mechanism inside, it is a headrail. If you see a plain board with fabric tape, it is a header board.
Before you install: measurements and checks
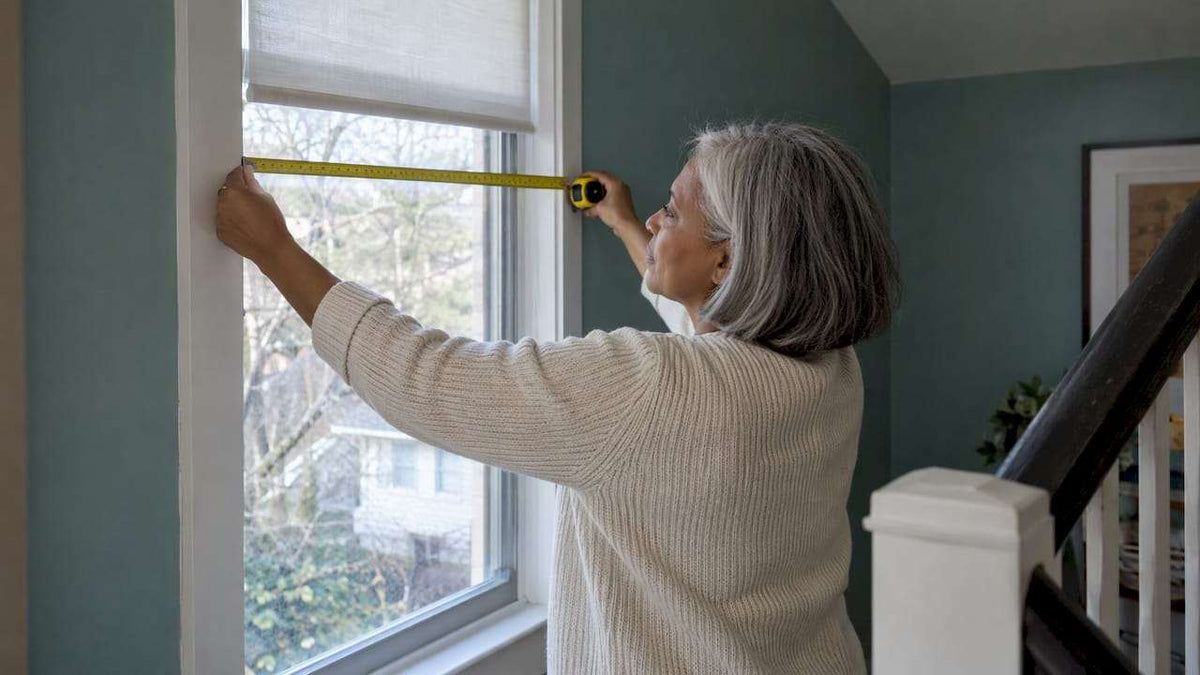
A handful of numbers decides whether the install goes smoothly. We always recommend measuring before you order or cut anything, and our guides on measuring windows for Roman shades and measuring for inside mount blinds walk through each step.
Check frame depth for an inside mount
The board or headrail has to fit inside the window opening. One DIY guide advises making sure there is at least 1 to 2 inches of window depth inside the frame to mount the header, per this tutorial. Headrail depths for manufactured shades vary, so look at the spec sheet for your product and compare it with your frame.
Measure the width in three places
Measure the opening at the top, middle and bottom, and use the narrowest figure for an inside mount. Windows are rarely perfectly square. For a DIY header, one tutorial suggests cutting a pine board about 1/4 inch shorter than the sill width for an inside mount, which leaves room to slide it in without scraping the frame.

Check what is behind the surface
Before you pick screws, find out what you are drilling into. Wood framing, drywall, plaster, tile and metal frames each need different fasteners. If you drill into drywall alone, use a wall anchor rated for the load. Tapping the wall or using a stud finder helps you locate solid wood.
Gather your tools
- Drill or screwdriver and the screws that match your surface
- Pencil and tape measure
- A level (a short torpedo level is plenty)
- Drill bit sized for pilot holes (check your instructions; many manufacturers specify a small bit for pre-drilling)
- Stud finder and wall anchors for outside mounts into drywall
- Step stool, and a helper for wide shades
The research behind DIY guides is consistent on the basics: a drill or screwdriver, screws, pilot holes first, then screw the header into the frame, as that linen shade tutorial lays out.
How to install a header board for an inside mount
An inside mount sits within the window recess and gives the cleanest look, especially if you plan to layer drapes outside it. Here is the sequence we suggest for a wood header board:
- Cut the board to width. Make it slightly narrower than the opening so it does not bind.
- Attach the hardware. Fix the eye screws and cord lock on the board before it goes up. It is much easier on a workbench than overhead.
- Mark the position. Hold the board against the top of the recess (or the front of the frame, if that is your design), center it, and check it with a level.
- Pre-drill. Mark the screw holes with a pencil, take the board down, and drill pilot holes. This prevents splitting and keeps screws from wandering.
- Separate the fabric. If the shade is already assembled, detach the hook-and-loop strip so you are only lifting a bare board. That is how one DIY guide handles it: fabric off, board screwed to the frame, fabric reattached.
- Screw the board up. Drive the screws until snug, not crushing. Recheck level.
- Reattach the fabric. Press the fabric’s loop tape onto the board’s hook tape, working from the center out so it sits flat.
- Test the lift. Pull the cords, let the shade stack, then lower it. If one side stacks higher, adjust the cord tension at the lock rather than moving the board.
For a manufactured shade with a headrail, replace steps 1 to 6 with bracket placement: mark the bracket spots, pre-drill, screw the brackets in, then clip the headrail in. Installation sheets commonly place brackets about an inch in from each end of the headrail for inside mounts, with additional middle brackets on wider shades. Always follow the sheet that came with your product.
If you would rather avoid drilling into your frames altogether, for example in rentals or with delicate aluminum profiles, there are window decor without drilling approaches worth knowing about, and a tension-fit option is often the simplest answer for a small, square opening.
How to install for an outside mount
An outside mount puts the shade on the wall or trim above and around the window. It hides uneven frames, makes a window look taller when you mount higher, and works when the recess is too shallow. The header board plays a bigger role here, because it carries the whole shade on a surface that is not designed as a frame.
Pick the right base
You have three common options:
- Mount to the wall above the window into a stud or into anchors.
- Mount to the window trim if the trim is thick and firmly attached.
- Fix a mounting board first, then attach the shade to the board. This spreads the load and gives you something level even if the wall is not.
Size for coverage
For an outside mount, the board should extend past the glass on each side so the fabric overlaps the opening and blocks light gaps. Our outside mount measuring guide explains how much overlap to add and how high to place the shade. For a quick sense of style, see our Roman shades style and fit guide.
Steps
- Decide the height. Mark a level line above the window where the top of the board will sit.
- Locate studs with a finder and mark them. If studs do not line up, plan for rated anchors.
- Hold the board or headrail against the line, use the level, and mark the holes.
- Pre-drill, then fasten. Use longer screws than for an inside mount when you are going into a wall, so they reach the framing.
- Attach the shade and test the lift.
Can you mount a Roman shade outside the recess?
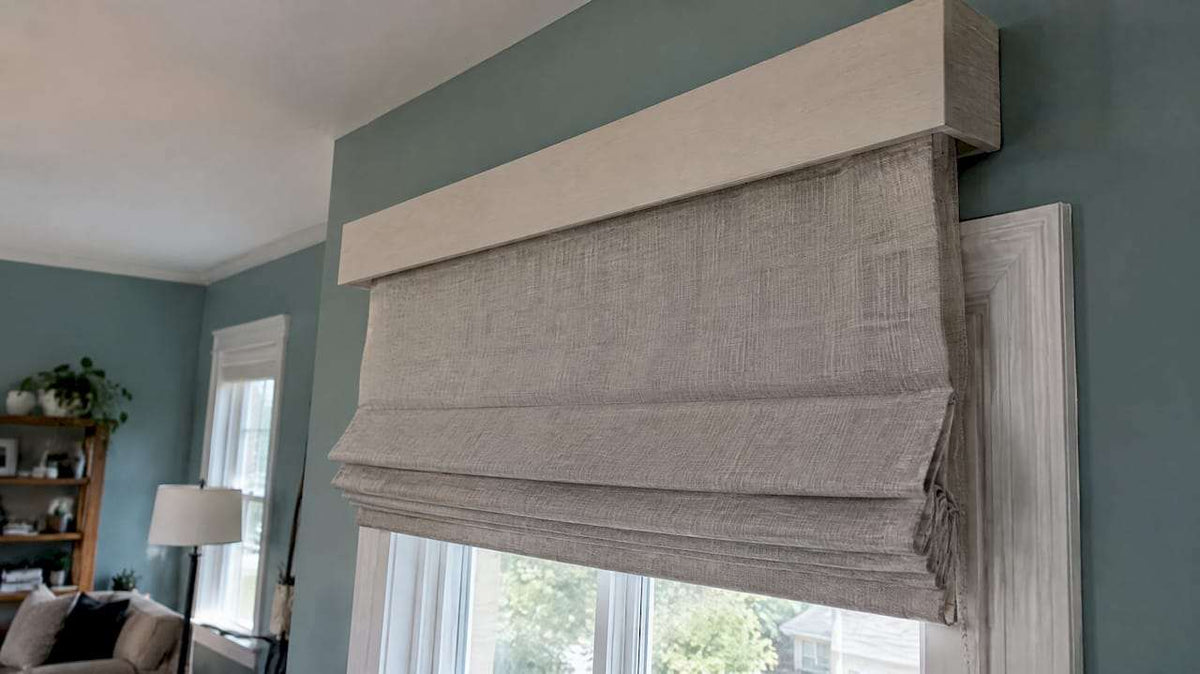
Yes. Outside mounting is a standard option. What to check first: the surface is flat and strong enough for the screws, nothing (like a crown molding or light fixture) blocks the board, and there is enough room above the window for the stacked shade when it is raised. Allow for the fabric stack height so the shade does not cover the glass when fully open if you want a clear view.
Common header board problems and fixes
| Problem | Likely cause | Fix |
|---|---|---|
| Shade hangs crooked | Board not level | Loosen screws, shim the low side, retighten |
| Board splits when screwed | No pilot holes | Pre-drill every hole |
| Screws pull out of the wall | Drywall with no anchor | Move to a stud or use rated anchors |
| Fabric peels off the board | Tape not pressed fully or too little overlap | Press from the center out; replace worn tape |
| One side stacks higher | Uneven cords | Adjust at the cord lock |
| Board rubs the frame | Cut too wide | Trim the board or move to an outside mount |
If your shade has a hold-down bracket at the bottom, remember to anchor it too, so the fabric does not swing when a window is open.
Our perspective: treat the top of the shade as the foundation

We see it constantly: people spend an hour choosing fabric and five minutes on the top edge. We would flip that. When we help customers, the order we recommend is simple: measure carefully, decide on inside or outside mount, then think about the look. A tidy top line makes even a budget fabric look expensive, and a crooked one makes a premium fabric look wrong.
If you are buying a made-to-order shade, you get a headrail and brackets already matched to your size, and that takes a lot of the guesswork out. If you are building from scratch or adapting something, the header board is where precision pays off: straight cut, pre-drilled holes, proper anchors. And if you do not want to climb a ladder at all, a professional measure-and-install service can take the whole job off your plate. 😊
— Sunny
Ready for a shade that arrives with the hardware sorted?
If you would rather skip building a header and just mount a finished shade, take a look at our Roman shades collection. Each shade is made to your measurements, and we offer professional measuring and installation if you want help getting it on the wall. You can also request free fabric swatches to check colors in your own light.
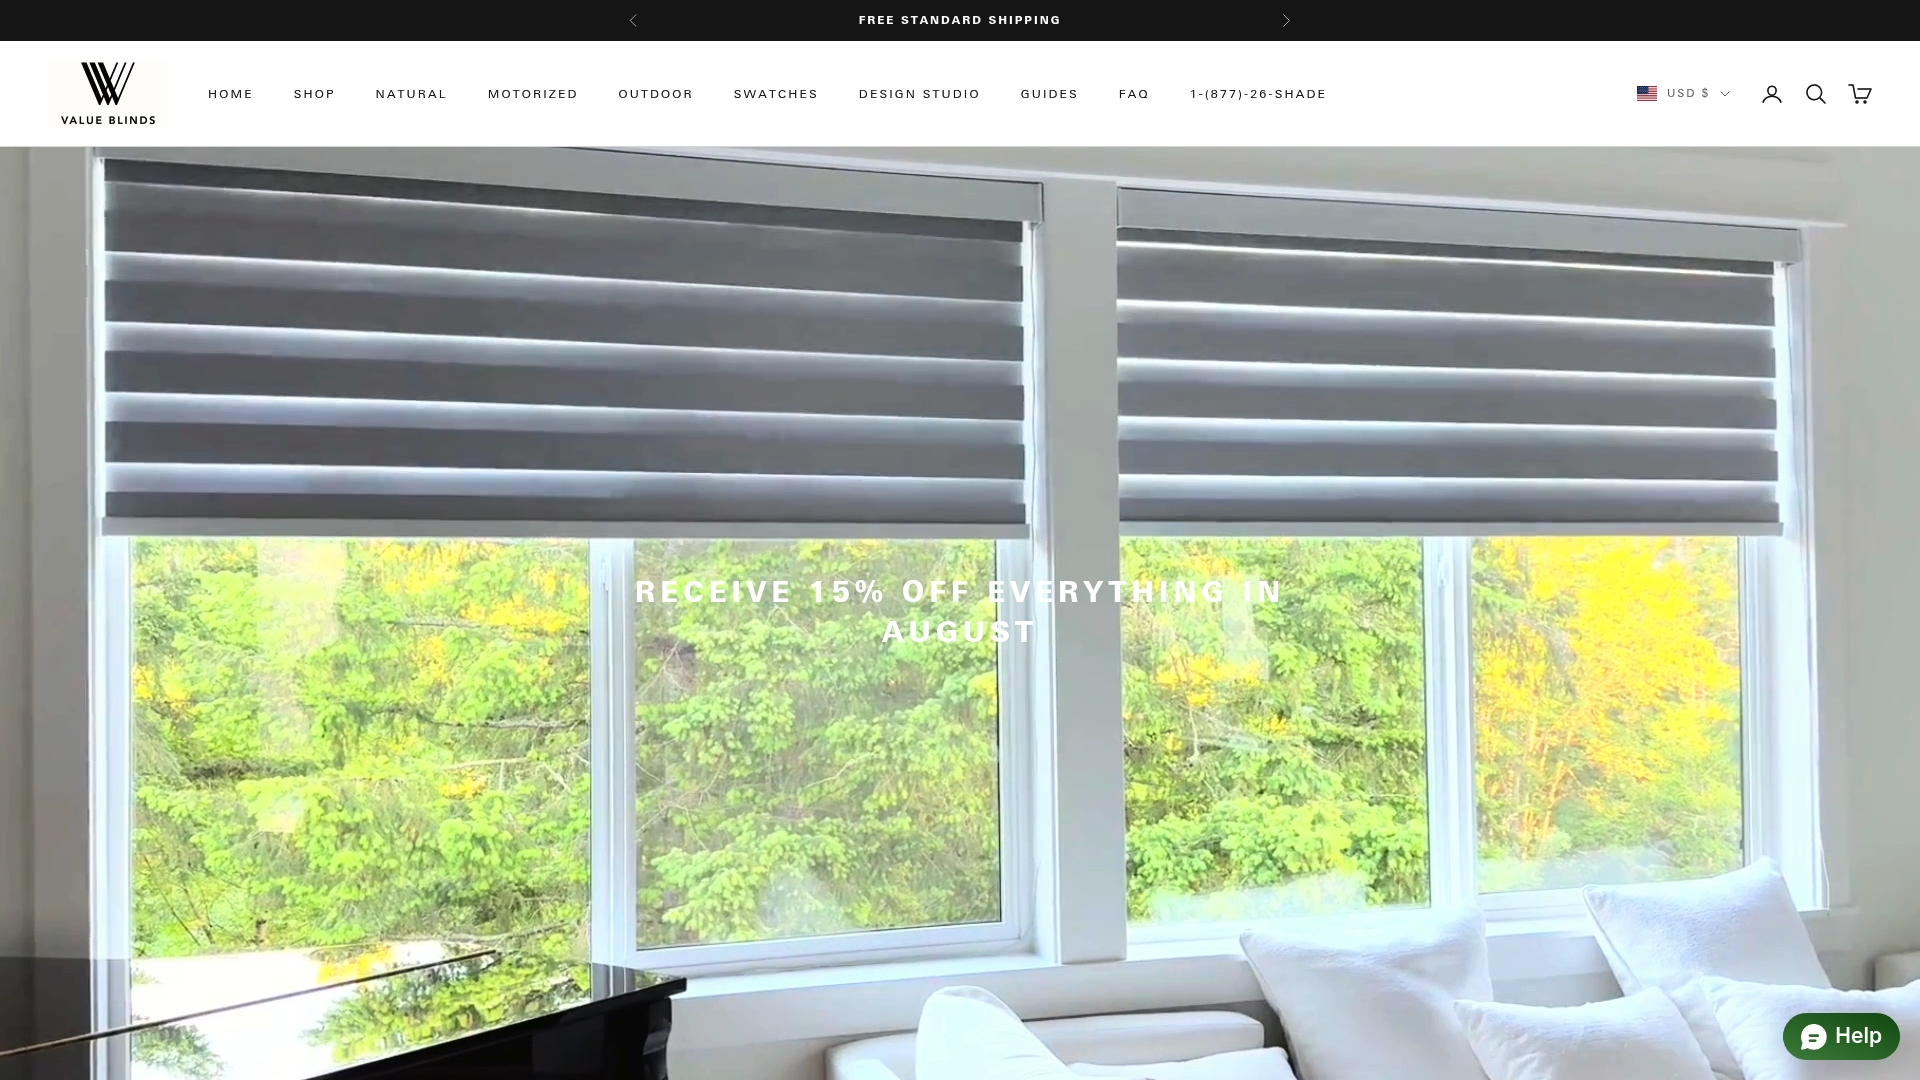
Prefer a different look for a window where a header board will not fit well? Our Roller Shades, Zebra Shades, Cellular Shades and more can work with shallow frames, and our zebra shades are a popular pick when you want light control without bulky folds.
Mistakes to avoid
- Skipping the level. Do not trust the window frame; many older frames are not square.
- Measuring once. Measure width in three places and height in three places, and write the numbers down.
- Using the wrong fastener. Drywall screws alone will not hold a wide shade.
- Forgetting stack height. The folded shade takes up space at the top, and an outside-mounted board should be high enough to leave the glass clear.
- Ignoring trim and handles. Window cranks, locks and trim can block a headrail, so check clearances before drilling.
- Reusing old hardware blindly. Old blind headers can be repurposed, but only if cut to the exact new shade width, as one DIY writer notes.
FAQ
What is the role of the header board in a Roman shade?
It is the rigid base at the top that attaches to the window frame or wall and holds the fabric and lift cords. In DIY shades it also carries the eye hooks, cord lock and fabric tape. Without a straight, secure board, the folds will not stack evenly.
Do Roman shades need a valance?
No. A Roman shade is a complete treatment on its own, and the top edge is neat when the board or headrail is installed properly. Some people add a valance or cornice to hide the hardware in an outside mount, but it is a style choice, not a requirement.
Can Roman shades be fitted outside the window recess?
Yes, as an outside mount on the wall or trim above the window. Check that the surface is flat and solid, use a level, and anchor into studs or rated anchors. Add extra width and height so the fabric overlaps the opening.
How do you turn a curtain panel into a Roman shade?
You attach the panel to a header board with hook-and-loop tape, add rings and cords along the back, and fit an eye screw and cord lock to the board. The board then screws into the window frame. A finished, made-to-measure shade is simpler if you want crisp folds.
What is the downside of Roman shades?
They need careful measuring and a solid, level mount, and the stacked fabric takes up some space at the top of the window even when raised. Heavier fabrics also need strong anchoring. Good installation solves most of these issues.
Sources
- DIY Linen Roman Shades
- eBook for Roman Shade Fabrication
- DIY Flat Roman Shade Tutorial
- Roman Shade: How to Make Them Yourself