

How to Measure for Wooden Blinds: Step-by-Step
TL;DR:
- Accurate measurement is essential for perfectly fitting wooden blinds, requiring three precise measurements per dimension. Use a metal tape measure, record multiple readings, and submit exact dimensions without deductions, letting manufacturers handle clearance. Outside mount offers larger coverage and room enhancement, while inside mount must meet recess depth criteria for a clean look.
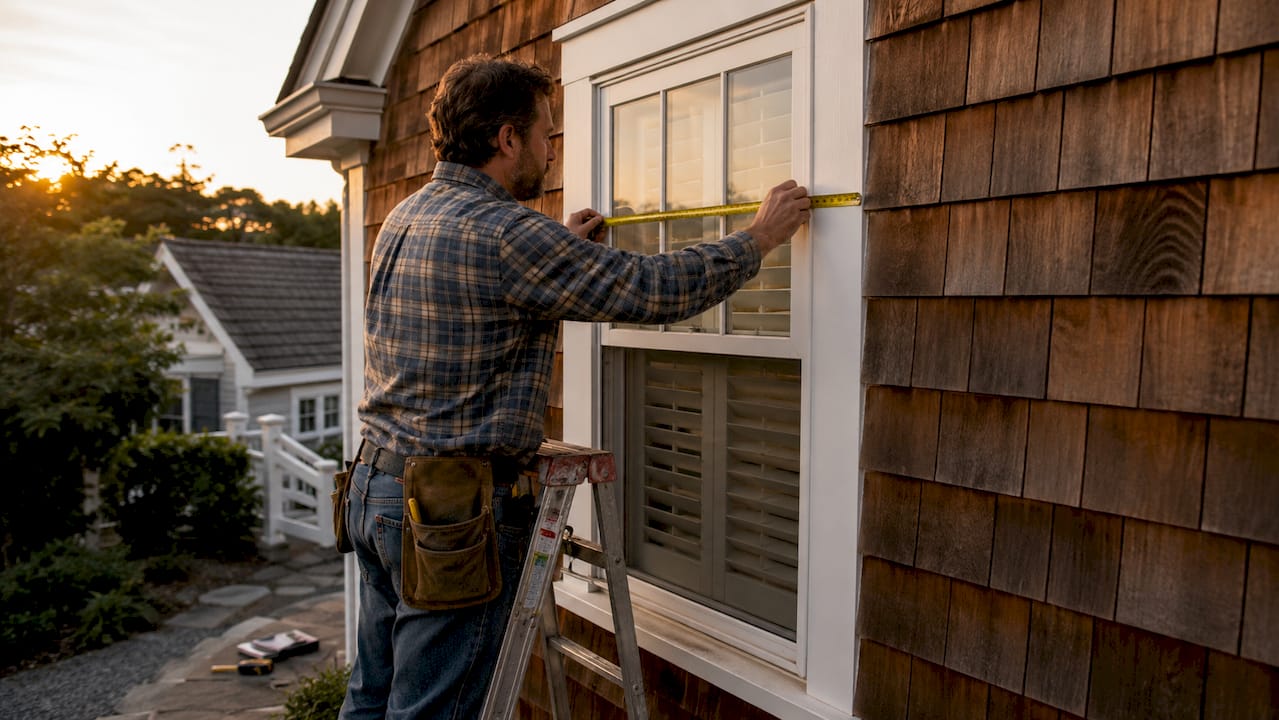
Measuring for wooden blinds means taking precise width and height dimensions of your window opening with a steel tape measure, then deciding whether to mount inside or outside the frame. Get this right and your blinds fit cleanly, block light effectively, and look intentional. Get it wrong and you are stuck with gaps, returns, or a reorder. You only need three tools: a metal tape measure, a pencil, and paper. This guide walks you through measuring windows for custom blinds that fit perfectly, from standard frames to bay windows.
How to measure for wooden blinds: inside mount
Inside mount is the cleaner look. The blind sits inside the window recess, flush with the frame. It works best when your recess is at least 2 inches deep and the frame is square.
Step-by-step for inside mount width:
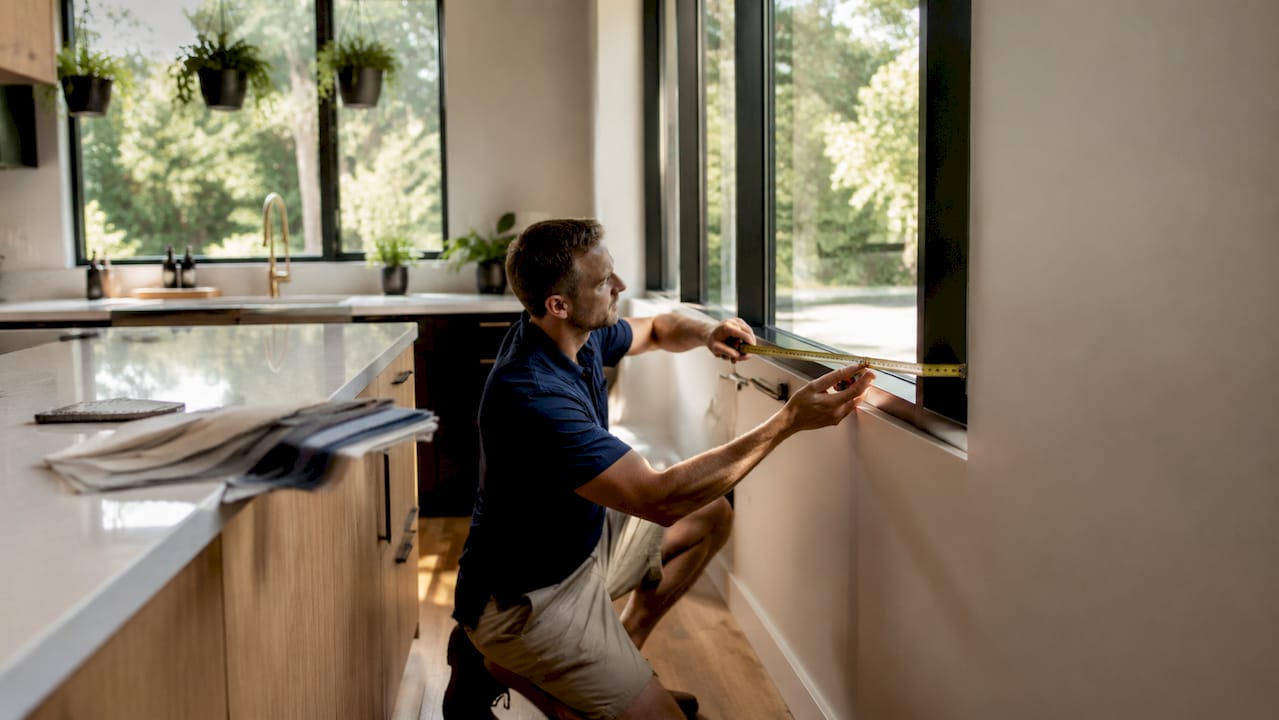
- Place your metal tape measure horizontally across the inside of the window frame at the top.
- Record the measurement to the nearest 1/8 inch.
- Repeat at the middle of the frame.
- Repeat at the bottom of the frame.
- Use the smallest width measurement from all three points. Window openings are never perfectly square, and the narrowest reading guarantees a snug fit.
Step-by-step for inside mount height:
- Measure from the top of the recess straight down to the sill on the left side.
- Repeat at the center.
- Repeat on the right side.
- Use the longest height measurement from all three points. This covers the full window even when the sill is uneven.
One rule that trips up first-time buyers: do not make any deductions from your measurements. Manufacturers handle required deductions themselves to account for operating clearance. If you subtract fractions on your own, the blind will come in too narrow.
Pro Tip: Measure each dimension three times. Use the smallest reading for width and the largest reading for height. Write every number down before you move to the next window.

Some manufacturers actually prefer measurements in millimeters to eliminate rounding errors entirely. If your supplier gives you that option, measuring in millimeters is worth the extra step.
How to measure for outside mount wooden blinds
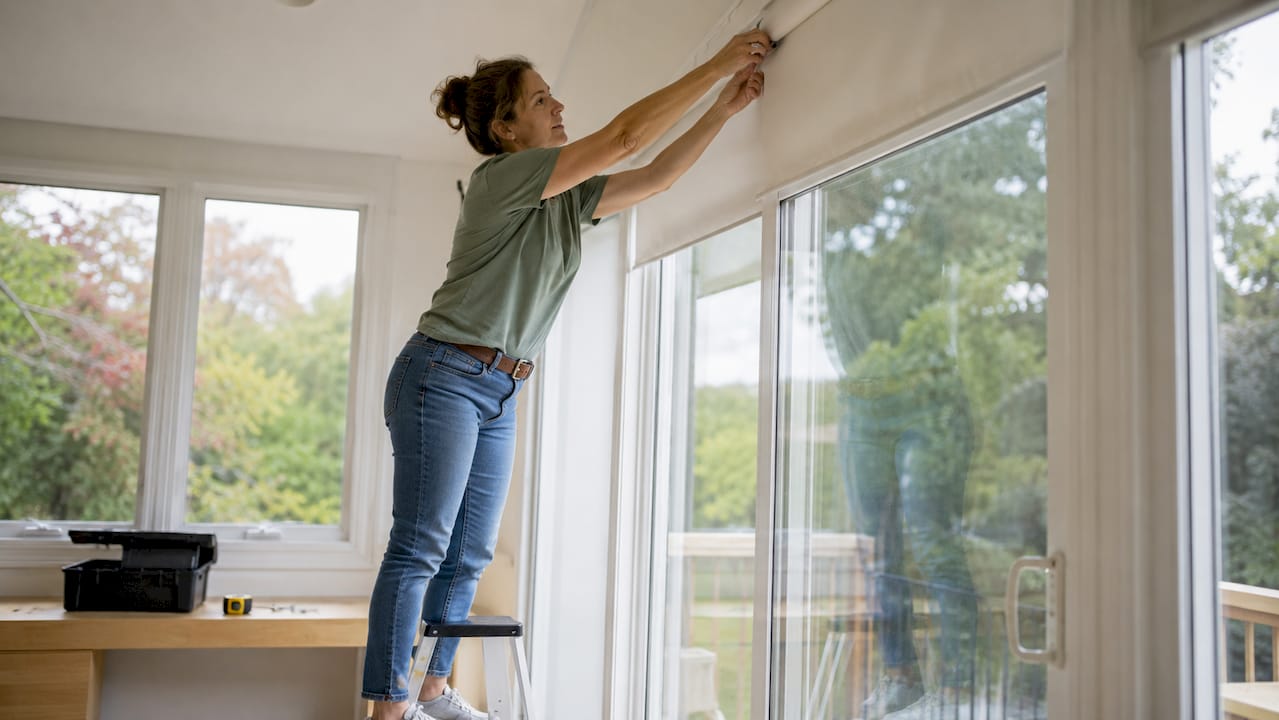
Outside mount means the blind hangs on the wall or over the window trim, covering more of the frame and surrounding wall. This style is ideal when your recess is too shallow for inside mount, or when you want to make a window look larger.
For outside mount, you are not measuring the window opening itself. You are deciding how much wall you want the blind to cover. Experts recommend adding 3–6 inches to each side of the window frame and at least 3 inches above it. That extra coverage blocks side light and creates a balanced, proportional look.
Step-by-step for outside mount:
- Decide your desired coverage area. Mark the left and right edges of where the blind will hang on the wall.
- Measure the total width between those two marks. This is your order width.
- Mark where the top of the blind will sit, at least 3 inches above the window frame or higher if you want to create the illusion of a taller window.
- Measure from that top mark down to where you want the blind to end, typically 3–4 inches below the sill.
- Record both dimensions clearly, labeled as “outside mount width” and “outside mount height.”
Here is a quick comparison of what each mounting style offers:
- Inside mount: Clean, minimal look; shows off the window frame; requires adequate recess depth
- Outside mount: Better light control; makes windows appear larger; works on any window depth
- Outside mount with extended coverage: Best for privacy and blackout needs; requires more wall space
Pro Tip: Use a level tool when marking your mounting points on the wall. A tilted bracket line means a crooked blind, and that is hard to fix after installation. The level tool takes 30 seconds and saves you from a visible mistake.
For a deeper walkthrough on this style, the outside mount measuring guide at Valueblindsdirect covers bracket placement and wall clearance in detail.
How to measure special window types
Standard rectangular windows follow the steps above. Bay windows and arched windows need a different approach.
| Window Type | Width Measurement | Height Measurement | Key Consideration |
|---|---|---|---|
| Standard rectangular | Narrowest of 3 horizontal readings | Longest of 3 vertical readings | Measure inside recess or outside frame |
| Bay window | Each panel measured individually | Each panel measured individually | Angles vary; never assume panels match |
| Arched window | Measure base width at the widest point | Measure from base to highest point of arch | Measure multiple points along the curve |
Bay windows are three or more angled panels joined together. Measure each individual window in the bay separately. The center panel and side panels almost always differ in width, and the angles between them mean a single blind will not span the full bay cleanly. Order one blind per panel.
Arched windows present a bigger challenge for wooden blinds specifically. Measure the base width at the widest horizontal point. Then measure the height from the base of the arch to the highest point of the curve. Take additional measurements at several points along the curve to capture its shape. For true arched windows, contact Valueblindsdirect directly or consult a window treatment specialist. Custom solutions exist, but they require precise curve data that a standard tape measure alone cannot fully capture.
Common mistakes when measuring wood blinds
Most blind fitting errors come from one of five avoidable mistakes.
- Using a fabric tape or string. Fabric tapes stretch. A metal tape measure does not. Even a small stretch throws off your order.
- Measuring only once. Windows are rarely perfectly square. One measurement gives you one data point. Three measurements give you the truth.
- Ignoring window trim and obstructions. If your window has thick trim, a crank handle, or a lock that protrudes, account for it. An inside mount blind needs clearance to open and close without hitting hardware.
- Rounding incorrectly. Measure to the nearest 1/8 inch. Guessing or rounding to the nearest inch creates gaps or a blind that will not fit in the frame.
- Making your own deductions. This is the most common mistake. You measure 36 inches and think, “I should order 35 and 3/4.” Do not. Submit your actual measurement and let the manufacturer apply the correct deduction.
Pro Tip: Write every measurement on paper immediately after taking it. Label each one clearly: “bedroom window, inside mount, width top = 35 and 5/8 inches.” Relying on memory between windows leads to transposed numbers and wrong orders.
How to confirm your measurements before ordering
Verification is the step most people skip. It is also the step that prevents the most expensive mistakes.
Measure each dimension at least twice and compare both readings. If they match, you are good. If they differ by more than 1/8 inch, measure a third time and identify which reading is the outlier.
| Step | What to Check | Why It Matters |
|---|---|---|
| Re-measure width | Compare top, middle, bottom readings | Confirms narrowest point for inside mount |
| Re-measure height | Compare left, center, right readings | Confirms longest point for full coverage |
| Check with a level | Hold level against tape while measuring | Catches tilted measurements that read short |
| Review your notes | Confirm mount type is labeled | Prevents ordering inside mount dimensions for outside mount |
| Submit without deductions | Send exact measurements to manufacturer | Manufacturer applies correct operating clearance |
Use a level while re-measuring to catch any tape drift. A tape that angles even slightly reads shorter than the true dimension. This is especially common on tall windows where you are stretching the tape from floor to ceiling.
Record your final measurements in a simple table with columns for window name, mount type, width, and height. This format makes it easy to review before you place your order and gives you a reference if you ever need to reorder. The inside mount measuring guide at Valueblindsdirect includes a printable worksheet that works well for this.
Key takeaways
Accurate wooden blind sizing requires three measurements per dimension, the right mounting decision, and submitting exact numbers without self-applied deductions.
| Point | Details |
|---|---|
| Measure three times per dimension | Use the smallest width and longest height from three readings each. |
| Choose your mount type first | Inside mount needs recess depth; outside mount adds coverage and light control. |
| Never deduct measurements yourself | Submit exact dimensions and let the manufacturer apply operating clearance. |
| Use a metal tape measure | Fabric tapes stretch and produce inaccurate readings that lead to poor fits. |
| Verify with a level | A level confirms your tape is straight and your measurements are true. |
What i’ve learned after years of measuring windows
The single biggest mistake I see homeowners make is treating measurement as a quick task. They grab whatever tape is nearby, measure once, and order. Then they call back confused about why the blind is 1/2 inch too wide or has a visible gap on one side.
Patience is the skill here, not technique. The technique is simple. The patience to measure three times, write it down, and check again before clicking “order” is what separates a perfect fit from a frustrating return.
I have also noticed that people underestimate how much outside mount changes the feel of a room. When you extend the blind 4–5 inches past the frame on each side, the window looks significantly larger. That is a design move, not just a measurement choice. If you are working with smaller windows in a bedroom or living room, outside mount with generous coverage is worth considering even if inside mount is technically possible.
One more thing: if you are measuring bay windows or arched windows for the first time, call for help before you order. The cost of a consultation or a quick chat with a Valueblindsdirect expert is nothing compared to the cost of a custom blind that does not fit. The window treatment sizing tips resource is a good starting point, but for unusual shapes, a real conversation saves real money.
— Sunny
Get your wooden blinds right the first time with Valueblindsdirect
You have the measurements. Now you need blinds worth putting them to use on.

Valueblindsdirect carries a full selection of high-quality wooden blinds built for custom sizing, so your exact dimensions translate directly into a blind that fits. The Window Treatment Design Studio walks you through the ordering process step by step, with built-in measurement guidance and expert support available if you hit a question. Free swatches, clear sizing tools, and a team that knows window treatments make the process straightforward from first measurement to final install.
FAQ
What tools do i need to measure for wooden blinds?
A metal tape measure, pencil, and paper are all you need. Metal tapes do not stretch, which makes them the only reliable tool for blind sizing.
Should i measure inside or outside the window frame?
It depends on your preference and window depth. Inside mount requires at least 2 inches of recess depth and gives a clean look. Outside mount works on any window and provides better light control.
Do i subtract anything from my measurements before ordering?
No. Submit your exact measurements without any deductions. Manufacturers apply the correct deductions for operating clearance. Self-applied deductions are a leading cause of blinds that come in too narrow.
How do i measure a bay window for wooden blinds?
Measure each panel in the bay window separately for both width and height. Panel dimensions vary due to the angles between them, so one measurement will not apply to all three sections.
How precise do my measurements need to be?
Measure to the nearest 1/8 inch at minimum. Some manufacturers prefer millimeter measurements to eliminate rounding errors entirely, so check your supplier’s preference before submitting your order.


