

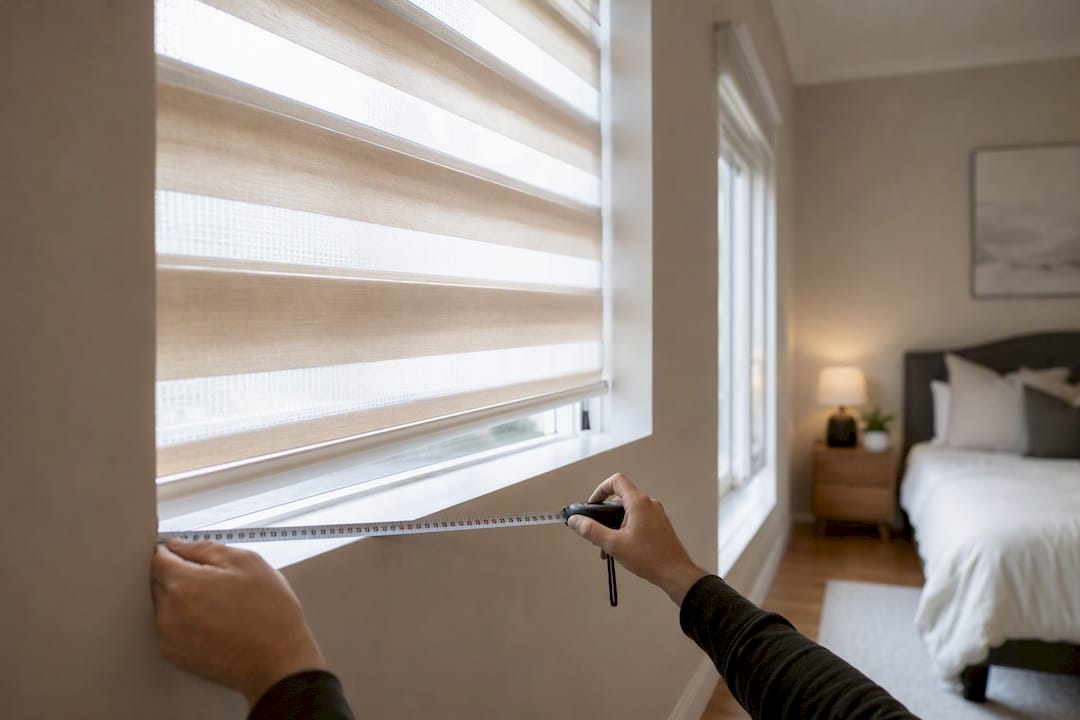
How to Measure for Zebra Blinds the Right Way
Here’s the short version: grab a steel tape, measure width in three spots (top, middle, bottom) and height in three spots (left, center, right), check your reveal depth, and decide inside or outside mount before you touch an order form. That’s the whole deliverable, and it’s what turns “I hope this fits” into “this fits.”
Most suppliers, Valueblindsdirect included, work from the smallest width measurement for inside mounts (window frames are rarely perfectly square) and the drop that clears your sill or hardware without binding. For outside mounts, you’re working with the opening plus overlap, not a shrunk-down number.
Here’s your quick-grab checklist before you start:
- Three width measurements (top, middle, bottom) — you’ll report the smallest
- Three height measurements (left, center, right) — check clearance at the sill
- Reveal depth (for inside mount, confirms headrail clearance)
- Mount decision: inside or outside
- Obstructions noted: handles, cranks, trim, vents
Now let’s measure for zebra blinds properly, step by step.
Key Takeaways
Accurate zebra blinds measurement comes down to three width and three height readings, a confirmed reveal depth, and a clear inside or outside mount decision made before you order.
| Point | Details |
|---|---|
| Measure three times | Record width at top, middle, and bottom, and height at left, center, and right for accuracy. |
| Use the smallest width | Inside mounts rely on the smallest width reading so the blind clears the frame everywhere. |
| Check reveal depth | Confirm your recess is deep enough for the headrail before choosing inside mount. |
| Add overlap for outside mounts | Add roughly 2 to 4 inches of overlap per side to block light gaps at the edges. |
| Get help when unsure | Valueblindsdirect offers professional measuring and a design studio to confirm fit before you order. |
Sources and Further Reading
Your supplier’s own measurement instructions always take priority if they differ from anything covered here. For deeper dives into specific mount types and measurement scenarios, these guides go further:
- How to Measure for Inside Mount Blinds for Perfect Fit
- How to Measure Outside Mount Blinds for a Perfect Fit
- Measuring Windows for Blinds: The Simple Step-by-Step Guide
- Window Treatment Design Studio
Table of Contents
- Tools and Terms You Need Before You Measure
- How Do You Measure for Inside-Mount Zebra Blinds?
- Measuring for Outside-Mount Zebra Blinds
- What Obstructions and Depth Issues Should You Watch For?
- Common Zebra Blinds Measurement Mistakes (and How to Avoid Them)
- How Should You Label Measurements Before Ordering?
- Get Help Measuring and Ordering Your Zebra Blinds
Tools and Terms You Need Before You Measure
Before you climb a ladder with a tape measure and good intentions, get the right gear together. A cloth tape stretches under tension and quietly throws your numbers off by a quarter inch or more, so metal measuring tapes are the recommended tool for custom blinds work.
Your tools checklist:
- Steel measuring tape (not cloth or fabric)
- Pen and paper, or your phone’s notes app
- A sturdy ladder for tall windows
- A helper for anything wider than 48 inches
- Your phone’s camera for reference photos
A few terms will follow you through every step:
- Inside mount: the blind sits inside the window recess, flush with the frame
- Outside mount: the blind mounts on the wall or trim, covering the opening from outside
- Reveal depth: how deep the recess is, front to back
- Headrail: the mechanism housing at the top of the blind
- Drop: your finished height measurement
- Overlap: extra width added on outside mounts to block light gaps
Pro Tip: Measure to the nearest 1/8 inch whenever you can. On oversized windows, 1/4 inch is acceptable, but the tighter your precision, the fewer light gaps you’ll see once the blind is hung.
How Do You Measure for Inside-Mount Zebra Blinds?
Inside mount gives you that clean, built-in look, but it only works if your reveal is deep enough and your numbers are precise. Here’s the process.
- Measure width three times. Run your tape across the top of the recess, then the middle, then the bottom. Frames shift over years of settling, so these three numbers are rarely identical.
- Record the smallest width. Suppliers use the smallest of the three width readings so the finished blind clears the frame at every point, not just where the recess happens to be widest.
- Measure height three times. Left side, center, right side, top of the recess down to the sill.
- Record the usable drop. Suppliers differ on whether they want the smallest or the longest height reading for inside mounts, so confirming this with your vendor before ordering matters. Get it backward and the blind either won’t clear the sill or leaves a gap at the top.
- Measure reveal depth. Hold your tape perpendicular to the window and measure from the front of the frame back. This confirms your headrail will actually fit inside the recess.
Copy this into your notes for each window:
- Window ID (e.g., “Kitchen W1”)
- Mount type: Inside
- Width: top / middle / bottom
- Height: left / center / right
- Reveal depth
- Obstructions noted
- Photo filename
Example entry: Kitchen W1, Inside, Width 35 7/8" / 36" / 35 3/4" (use 35 3/4"), Height 48 1/8" / 48" / 48 1/4" (use smallest per vendor rule), Reveal depth 2 1/2", no obstructions, photo “kitchen_w1.jpg”.
Measuring for Outside-Mount Zebra Blinds
Outside mount is the fix when your reveal is too shallow, you want to hide dated trim, or you simply want a window to look bigger than it is. Instead of shrinking your measurement to fit inside a recess, you’re building outward from the opening.
Here’s how it breaks down:
- Measure the exact opening you want the blind to cover, width and height.
- Add side overlap. Recommended overlap runs 2 to 4 inches per side, depending on how much light control you want at the edges.
- Add top clearance for the bracket if you’re mounting above the frame, plus any extra drop needed to reach the sill or floor.
- Total it up. Order width = opening width + overlap on both sides. Order drop = opening height + top clearance + bottom overlap.
A quick example: a 34-inch-wide opening with several inches of overlap per side becomes a 40-inch order width. A 50-inch-tall opening with 2 inches of top clearance and 2 inches of bottom overlap becomes a 54-inch order drop.
One thing worth flagging: some suppliers build bracket allowances into their sizing charts automatically, so don’t subtract for hardware on an outside mount the way roller-style shades sometimes call for on inside mounts. Adding too much on top of a built-in allowance leaves you with a blind that overhangs awkwardly.
What Obstructions and Depth Issues Should You Watch For?
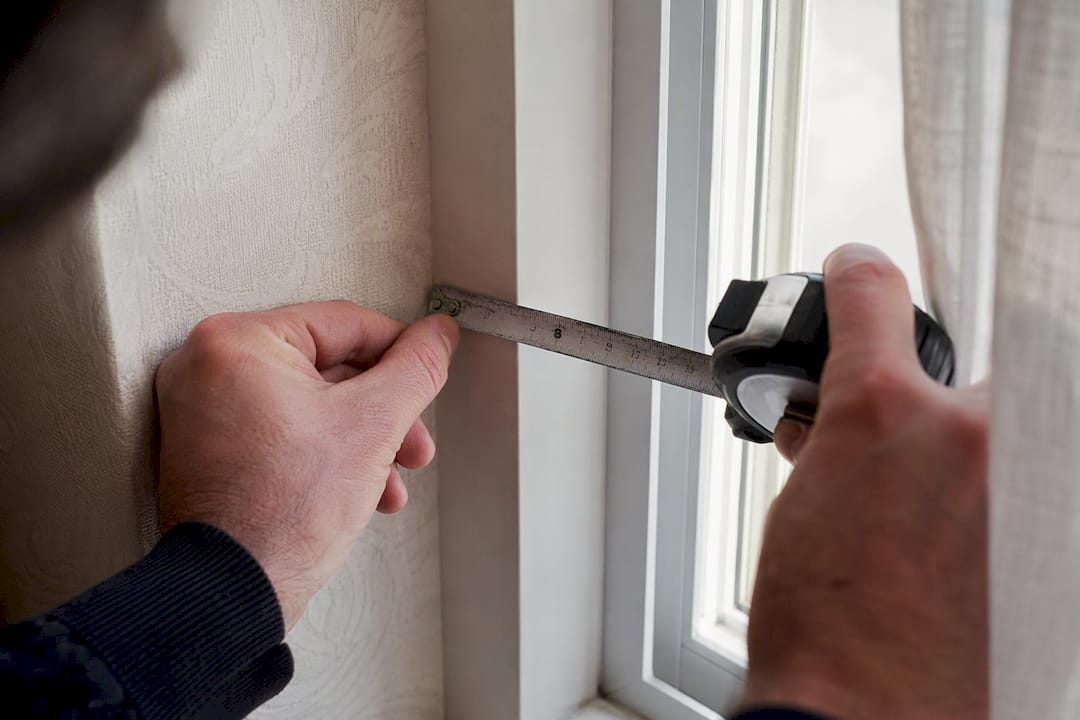
Before you finalize anything, walk the window and look for anything that could get in the way. This step gets skipped constantly, and it’s the reason blinds arrive that won’t close, won’t crank, or won’t sit flush.
Common obstructions to note:
- Window cranks or handles that stick into the recess
- Trim or molding that narrows the usable width
- Radiators or vents right below the sill
- Security bars or grilles
Reveal depth is the other make-or-break factor; if your window frame is damaged or your reveal is too shallow, consider window replacement before measuring for blinds. If your recess is shallower than the blind’s headrail, go outside mount or look at a shallow-headrail option instead of forcing an inside mount that won’t seat properly.
A few special cases deserve their own approach. For windows divided into multiple sections, measure and label each segment independently rather than treating the whole opening as one number. Arched or irregular shapes almost always need a direct conversation with your supplier. And if curtains or valances are already up, take them down (or move them aside) before measuring so they don’t throw off your reveal depth reading.
For tall windows, use a stable ladder and have someone hold it steady. Don’t stretch or lean.
Common Zebra Blinds Measurement Mistakes (and How to Avoid Them)
Most measurement problems trace back to the same handful of errors, and they’re all avoidable once you know to watch for them.
- Mixing inches and centimeters mid-measurement (pick one unit and stick with it)
- Using a stretched fabric tape instead of steel
- Forgetting which of the three readings was the smallest
- Skipping the reveal depth check entirely
- Not photographing the window before ordering
Small errors compound fast. Using the same tape edge and the same person taking every reading on a window cuts down on the tiny inconsistencies that lead to reorders.
Pro Tip: Have a second person hold the tape at zero while you read the far end. A tape that slips even a half inch at the anchor point throws off every reading that follows.
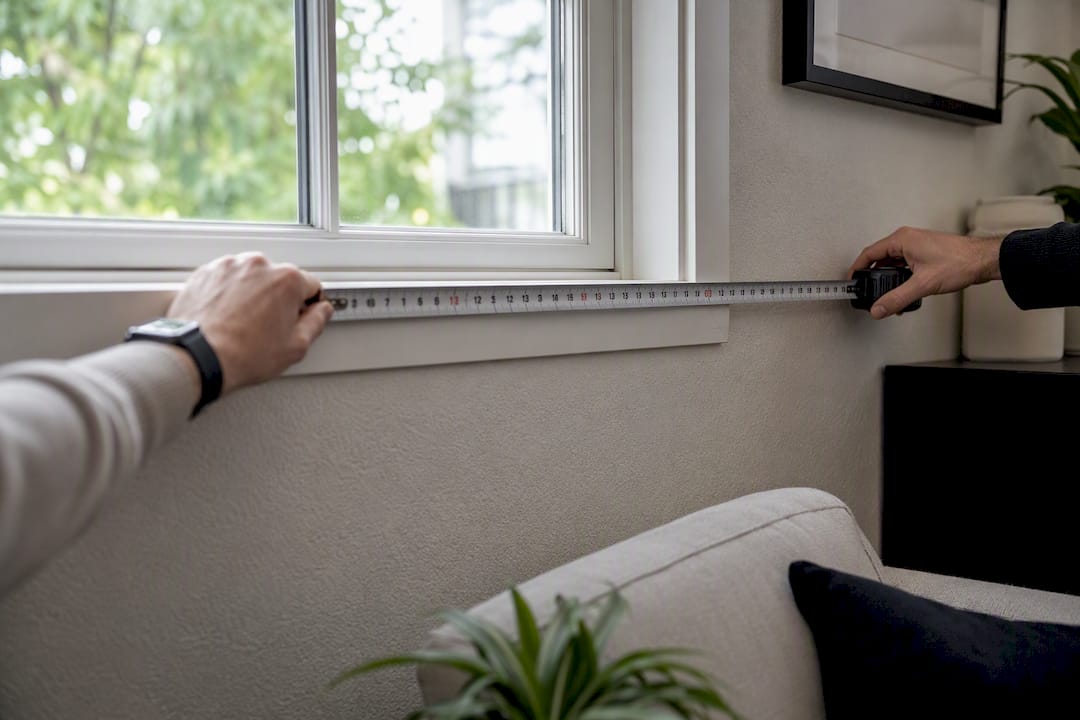
Pro Tip: At the top of an inside recess, measure width there first. Sills warp and settle over the years, so the top of the window is usually your truest reading.
Always take three width and three height readings, always label them the moment you write them down, and always photograph the window with your tape still in place. When you hand measurements to a supplier, include the window label, the mount type, and a quick photo of anything that might get in the way.
How Should You Label Measurements Before Ordering?
A clean label saves everyone time, especially if you’re measuring more than one window in a day. Use a format like: Room, Window Number, Mount Type. “Kitchen W1, Inside” or “Living Room W3, Outside.”
Here’s the difference between a label that works and one that causes problems:
- ✅ “Kitchen W1, Inside, Width 35 3/4”, Height 48", Reveal 2 1/2""
- ❌ “kitchen window, about 36 by 48”
Take one wide shot of the whole window and one close-up with the tape clearly visible, and name each photo to match its label (kitchen_w1_wide.jpg, kitchen_w1_tape.jpg). Before you submit an order, run through this: mount type confirmed, units and fraction format consistent throughout, obstructions noted, and photos attached. If anything about the window feels uncertain, it’s worth requesting a professional measure rather than guessing.
Why Getting This Right Actually Matters
Careful measurement work with a lot of different windows tends to teach you the same lesson every time: the openings that look the most “standard” are often the ones out of square by a quarter inch or more. That’s exactly why the three-width, three-height rule exists, not because suppliers love extra steps, but because it catches the discrepancy before it becomes a returned blind.
If your window has an odd shape, a shallow recess, or you just want a second set of eyes, calling in a professional measure costs far less than reordering a blind that doesn’t fit.
Get Help Measuring and Ordering Your Zebra Blinds
If you’d rather skip the ladder entirely, Valueblindsdirect offers a professional measuring option that removes the guesswork completely. Someone experienced takes the readings, confirms your mount type, and checks reveal depth so the blind that shows up is the blind that fits, the first time.

Beyond the measuring help, ordering through Valueblindsdirect gets you free fabric swatches before you commit to a color, expert support if you get stuck mid-measurement, and a warranty backing the finished product. Motorization is on the table too, if you’d rather control your zebra blinds from your phone than wrestle with a wand. Shipping is flexible enough to work around your installation timeline instead of the other way around.
Ready to see your options? Browse the zebra blinds collection to check colors and openness levels, or head to the Window Treatment Design Studio to book a professional measure and get real numbers instead of estimates.
Recommended
- How to Measure for Blinds: Accurate DIY Guide for Windows
- Blinds com How to Measure for Perfect Custom Fit Windows
- How to Measure for Vertical Blinds: A Homeowner’s Guide

Value Blinds®
Trusted window treatments provider
Value Blinds® is a trusted provider of Greenguard, OEKO-TEX, and FSC-certified window treatments based in Portland, Oregon. Specializing in sustainable, motorized, smart-controlled, and outdoor-ready blinds and shades, the company is built on a foundation of simplified shopping, premium eco-friendly materials, and transparent pricing without the inflated cost.




%20and%20height%20in%20three%20spots%20(left,%20center,%20right),%20check%20your%20reveal%20depth,%20and%20decide%20inside%20or%20outsi...)